
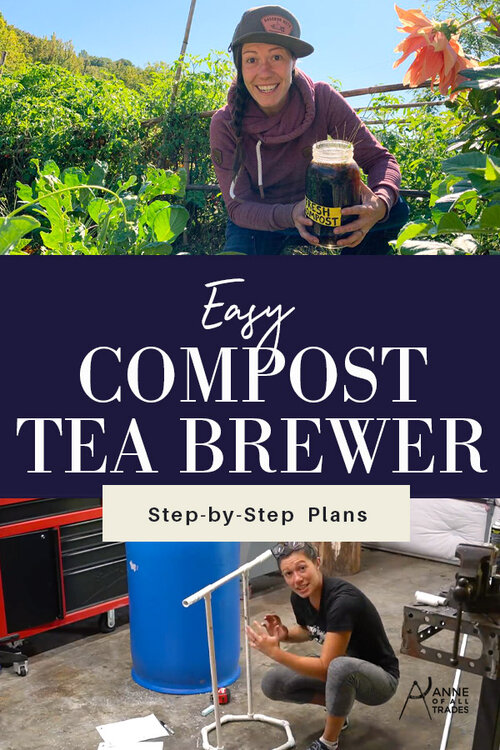
Easy DIY Compost Tea Brewer
Drastically improve the health of your plants and your soil at the same time by brewing your own compost tea with this DIY compost tea brewer. Then go grab my fantastic compost tea recipe here!


I started brewing the “lazy” man’s compost tea for five years in Seattle in tandem with some other “lazy” techniques that resulted in impressively healthy soil. Alongside my other methods of fixing our soil, including the tips we share in our composting cheat sheet, we’ve been growing monumental amounts of produce (and avoiding the grocery store) with very little effort.
Lazy Man’s Compost Tea
For the tea, I kept a giant vat of collected rainwater that I’d often add weed clippings, the bottoms of my bags of Chaffhaye from feeding the animals, and random handfuls of forest floor matter loaded with mycelium whenever I thought of it. I’d give it a little stir every now and again, and put a few diluted scoops of that sludgy water in my watering can to sprinkle around the garden whenever I’d think of it.
I was also constantly adding a combination of animal manure (aka organic fertilizers) from my barn and aged bedding from my chicken coop (which inevitably had all kinds of good compost and food scraps the chickens had left behind), decomposing wood chips I got from local arborists, my own concoctions of planer shavings and collected wood dust from the woodshop, and fireplace ash whenever it accumulated.
After 5 years I had incredibly loamy, fluffy, high-quality garden soil that had fistfuls of earthworms in every scoop, retained moisture like you wouldn’t believe, and grew Jurassic scale plants that suffered very little from pests or disease.
Aerated Compost Tea Brewer
Because I want to speed up the soil structure improvement process here in TN, I figured it was time to build a proper compost tea brewer.
The expensive brew kits you see online aren’t necessary, as I found some free plans through a YouTube channel I watch from time to time, Plant Abundance. I slightly modified the plans (as noted below) so that I could use a 55-gallon food-grade barrel instead of a 35-gallon garbage can. Larger bin= more compost tea!
I also don’t like to use anything that’s not food-grade when it will be going into my garden, so the 55-gallon barrel is perfect.

Above are the plans I got for the 32-gallon garbage can compost tea brewer, I have adjusted the materials and supplies needed in the list below.
Tools & Supplies Needed:
Drill
Reciprocating Saw OR Hacksaw
Diablo 6” thin metal blade (for recip saw)
Diablo Demo Multipurpose Blade (for recip saw, used to repurpose lamb cage)
Diablo 1 3/8” step bit OR Paddle Bit
1/16” Drill Bit
Sharpie
55-Gallon Food Grade Barrel
Teflon Plumber’s Tape
50 Watt Air Pump
Paint Can Liner (for the brew bag)
Large Binder Clips
½” PVC Pipe Caps Slip (x2)
½” PVC Pipe 1 ½” Long
½” PVC Pipe Couplings Slip to Slip (x3)
½” PVC Pipe 1” Long (x2)
½” PVC Pipe 8 ⅛” Long
½” PVC Pipe Tees Slip to Slip (x3)
½” PVC Pipe 6 ½” Long
½” PVC Pipe Coupling Slip to ½” NPT
½” PVC Poly Male Adapter
½” PVC Pipe 5” Long (x7)
½” PVC Pipe 2” Long (x2)
½” PVC 45 Degree Elbows Slip to Slip (x8)
½” PVC Pipe 23 ½” Long
½” PVC Pipe 22 ½” Long
½” Clear Hose

Make Your Brewer Portable
If you need your bin to be portable, some scrap 2x6’s can make a nice frame- do keep in mind that 55-gallons of water weighs about 450 lbs, so you’ll need heavy-duty casters.
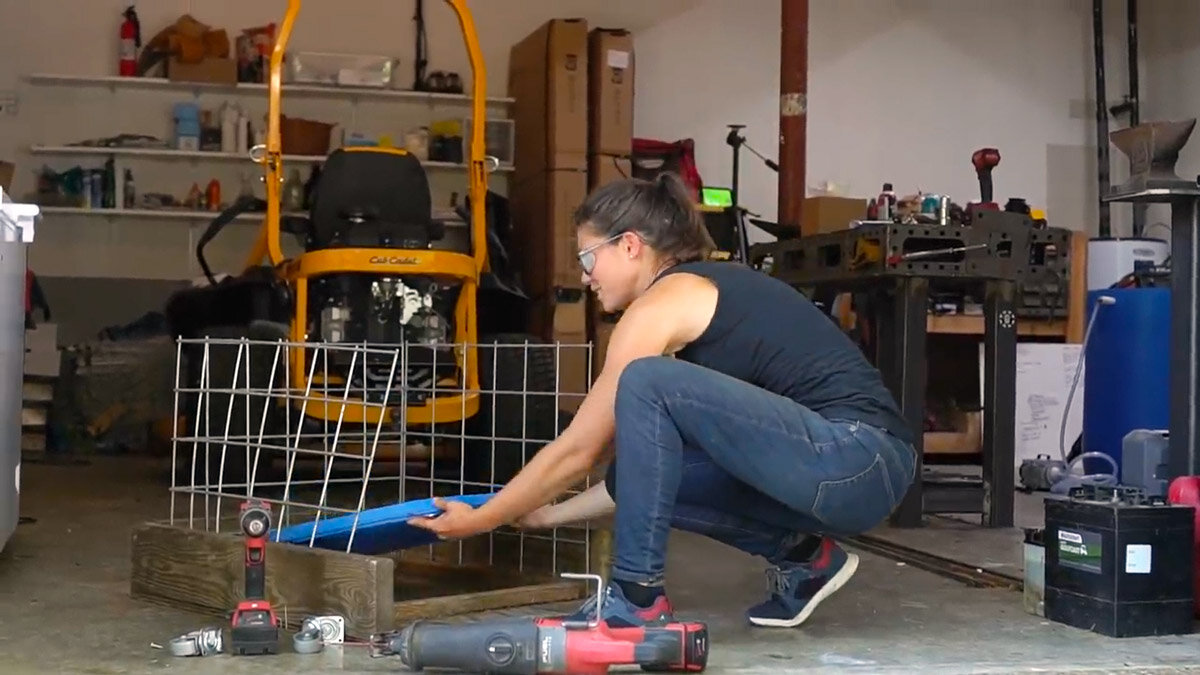
I repurposed a lamb cage for mine that just so happened to be the perfect size for my brewer. If you don’t need it to be portable, some cinder blocks or a large stump would make for a great stand.
How to Build a Compost Tea Brewer
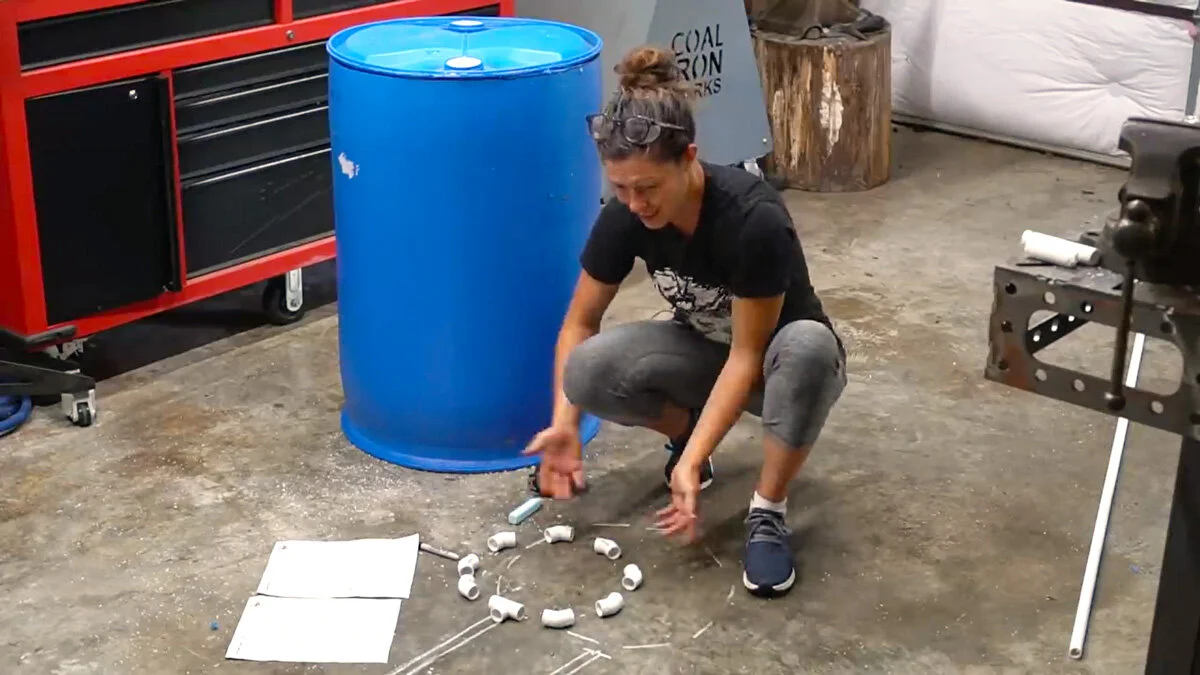
1. Arrange the elbow pieces in a circle on the ground with the PVC tee piece furthest away from you.
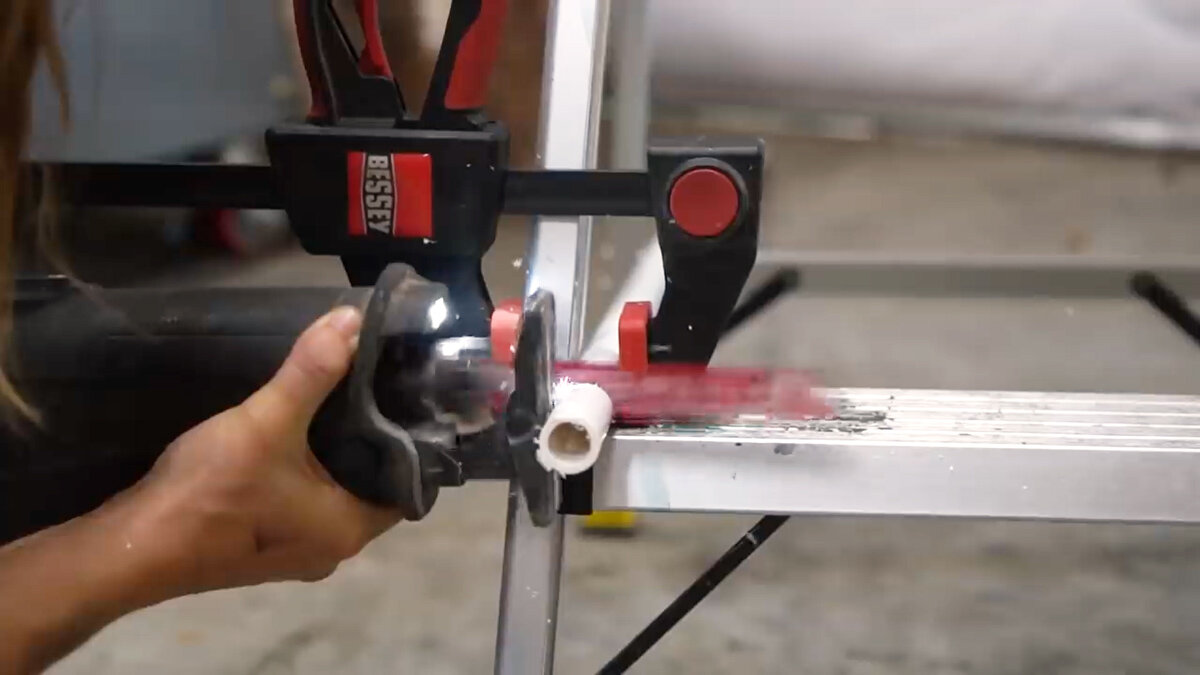
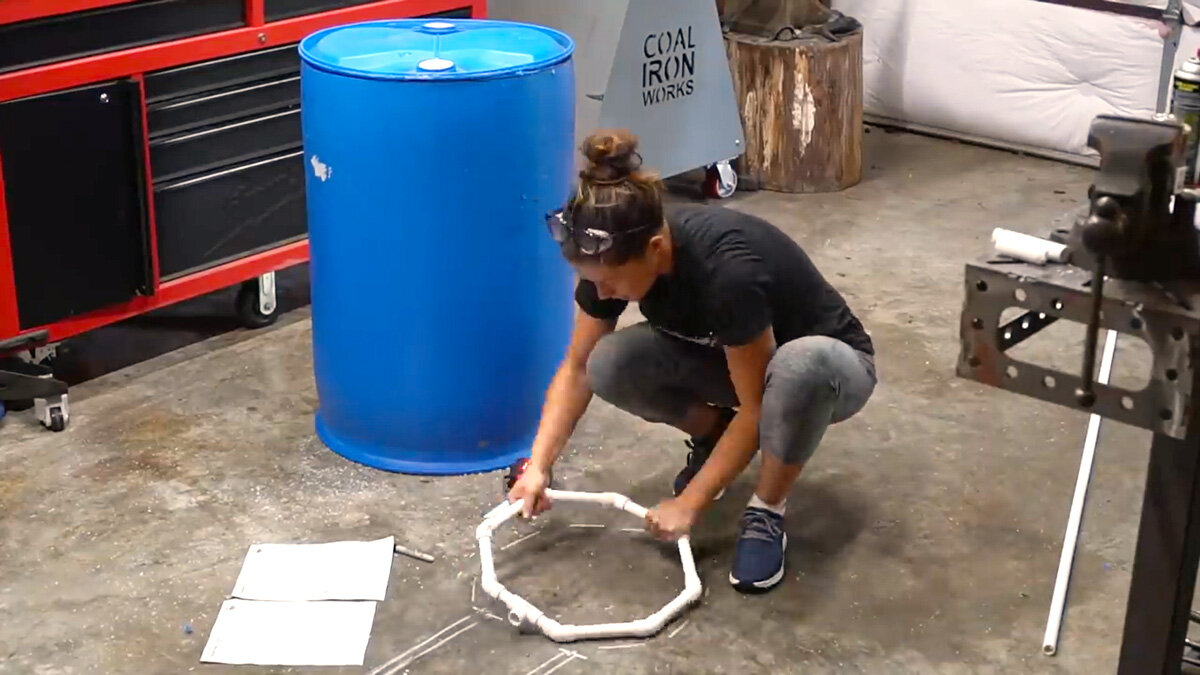
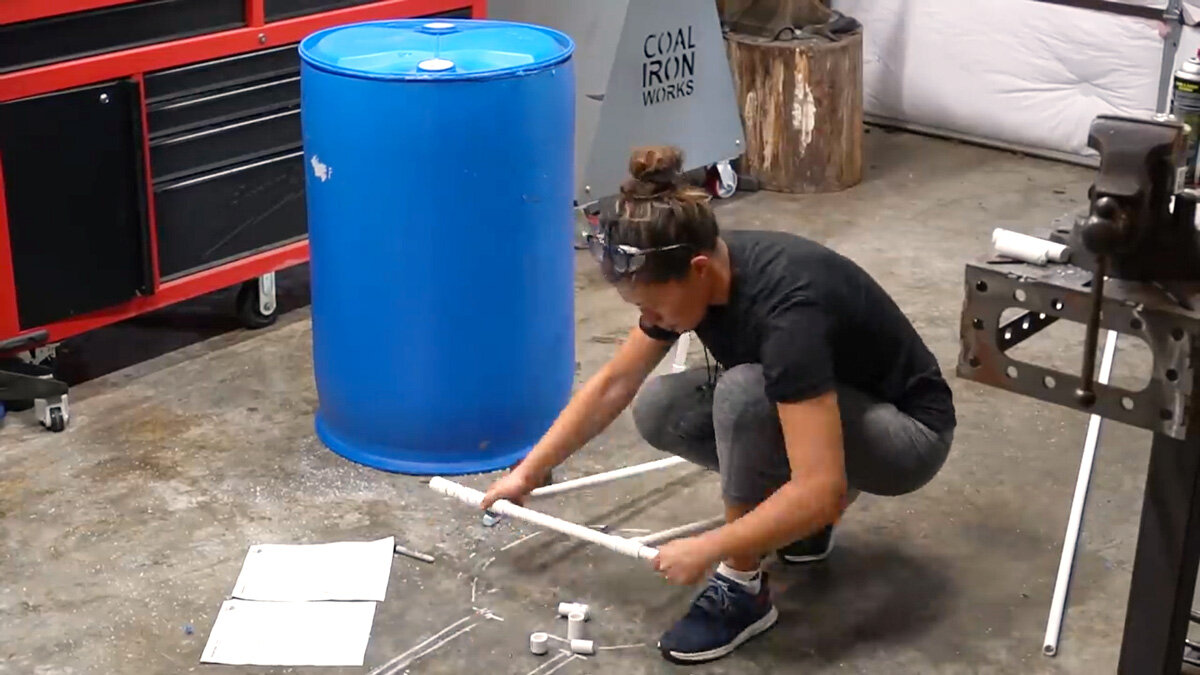
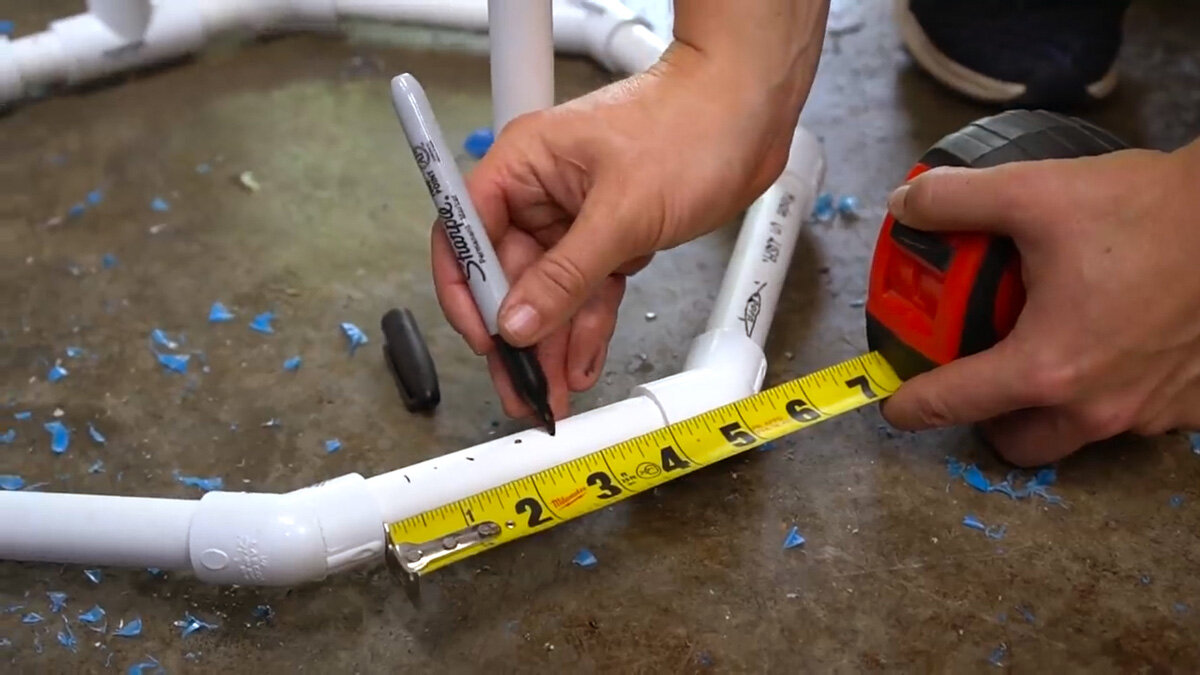
2. Using a thin metal blade (check out my tool reviews to find out my favorite power tools), cut seven 5” pieces of PVC pipe and two 2” pieces of PVC pipe.
3. Affix the pieces together as shown to create an octagon. Be sure the two 2” pieces are connected to the PVC tee.
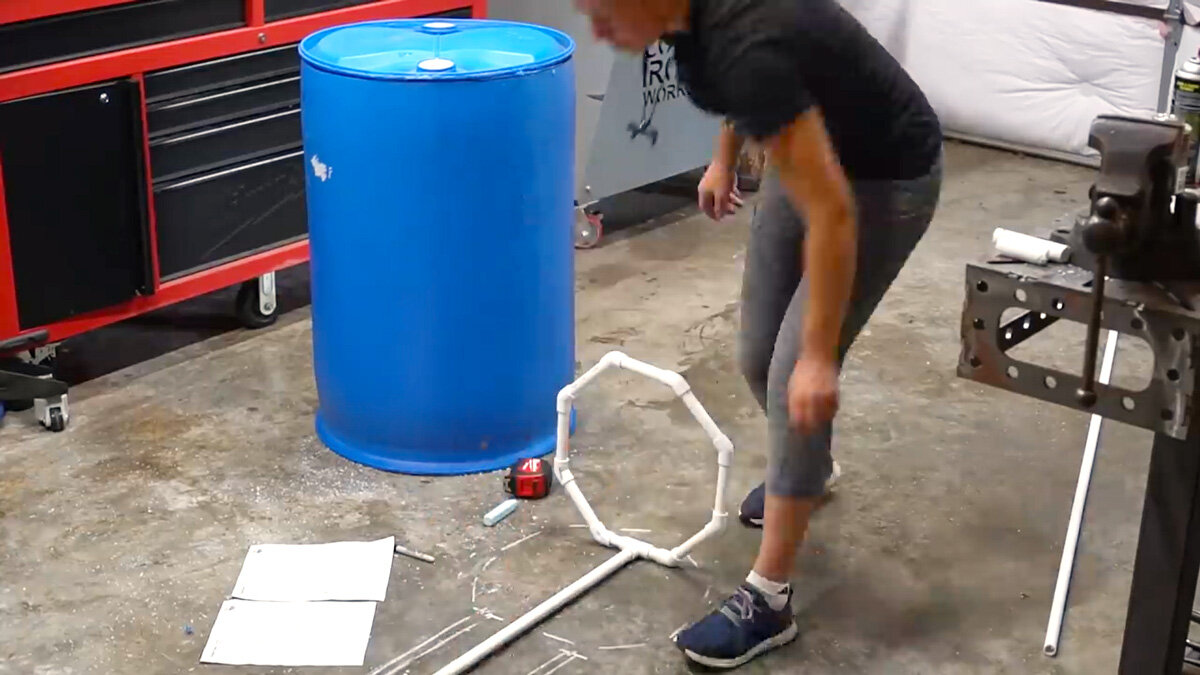
4. Attach the 28” PVC pipe to the tee (the longer of the two PVC pipes).
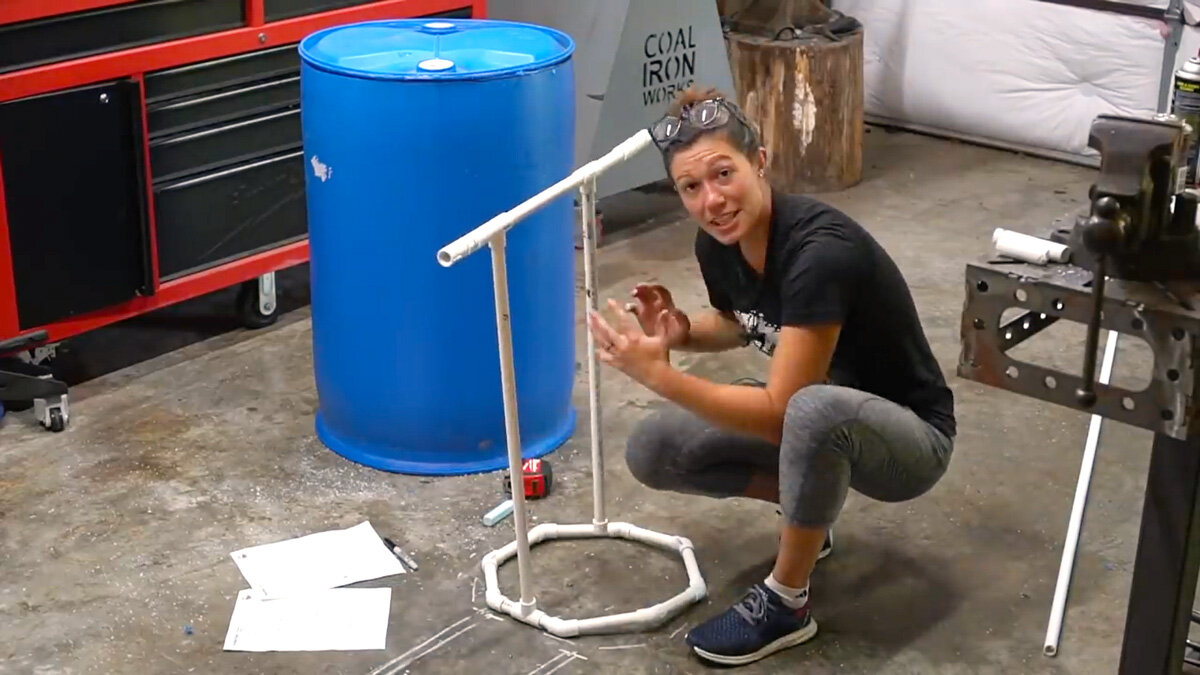
5. Add another tee to the top of the other 28” PVC pipe, connect it to the octagon base, and then add the upper supports.
6. Secure all pieces together as shown in this photo. One end will attach to the hose that’s connected to the electric pump, this is what will allow air to flow through the pipes, consistently stirring the liquid throughout the fermentation process and thus creating our aerated compost tea.
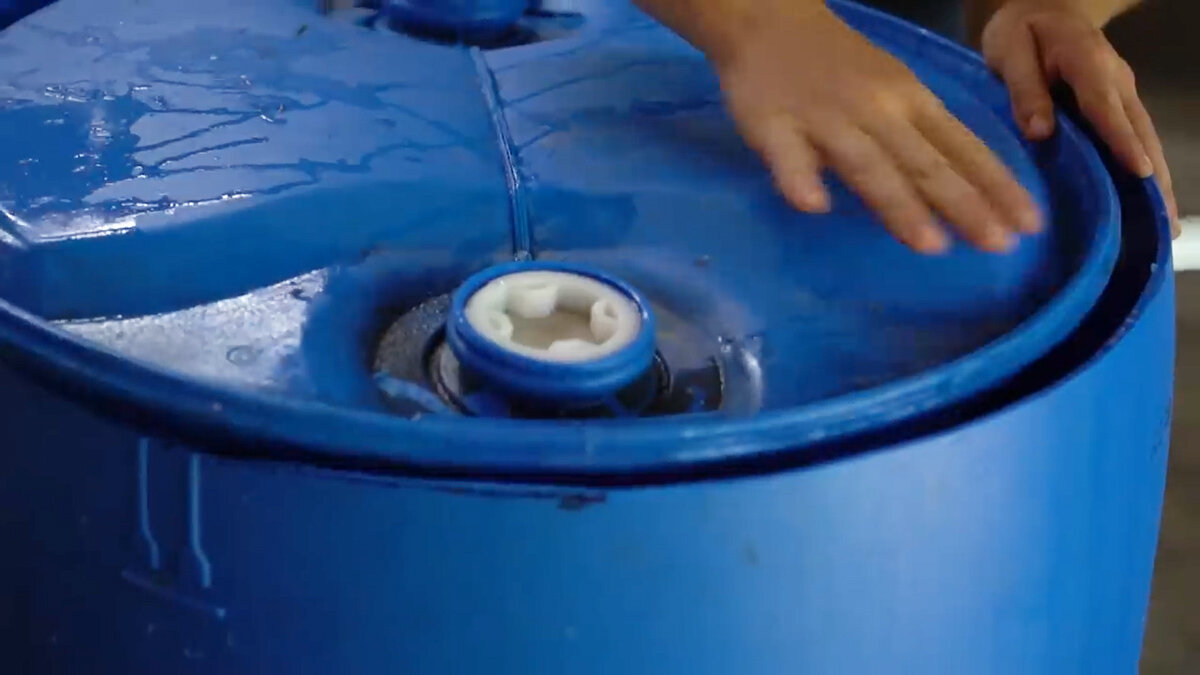
7. Cut off the lid of your food-grade barrel.
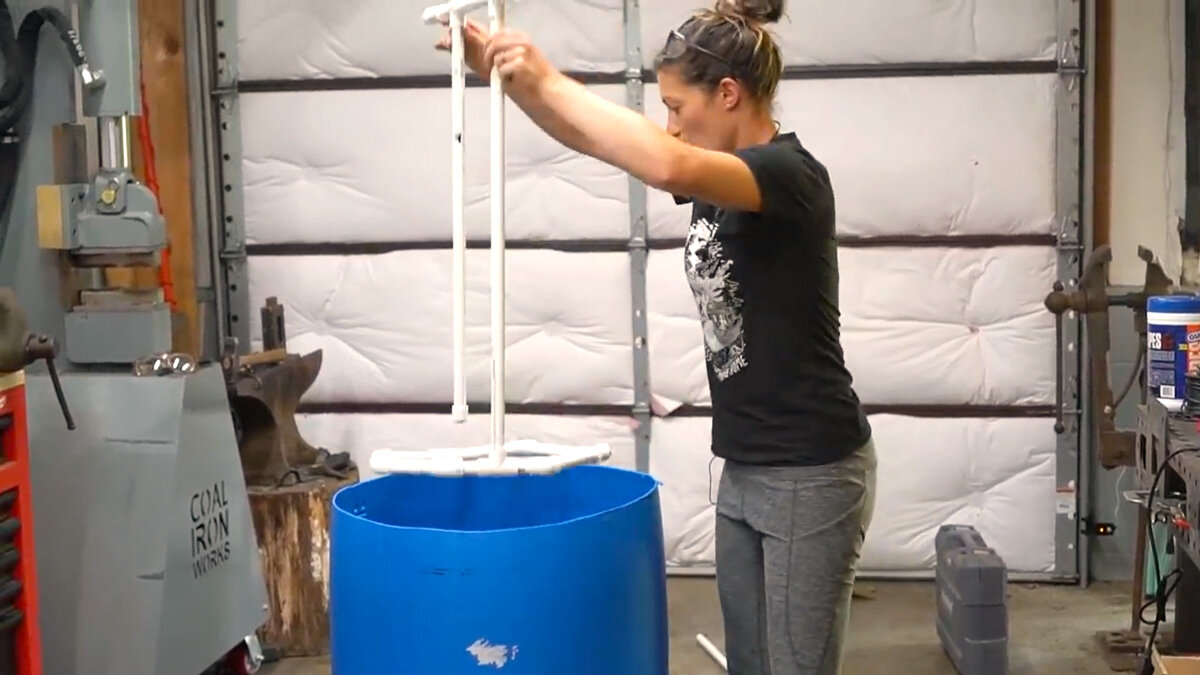
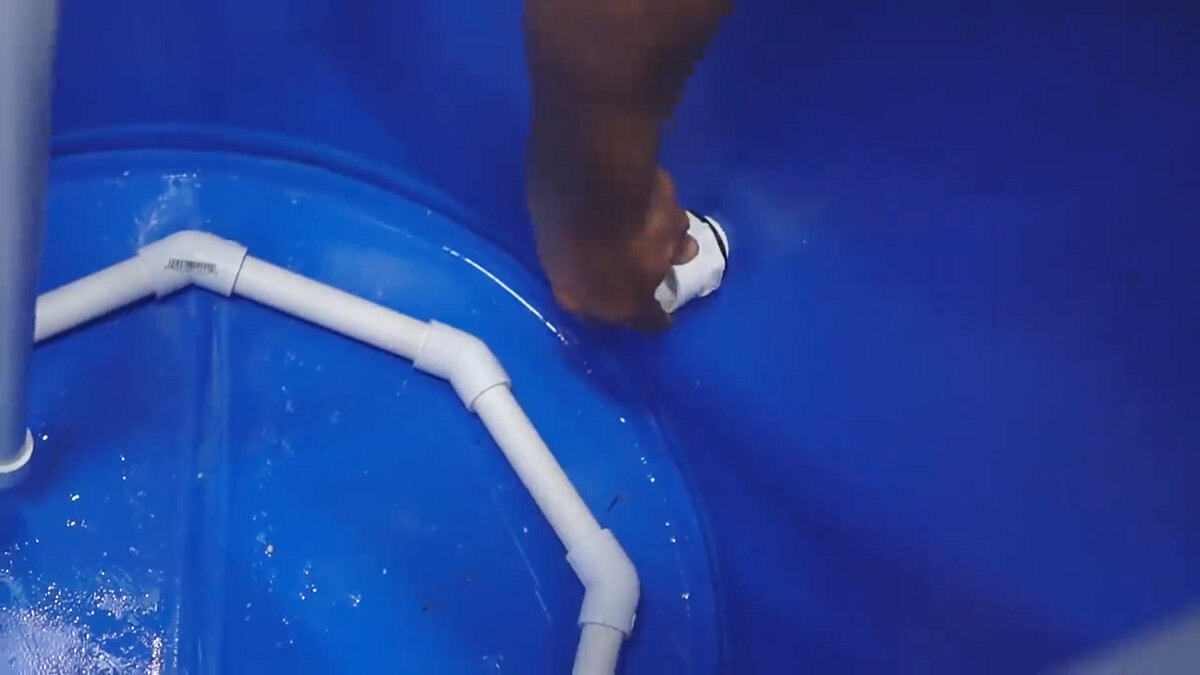
8. Place the completed bubbler stand inside the food grade barrel to locate where the hole for the air hose needs to be drilled. Mark that spot with a sharpie.
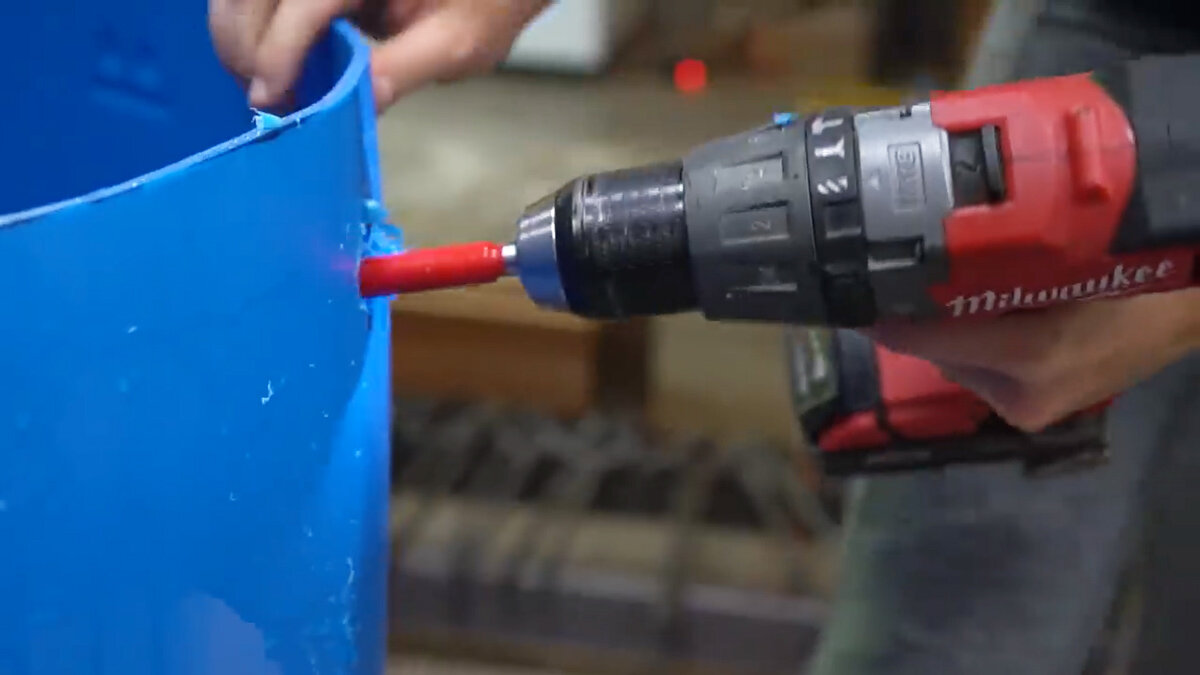
9. Using a forstner bit, drill a ½” hole through the food-grade barrel, just large enough for the PVC pipe to fit through snugly.
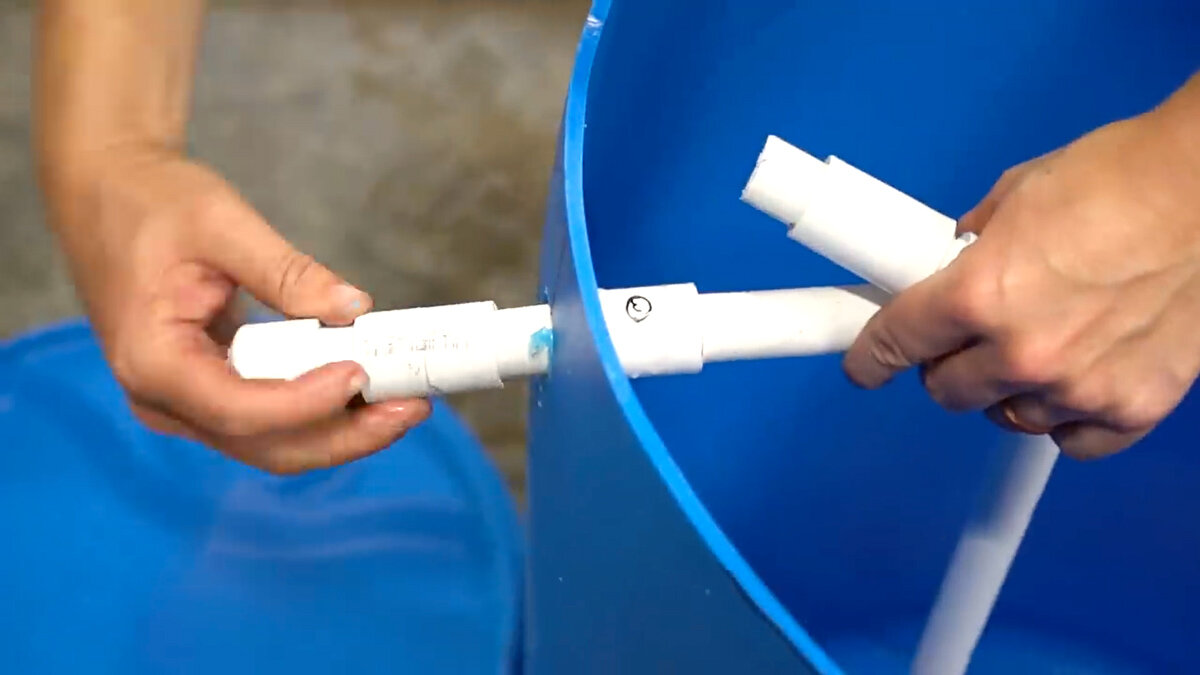
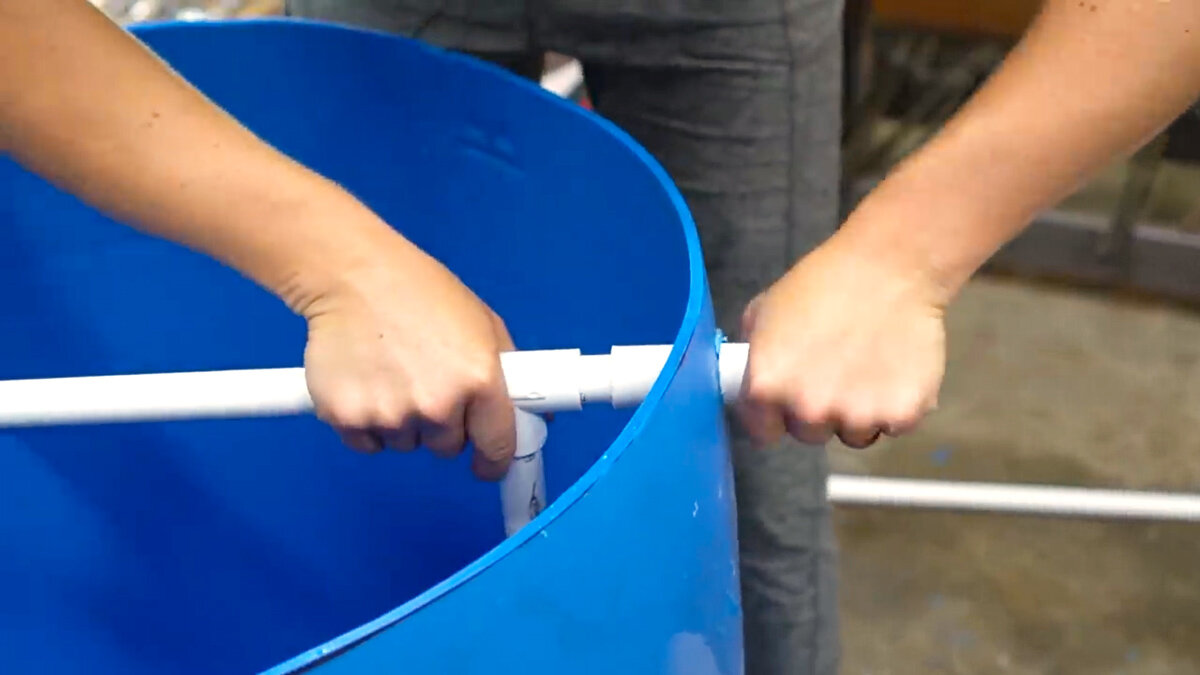
10. These couplers secure the pipe to the outside of the barrel so the bubbler stand is held a couple of inches off the bottom of the barrel. The end is capped on one side to keep airflow trapped within the bubbler, and the opposite end (for the other side of the barrel) connects to the air pump via the clear hose.
11. Make sure everything is securely pressed together.
PRO TIP: Once you’ve finished your build and have everything really well fit (and have done a test run), it would be helpful to use PVC cement to secure these parts in place permanently, because the air pressure might blow them apart after a while.
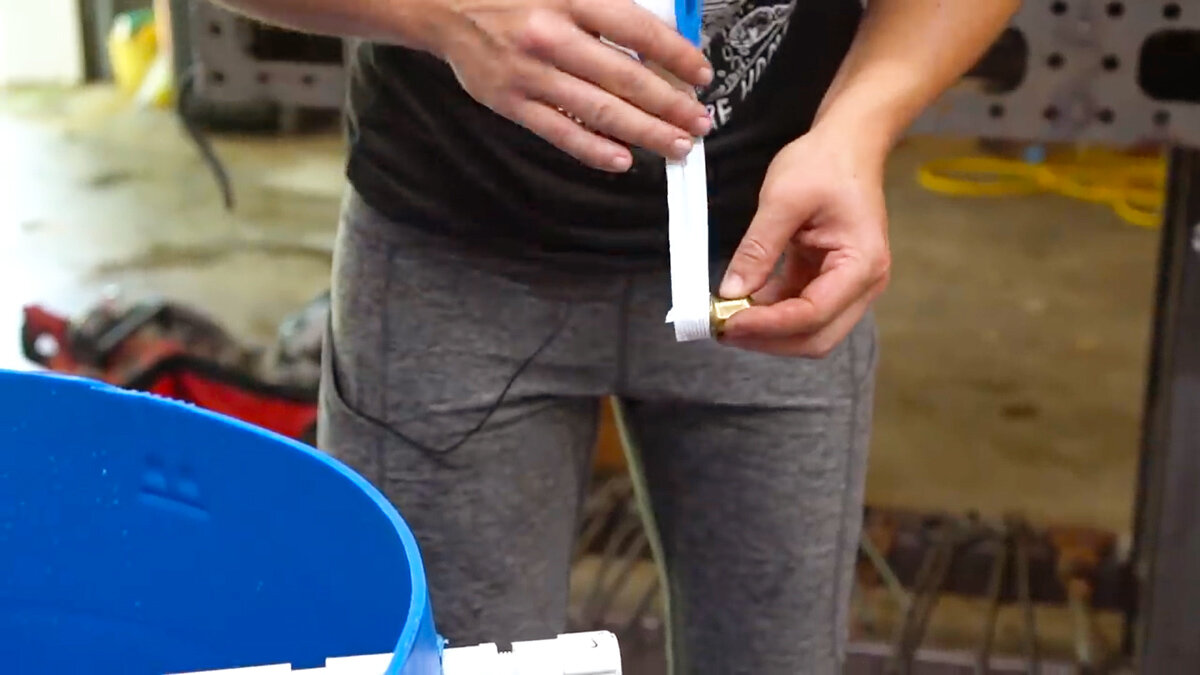
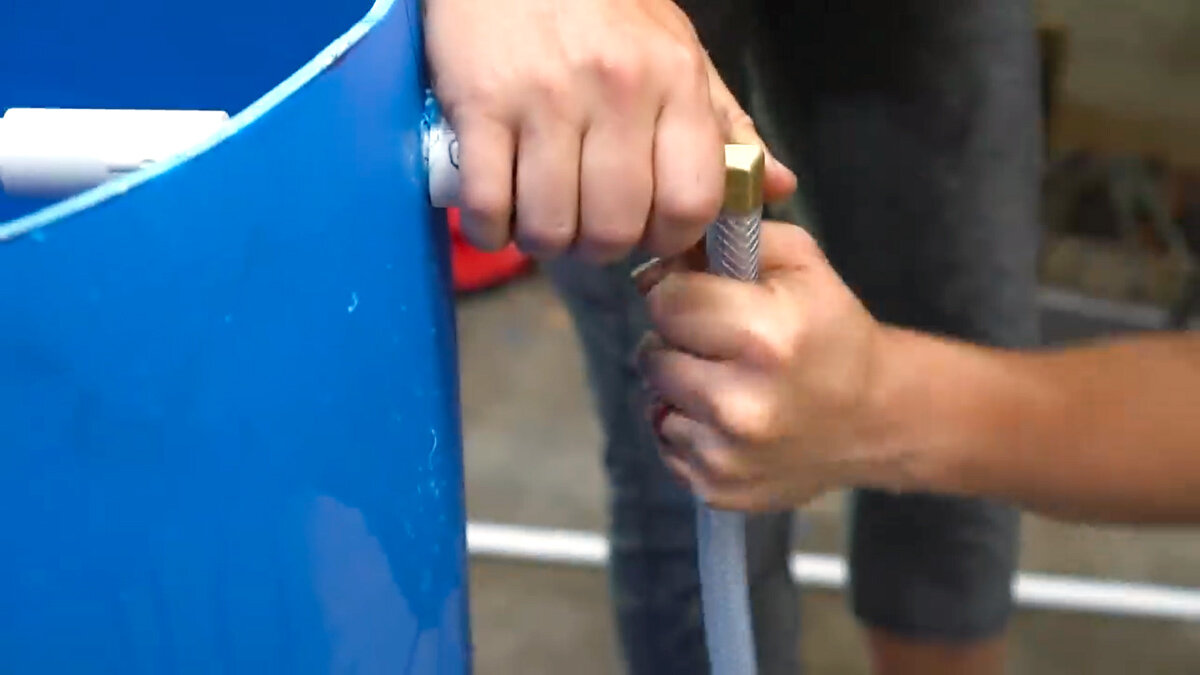
12. Add a layer of teflon tape to the air hose connector.
13. Screw on the air hose connector and attach the air hose to make sure everything fits snugly.


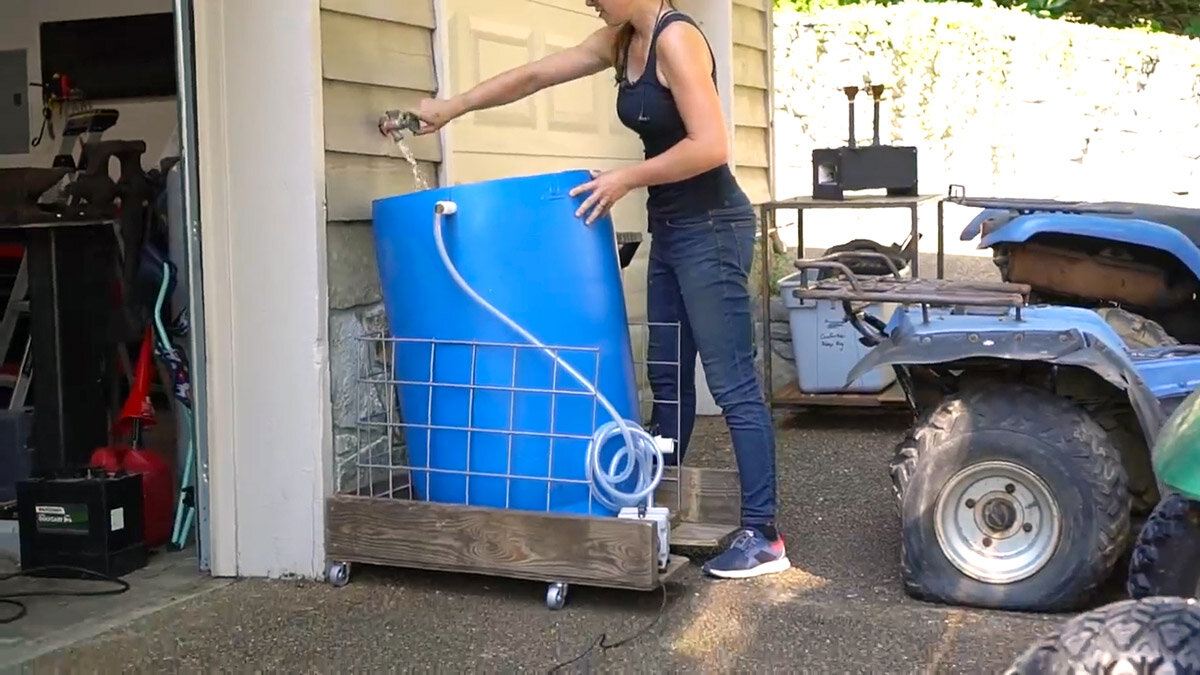
14. Drill another ¾” hole for the spigot where the compost tea will pour out from.
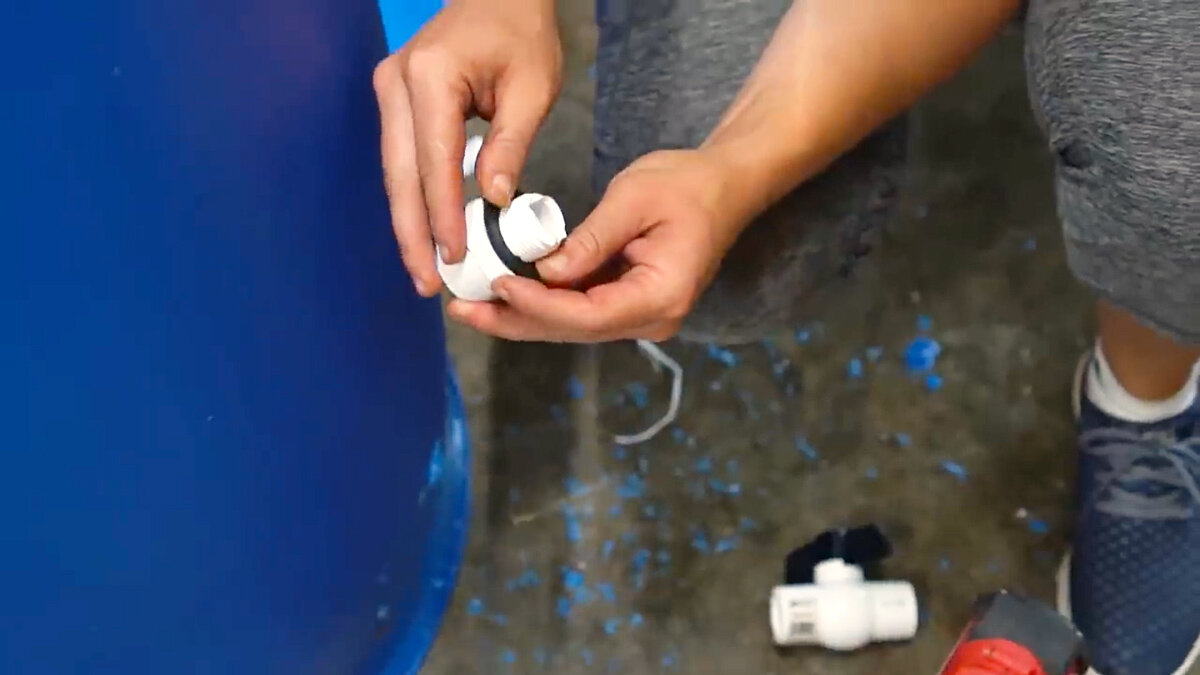
15. Use teflon tape around the connection of the spigot to prevent leakage.
16. Place a rubber gasket on the inside portion of the faucet to further prevent leakage.
17. Thread the inner faucet through the hole.
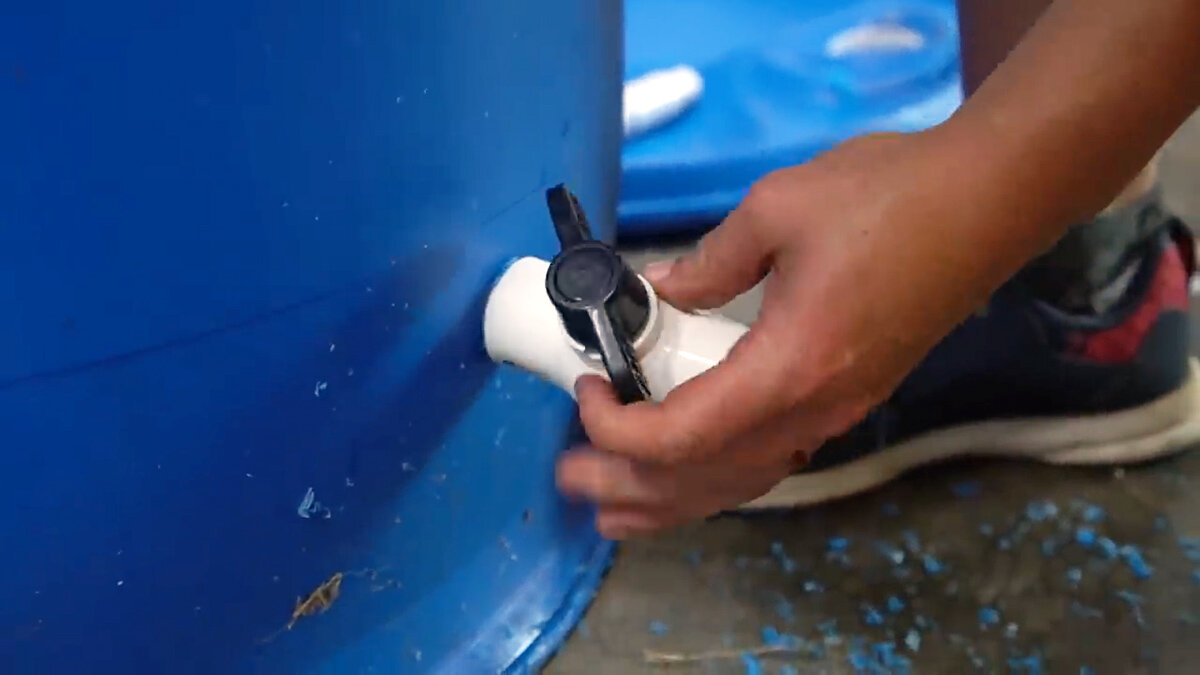
18. Secure the outer portion of the faucet tightly, compost tea is not something you want leaking all over the ground!
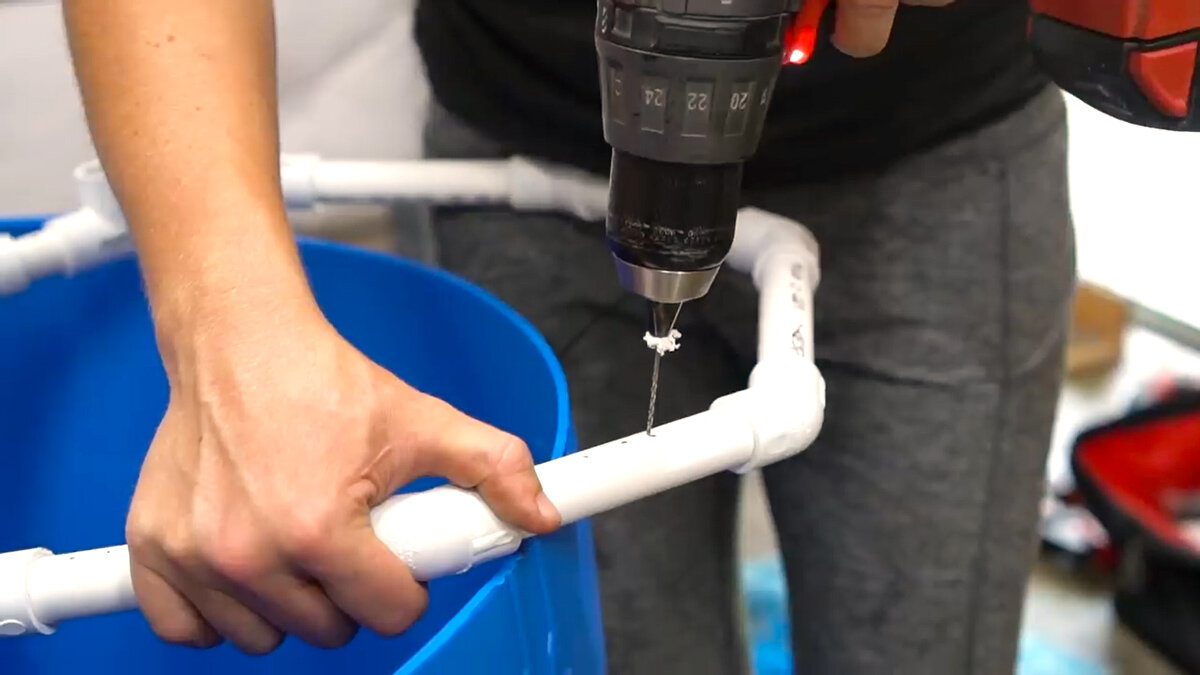
19. Measure and mark where you’ll drill your holes, approximately ½” apart, all the way around the base.
20. Using a 1/16” drill bit, drill holes into the PVC pipe all the way through to allow for air bubbles to escape.
21. Using scrap material (I’m using an old lamb cage- reduce, reuse, recycle, am I right??), make sure your stand is the right size to hold your compost tea brewer by placing the lid we cut off on top of your stand.
If you want your stand to be portable (keep in mind that 55 gallons of water is REALLY HEAVY and thus, hard to move), add some heavy duty casters to the bottom of your stand.
PRO TIP: If you don’t need your compost tea brewer to be portable, some cinder blocks or a large stump would make for a great stand.
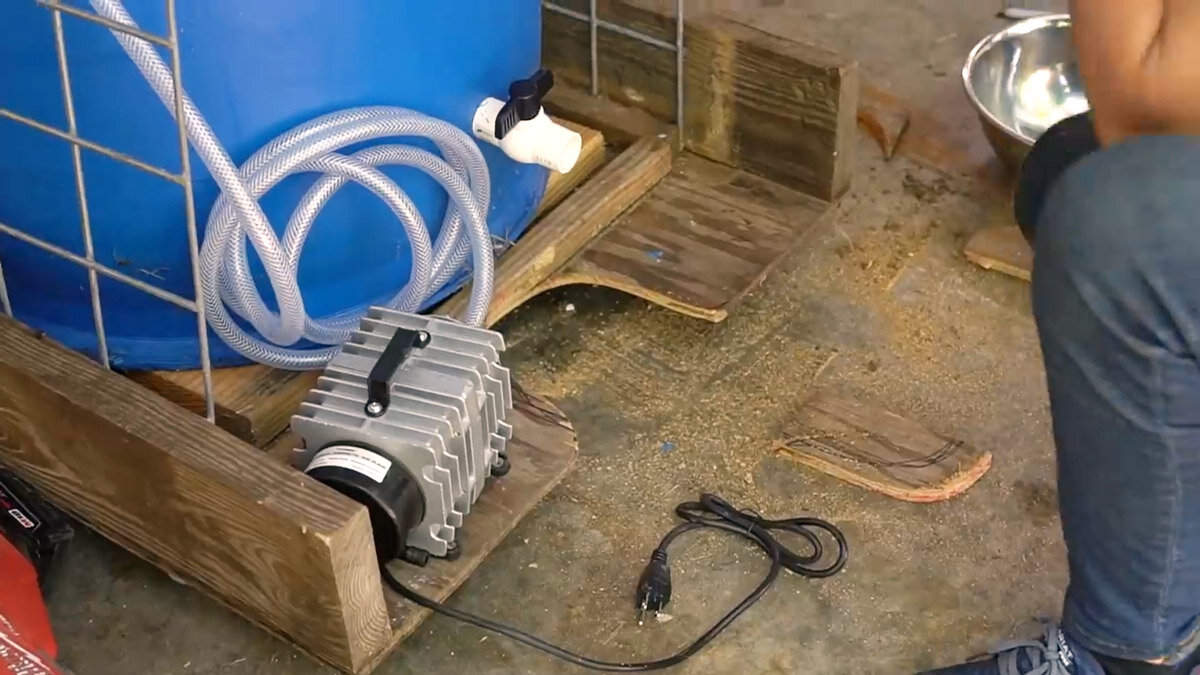
22. Attach the electric pump to your stand and affix tubing from the pump to the compost tea brewer.
23. Fill your compost tea brewer with water about 4-6 inches from the top.

24. Plug your motor in and watch the beautiful bubbly action!
Note: If you’re using city water, or treated water of any kind, you’ll need to aerate or, ironically, treat the water with calcium tabs (see compost tea recipe) prior to making tea so you can neutralize any chemicals used to treat the water.
The next step is to gather all your ingredients to make your homemade compost tea (grab my recipe using that link!), then add them to a paint bag and suspend the bag in the water from the top pipes using the binder clips.

Compost Tea Recipe
Compost Tea or Concentrated Liquid Fertilizer Recipe (for 40 Gallons)
This concentrated fertilizer recipe is created from common household/garden ingredients that naturally provide the macronutrients and micronutrients your plants need.
SUPERCHARGE YOUR COMPOST TEA, the AOAT Way
Test your soil, (life hack: test your compost, too!) and as needed (soil lack or plant by plant requirements), add these items into your compost to address macro and micronutrient needs. Be sure to use chlorine-free /chemical-water for all compost tea concoctions. Use dechlorinated water (from rain barrels, well water, or let municipal tap water sit for 24-48 hours to let the chlorine dissipate or add powdered ascorbic acid (vitamin C) to dissipate the chlorine faster).
Anaerobic Creation of Macronutrient Sources:
Compost (for Nitrogen Phosphorus Potassium, NPK Macros, + Micronutrients) • Amount: 4-5 gallons of well-aged compost (preferably compost rich in plant material, manure, and organic matter). • Preparation: • Fill a large mesh bag (or simply use a 5-gallon bucket with holes drilled in it) with compost. • Submerge the bag/bucket in a large container with 40 gallons of water. • Let it steep for 24-48 hours. Stir occasionally to aerate and encourage microbial activity. • After steeping, strain out the compost and use the resulting “tea” as your concentrated nutrient mix.
Banana Peels (for Potassium) Amount: 6-8 medium-sized banana peels. • Preparation: • Chop the banana peels into small pieces. • Steep them in 2-3 gallons of water for 3-5 days (you can use the same container for both compost tea and banana peel steeping). • After 3-5 days, strain the peels and combine the liquid with your compost tea. This will boost your potassium levels.
Eggshells (for Calcium) • Amount: 1-2 cups of crushed eggshells (about 12-16 eggs). • Preparation: • Crush the eggshells finely, or blend them if you have a food processor. • Add them to 2 gallons of water and let it steep for 1-2 weeks. You can also just add them to your compost tea and let them dissolve as it brews.
Fish Heads/Bones (for Phosphorus and Nitrogen) • Amount: 1-2 fish heads or 2 cups of fish bones. • Preparation: • If using fish heads, chop them into smaller pieces to speed up the breakdown process. • Add the fish pieces to 2-3 gallons of water and let them ferment for 1-2 weeks. Alternatively, use fish emulsion or fish hydrolysate if you have access to it, though the fermentation method is great for adding additional beneficial microbes.
Comfrey (for Nitrogen, Potassium, Calcium, Magnesium) • Amount: 1-2 large handfuls (about 2-3 pounds) of fresh comfrey leaves (or 1-1.5 pounds of dried leaves). • Preparation: • Chop or tear up the comfrey leaves and steep them in 2-3 gallons of water for 3-7 days. • After steeping, strain the leaves and add the liquid to your compost tea. Comfrey is rich in a wide variety of nutrients, including calcium, nitrogen, magnesium, and potassium.
Backstrap Molasses (for Microbial Growth, Trace Minerals) • Amount: 1/4 cup of blackstrap molasses. • Preparation: • Dissolve the molasses in about 1 gallon of warm water and mix it thoroughly. • Add this solution to your compost tea to feed beneficial microbes and increase microbial activity.
Anaerobic Creation of Micronutrient Sources:
Seaweed (I use KELP MEAL) (for Trace Elements, Iron, Boron, Manganese) • Amount: 1-2 pounds of dried seaweed (e.g., kelp or bladderwrack). • Preparation: • Soak the dried seaweed in 3-4 gallons of water for 3-7 days, stirring occasionally. • Strain the seaweed and add the resulting liquid to your compost tea. • Seaweed will contribute essential trace elements like iron, manganese, boron, and zinc.
Wood Ash (for Potassium, Trace Elements, and pH Adjustment) • Amount: 1/2 to 1 cup of finely sifted wood ash. • Preparation: • Add the wood ash to 2 gallons of water and let it steep for 1-2 days. • Strain the liquid and add it to your compost tea. Wood ash is a great natural source of potassium and trace elements, and it can help adjust the pH if it’s too acidic.
Nettle or Alfalfa (for Trace Elements and Nitrogen) Amount: 1 pound of dried nettle or alfalfa. • Preparation: • Chop or tear up the plant material and steep it in 2-3 gallons of water for 1-2 weeks. • Strain and add the liquid to your compost tea.
Total Volume:
By steeping all these ingredients in the respective amounts of water, you’ll end up with anaerobic, concentrated micro and macronutrients to Combine anaerobic concentrations and aerate together with Dr Elaine’s microbe tea in your compost brewer (below) for 24-48 hours as needed. It’s best used fresh but can be stored for later use or diluted as needed in airtight containers (old milk jugs are my favorite).
Dilution Rate:
A 1:50 dilution of your concentrated tea should be a good starting point for foliar sprays and when using in hydroponic systems as we don’t want to overwhelm the foliage or sensitive root systems of our plants. 1 gallon of concentrated tea per 50 gallons of water. • If you want to mix up 1 gallon of diluted fertilizer, use 1/20th of a gallon (roughly 6.4 oz) of your concentrated fertilizer and add it to 20 gallons of water.
Dr. Elaine’s Microbe Tea recipe
Dr. Elaine Ingham, a renowned soil microbiologist, is a strong advocate for compost tea as a powerful tool for enhancing soil and plant health. Her compost tea recipe is designed to promote beneficial microbes in the soil, which improve nutrient cycling, plant health, and resistance to disease. While Dr. Ingham’s compost tea recipe is often used in soil-based systems, you can also adapt it for use in your hydroponic/Dutch bucket system to support microbial diversity and root health, as long as you’re mindful of the potential for clogging your drip emitters and pumps (this can be mitigated with proper filtration).
Ingredients:
High-Quality, Aerated Compost
Amount: 5-10 pounds of well-aged, high-quality compost (preferably from a variety of plant materials, including manure and organic matter).
Important Notes: The compost should be free of synthetic chemicals, pesticides, and herbicides. If possible, use compost from a diverse range of sources (e.g., plant materials, animal manure, etc.) to ensure a broad spectrum of beneficial microorganisms.
Unsulfured Molasses (to feed the microbes)
Amount: 1 cup (about 4 tablespoons) of unsulfured blackstrap molasses.
Important Notes: Molasses provides an energy source for the microbes, helping them multiply rapidly in the tea.
Fish Hydrolysate or Fish Emulsion (optional, for microbial diversity and nitrogen)
Amount: 4 tablespoons (optional, if you want to enhance microbial diversity with additional nitrogen and minerals).
Important Notes: Fish-based products can enhance microbial activity and introduce a broad range of microbes, but they may contribute to a stronger odor, which may be undesirable in some systems. If you’re going for a more neutral tea, omit the fish.
Water
Amount: 20-40 gallons of chlorine-free water. Use dechlorinated water (from rain barrels, well water, or let municipal tap water sit for 24-48 hours to let the chlorine dissipate or add powdered ascorbic acid (vitamin C) to dissipate the chlorine faster).
Did you make this compost tea brewer? I’d love to see! Snap a photo and tag me on social media @anneofalltrades so I can geek out on the sciency stuff us homesteaders love most!