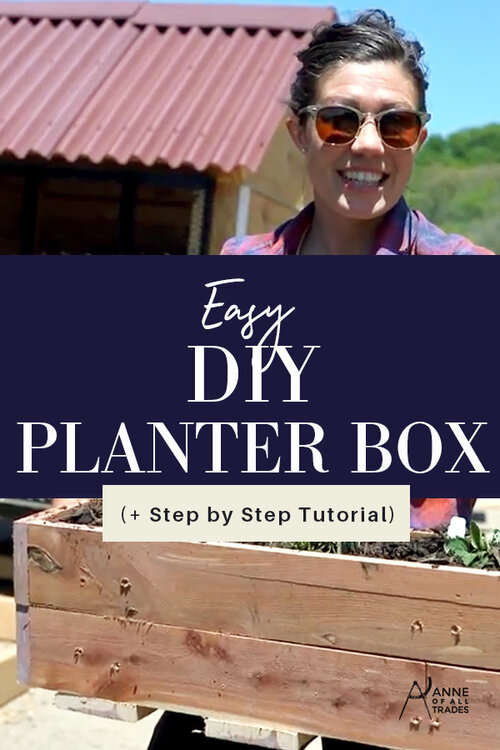
Easy DIY Planter Box (with free plans!!)
Use my FREE DIY Planter Box plans, to build yourself a small patio planter box using only a few dollars worth of material, a small toolkit, AND, you can expand your growing space by making it modular!

Use my FREE, DIY Planter Box plans and build yourself a small patio planter box using only a few dollars worth of material, a limited toolkit, and a couple of hours. (DOWNLOAD FREE PLANS AT THE END OF THIS POST!)
Why I love these planter boxes
This spring, more than ever, folks are starting to think about where their food comes from and how they might be able to get more involved in the growing process.
This easy, DIY, planter build is a perfect project for those who can't have large raised bed gardens, are living in apartments, have no yard, or just looking to spruce up their porches and window sills.
I was able to build these inexpensive modular cedar DIY planters for my friend Jacqueline, so she can start “farming” on her modern apartment's balcony patio.
Ok, maybe “farming” is a slight exaggeration, but she will have a nice kitchen garden right outside her door with very little watering or other upkeep.
These boxes are great because you can make as many as you need, and set them up in a modular fashion to whatever dimension your space allows. These DIY planters would also work great as a window box or window planter.
Heck, you don't even have to plant a kitchen garden in it, you can put flowers in them too! Start a small raised bed garden right on your patio and become a little bit more self-sufficient with these easy woodworking plans.

Tools and Materials Needed
Easy, DIY, Planter Box Plans - Grab my FREE plans at the end of this post!
12’ x 6”x ¾” Cedar or Pine Lumber - Raw (untreated) cedar is an ideal wood to use because it is extremely water and rot-resistant. To make your planter more affordable, you can purchase discount lumber directly from a local sawmill (see Pro Tip at the end of the post). Also, check this post out if you're interested in learning where your lumber comes from, how to turn trees into useable lumber, how the milling process works, how lumber is dried, etc.
20 1 1/4” Exterior Grade Screws - If you’re using lumber from the hardware store, it’s always a good idea to check to make sure the thicknesses of your wood is “as advertised” so you can buy the correct length screws for the job at hand. An example is that 2x4’s are not actually 2”x4”, they are 1 1/2 x 3 1/2 inches. So if you’re using ¾” thick wood for this project, make sure it’s actually ¾” thick or your 1 ½” screws will pop out the other side.
24”x24” Landscaping Fabric - Even an old towel or t-shirt would work for this, and if there’s no fabric or staple gun available, just line the bottom with wood instead and you’ll do just fine.
Saw, Drill, Drill Bits, Staple Gun, and Scissors - If you are curious about which tools I use, you can check out my tool reviews here.
Organic Container Soil - Plants will have their best start when given nutrient-rich soil. To continue to nurture them, I recommend using homemade compost tea as a fertilizer.
Building the Planter Box Step By Step
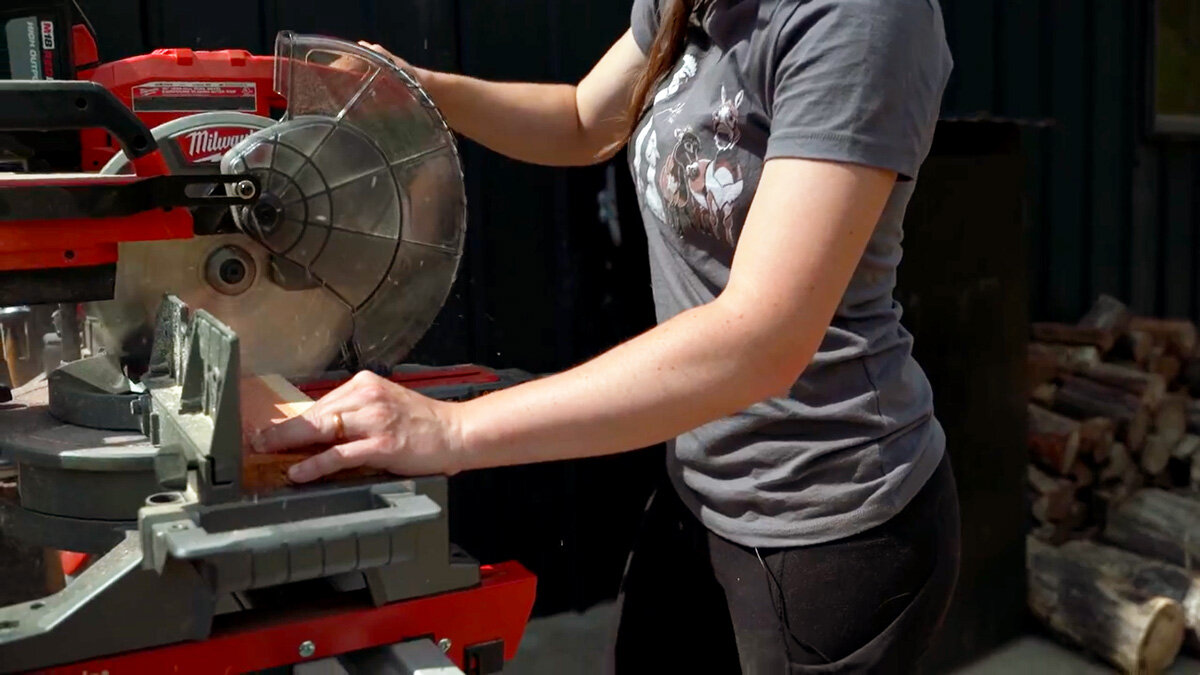
Cut lumber into the following dimensions:
4 - 4” x 22 1/2” (sides of the planter)
4 - 4” x 7” (ends of the planter)
3 - 2” x 7” (runners)
2 - 5 ½” x 7 ½” (to connect the two sections together)
Pro Tip: this project can be scaled up or down according to your own needs. When working with rough sawn lumber, like the Cedar 2nds I’m using here, take your smallest piece, and size all the rest of your wood proportionally to that piece.
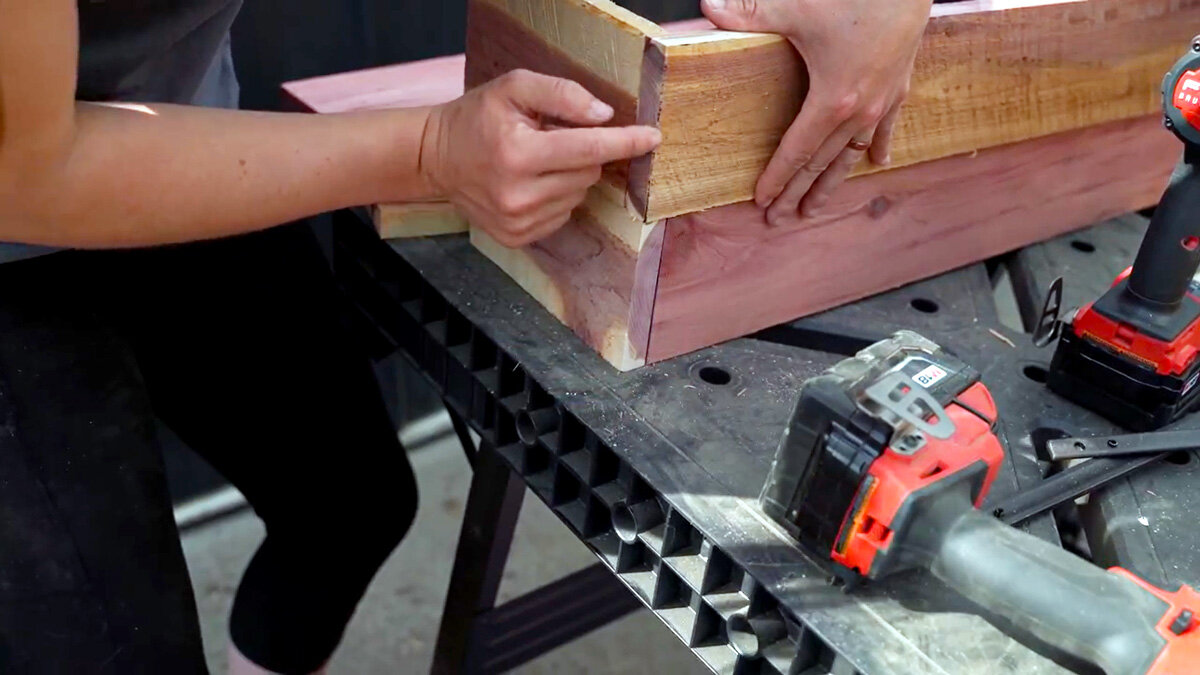
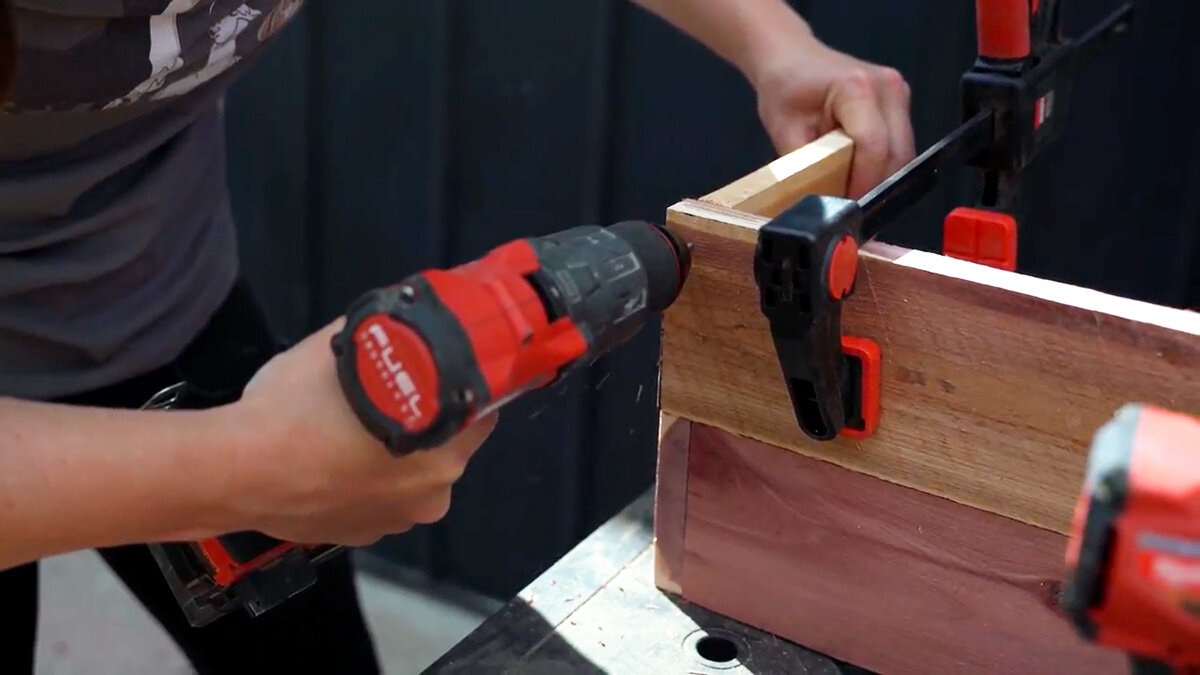
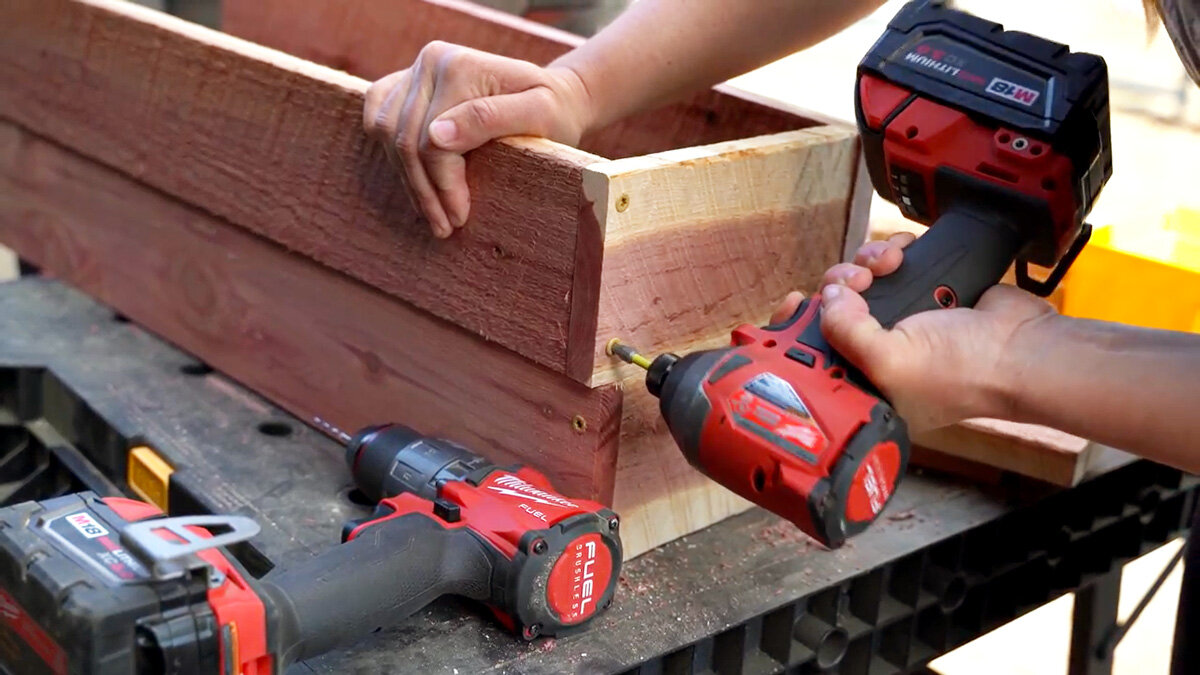
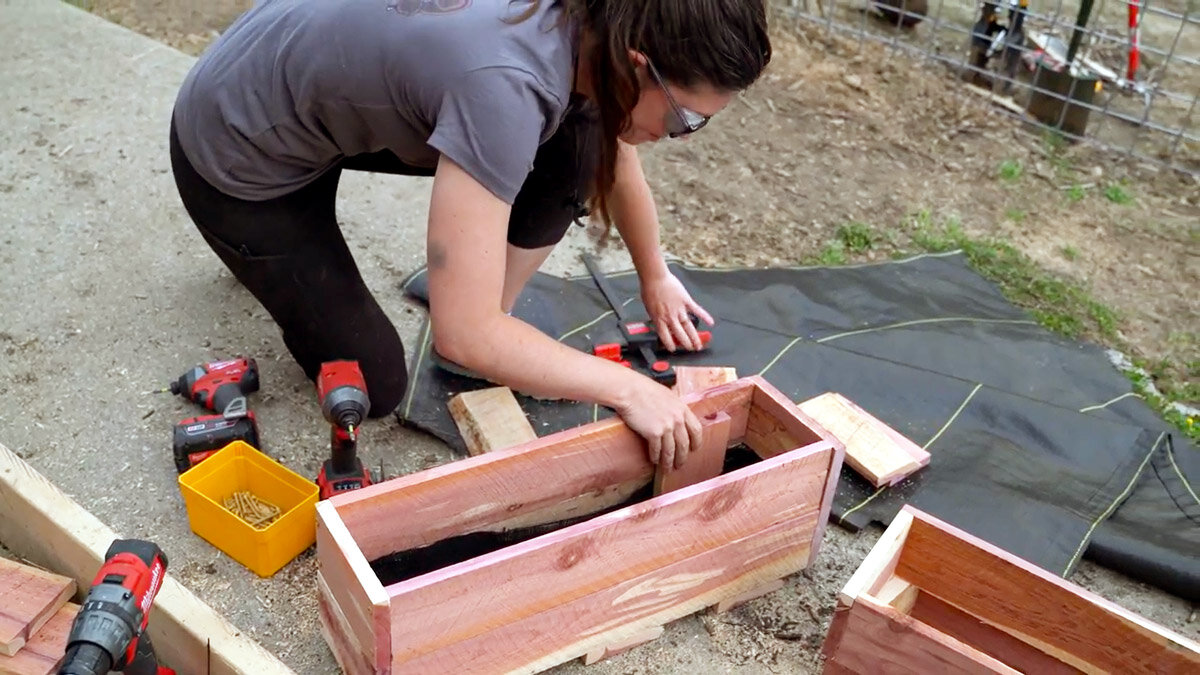
Assemble the box by screwing together the 4” x 22 ½” sides and 4” x 7” ends using at least two screws per board. You can use a block in the center to help keep things square. (I used a piece of 6x6 fence post I had laying around. Watch the video above to see how I did this.)

Pro Tip: If you have a “smiley face” showing in the end grain of your wood (aka the growth rings), make sure that you place it frown-facing-inward. As the wood dries over time, the wood will “cup” however the growth rings are oriented, so if the two frown lines are pointing inward and your fasteners are pulling the piece flat it will draw the cupping in towards the planter. (A more technical explanation than “frowns” or “smiles” is Concave vs Convex end grain orientations). If you orient the grain in a convex fashion, the wood will eventually warp and pull away from the joint at the edges, leaving a gap.
As you work with your pieces, pay attention and try to choose the prettier pieces to face outward. Alternate the joints as you stack your planters. This will lend rigidity and strength to your finished product. To prevent the boards from splitting, take time to predrill all of your holes before drilling the screws.
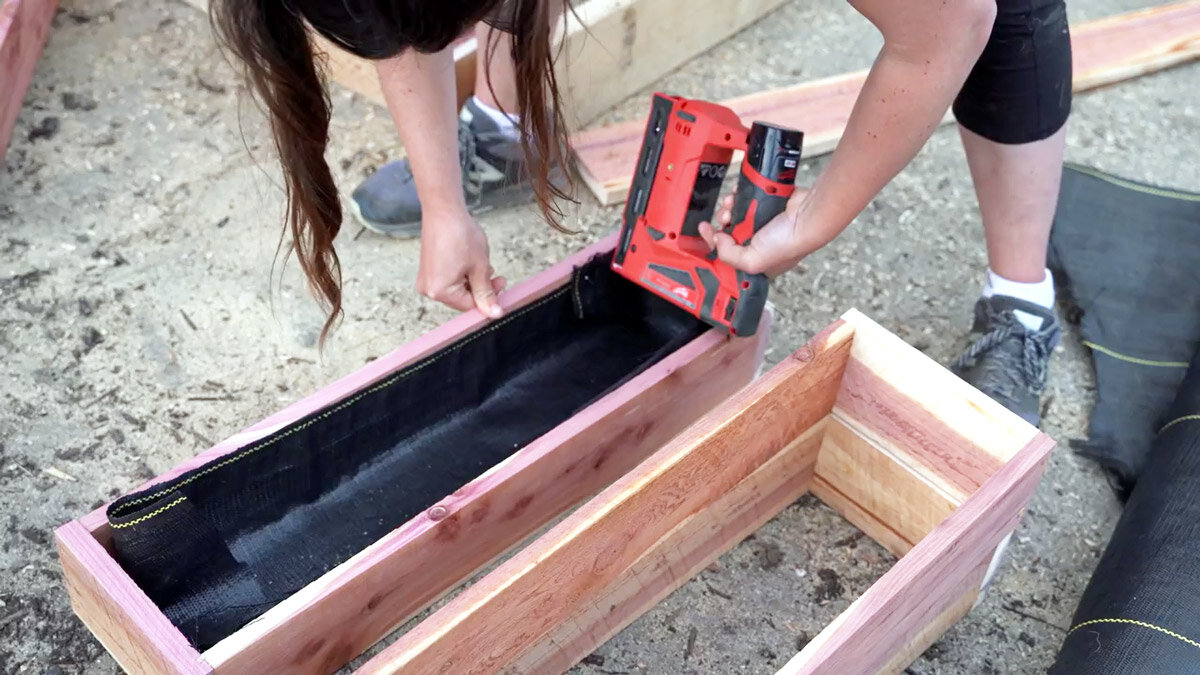
3. Cut landscaping fabric just larger than the perimeter of the box to allow for the fabric to be securely stapled from the inside. Line only the bottom section with landscaping fabric, and staple in place.
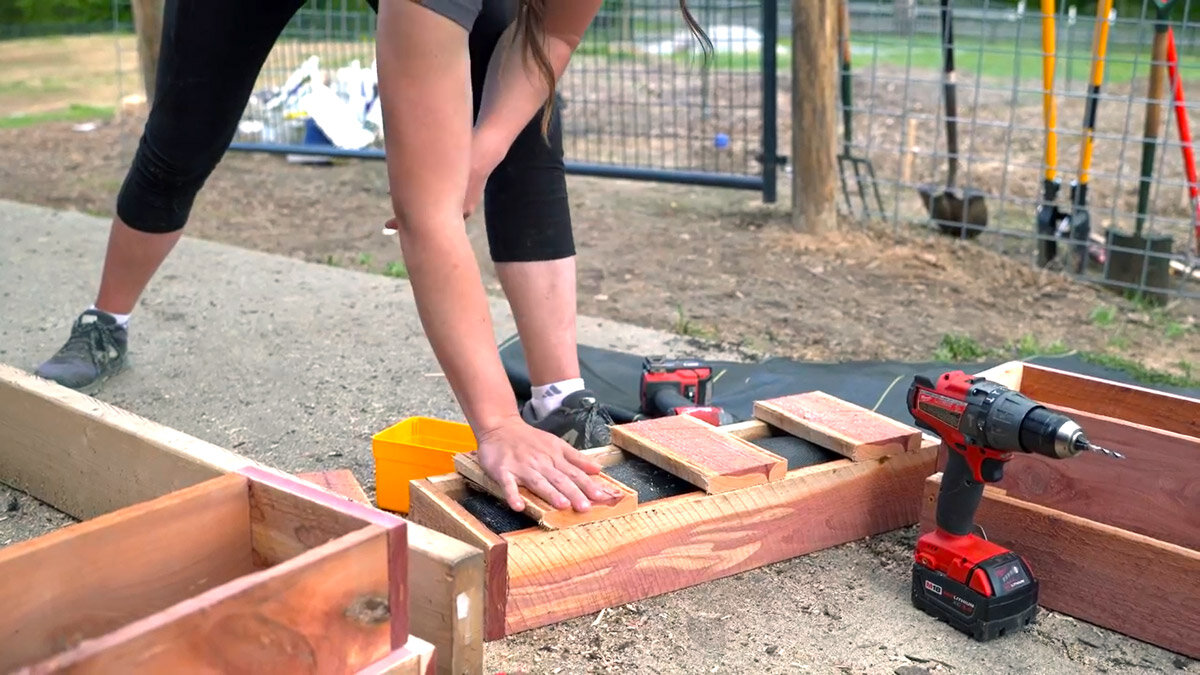
4. On this same section, flip the box over to expose the bottom of the planter. Attach the three 2” x 7” runners spaced evenly across the bottom with screws. These runners not only provide an aesthetic appeal but also allow for water to drain properly.
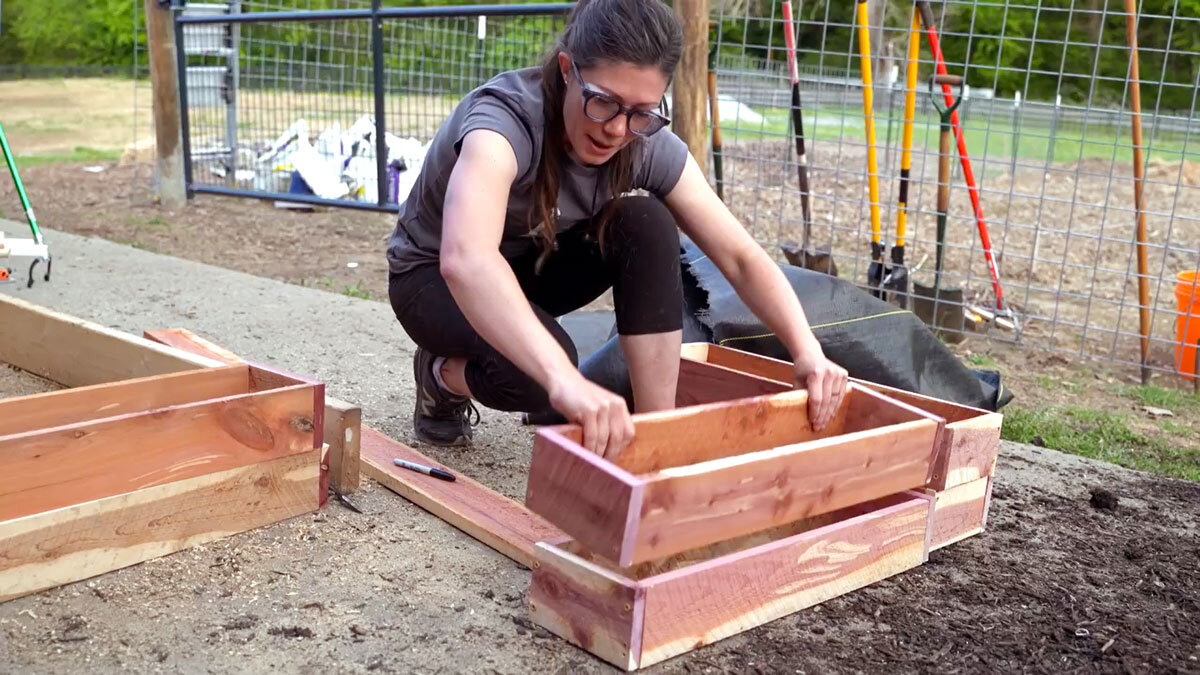
5. Stack the two boxes on top of one another, and connect them with the two 5 ½” x 7 ½” pieces. Place these pieces on the inside of the box about an inch or so below the top, so that they will be covered with soil and not seen.
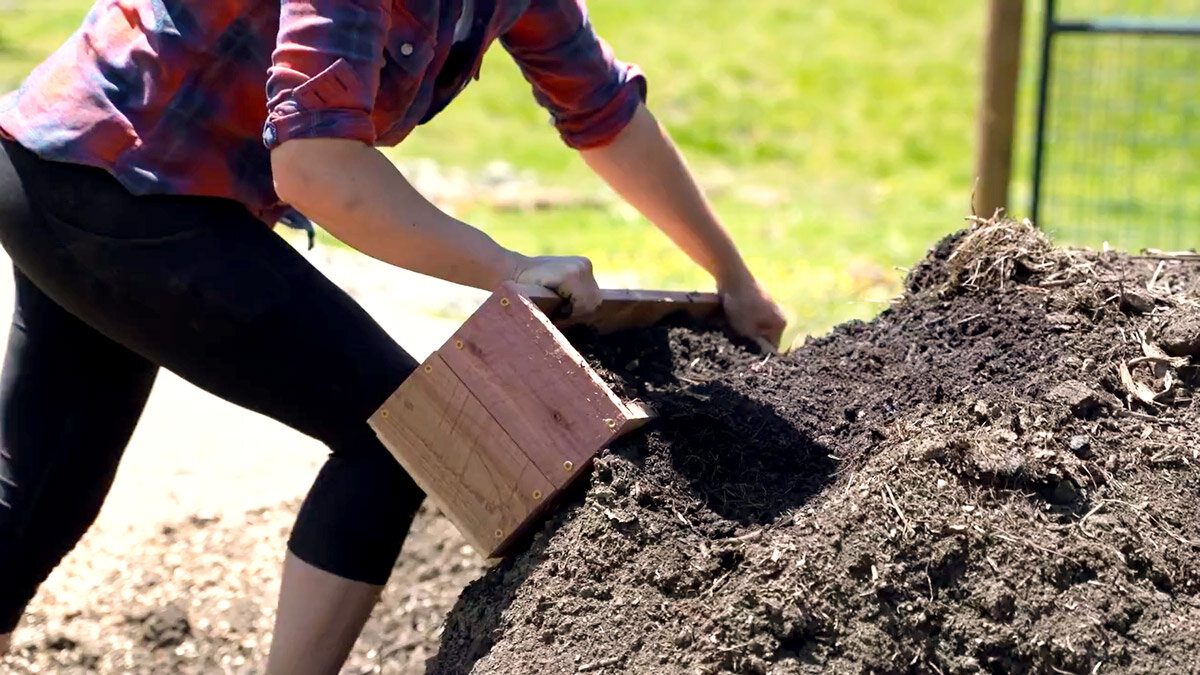
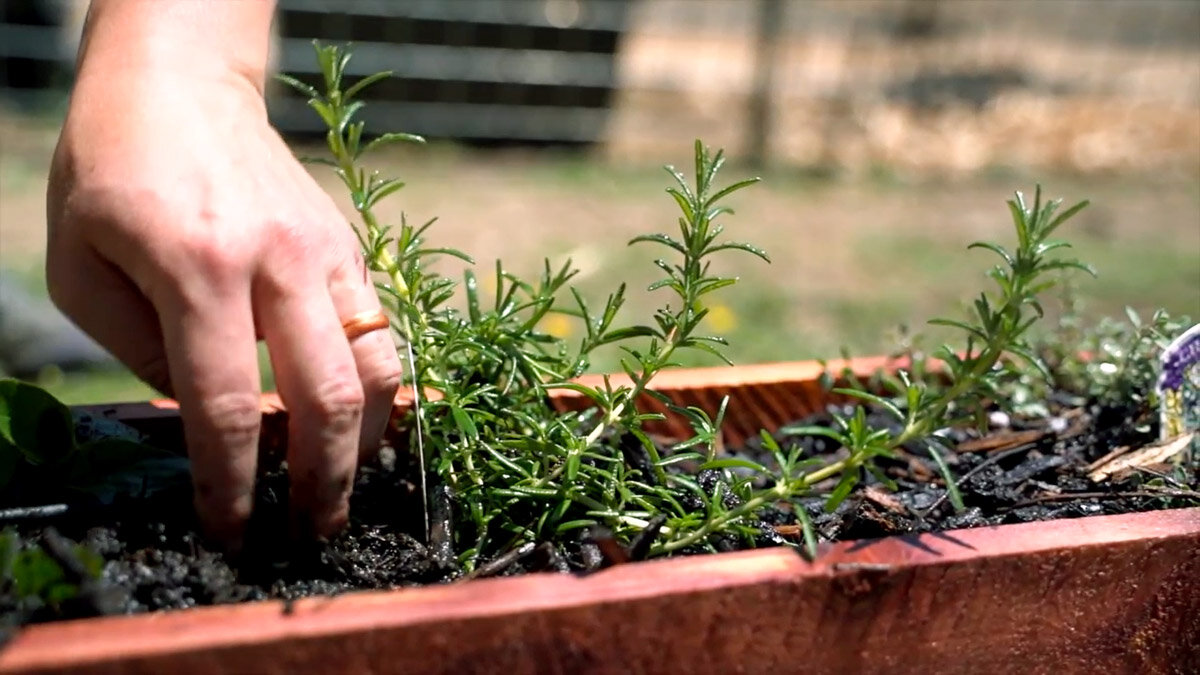
6. Finally, fill your planters with container soil, and get to planting!
Pro Tip: To help planters retain their moisture, a layer of mulch (wood chips, straw, shredded paper) over your soil is recommended once your plants have been transplanted or your seeds have emerged from the soil.

Pro Tip: If there is a sawmill near you that deals with cedar, such as Grant’s Cedar Mill here in TN, you buy a bunk (approximately 2 pickup truck loads) of cedar “2nds” for about $200.
With the price of wood these days, it’s important to be thrifty when you can, and garden projects are a great way to do that. Big box stores sell lumber that’s been kiln dried, the drying process being important for building with precision (because wood shrinks when it dries), but one of the joys of building things for the garden is that we don’t need much precision, and building with wet wood is totally fine.
There is a disease that’s wiping out cedar species across the nation, so most cedar mills are trying to saw up and sell all the wood they can while it’s still useable, which makes for bargain-basement prices.
*The only downside of buying “2nds” being that the wood is of various thicknesses and dimensions, so you have to get a little creative with your cuts and building techniques, but once again, for a garden, this is perfect cheap wood and a lot of it.
And hey, once you’ve prettied the space up with plants, even the fine craftsman in me, who winces at tolerances of 1/4” rather than 1/32”, is super happy about the way these cedar boxes improve the space visually.
**Not all of this “cedar” is actually true Cedar, it’s often cedar-adjacent species like Juniper, but they have the same rot and pest resistant qualities.