
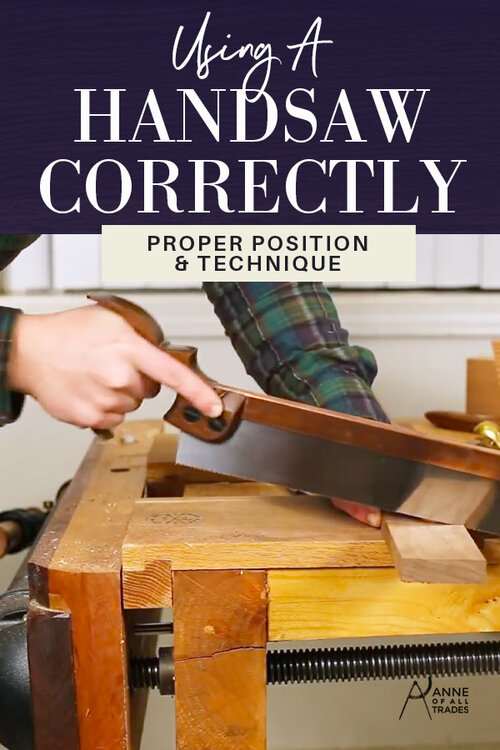
How To Use a Handsaw
Learn how to use a handsaw the correct way. In this post, I’ll teach you the proper body and hand positions to let the tool do the work and you get a perfect cut every time.


The first and most important thing you need to learn about hand tools is how to get out of their way. When doing simple tasks like cutting dovetail joints by hand, I think the biggest struggle for most woodworkers, when they're using hand tools, is that they're trying to use way too much pressure.
Using Saws Incorrectly
The reason most people use too much pressure when sawing is that they've spent so much time using dull tools that they are used to having to use force to overcome the wood.
If you have a properly tuned and sharpened hand tool (learn how to sharpen anything here), you shouldn't have to exert very much force at all. You should basically just be able to get out of the way and start sawing.
Let Gravity Work
You’ll notice that the backsaw has a back on it. This is literally so that gravity can do its job. Your whole job is to simply move it back and forth, and gravity will pull it through the cut itself.
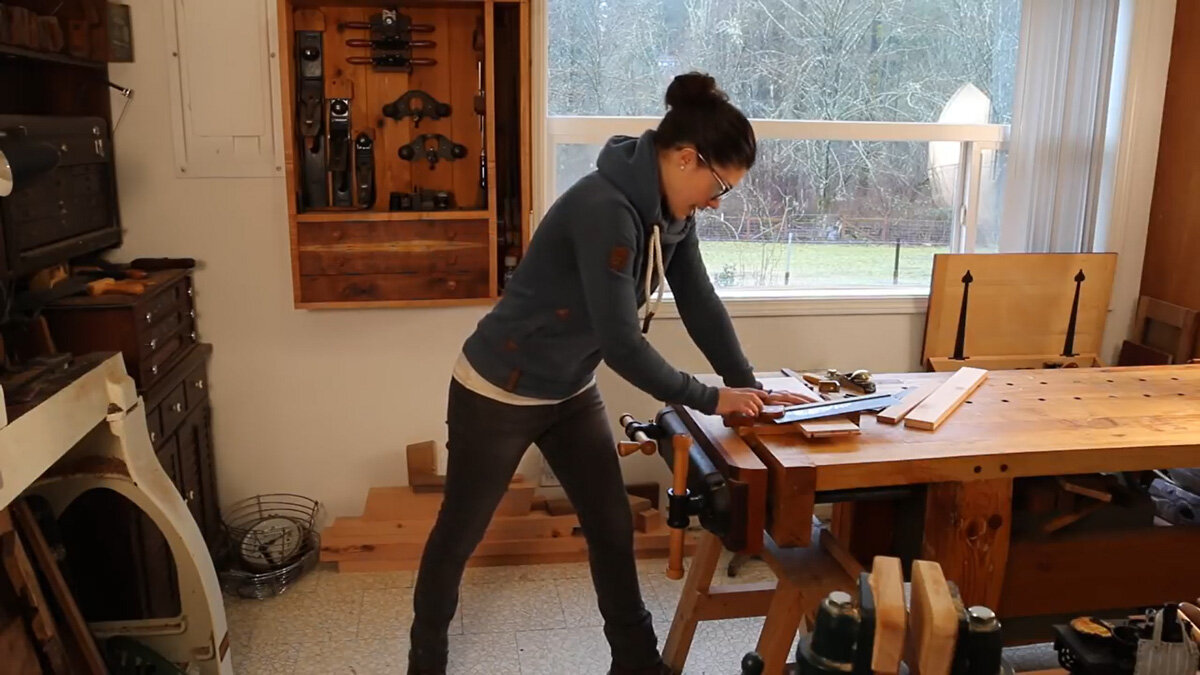
Proper Body Position
Your dominant hand is on the saw. You want your non-dominant foot forward, your dominant foot back, and you want your non-saw hand positioned on the workpiece to take all the weight off of the back of the saw.
With this position, I have a total tripod of strength that allows me to be fully and confidently standing without any pressure on the saw whatsoever. Also, my arm is out of the way of my body and my arm can swing freely right in the line of the saw.

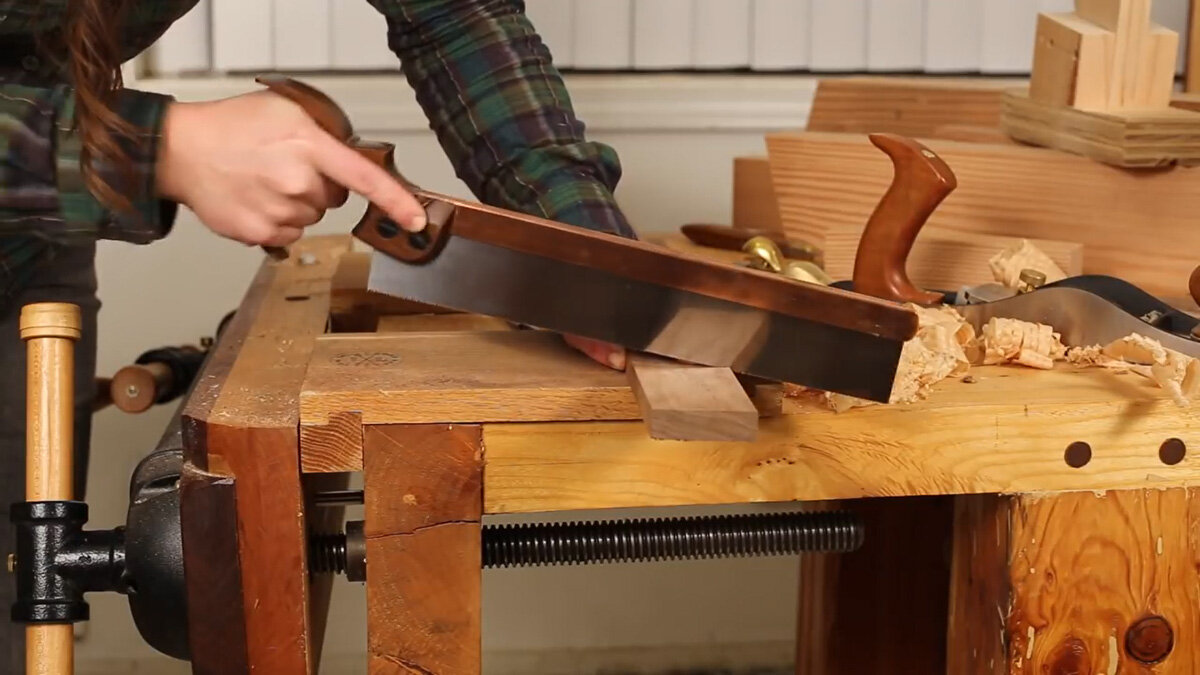
Proper Hand Position
Next comes the hand position, you want your hand to be like a pistol grip. Pointing your finger forward allows the saw to travel in the desired path. You're literally pointing where you're going, and it helps to start to move that way as well.
We're going to be very careful to keep the soft handle in a relaxed position. The best way I've ever heard it explained is that you have a baby bird in your hand and don't want to crush it.
PRO TIP: A good indicator is if you see white on any of your knuckles, then you're gripping the saw too hard.
We've got our pistol grip and we've got the radius of our thumb here (see photo above). Notice as I've got the radius of my thumb planted against the saw, that the pointer finger and the thumb have created a track. Simply putting my pointer finger there and my pressure on my thumb, we’re able to saw in a very straight line.

Start With a Push Stroke (NOT a Back Stroke)
I’m pretty sure that everyone's grandpa has said to start sawing by drawing the saw back. While this may work, it's actually correct to start on the push stroke.
So with the radius of my thumb just above the saw teeth, I’ll relax my grip, make sure my body is positioned in such a way that I'm out of the way of the cut, and I’ll start the saw stroke with confidence. Once I have my saw cut started, I get my hand of the way and continue cutting.
Correct Saw Angle
Newer saws have a shiny saw plate which means if I angle my saw the reflection in the saw changes. What you want to see when you're sawing is a perfect reflection of the entire piece of wood so that the piece of wood looks continuous through the reflection on the saw plate.
If that parallel reflection starts to wander, you know that you need to stop, readjust your body position, and try again.
Even Pressure on the Saw
After I'm somewhat confident with my motions, I want to focus on using the entire saw plate of my saw because I want to wear the teeth of my saw evenly. Concentrate on making nice long even movements.

Lubricate the Saw
If we're going to make a really long cut, we want to lubricate the saw. Mutton tallow or beeswax helps the saw as the saw plate heats. This lubrication will help the saw go right through the cut.

Correct Height
You may also notice that in the video above, I'm bending over quite a bit as this workbench is set up for hand planing. If I were doing more than a few joinery cuts at a time, I would set up what's called a Moxon vise, which is literally just a vise that goes on top of my bench and raises the cutting of the workpiece up so I don't have to bend over so much.
Work Smarter Not Harder
When you’re making a whole bunch of cuts, say for hand-cutting dovetails, do all of the cuts that have the same angle first, then switch body positions for the other angles.
And that’s it! With some practice and patience, and a sharp tool, you’ll be sawing to your heart’s desire in no time!