
3 Ingredient Furniture Finish
Learn how to make and apply this easy DIY polyurethane furniture finish recipe from Chris Swartz who happens to be a fount of knowledge in furniture wizardry. This finish will beautify any wooden project at a fraction of the cost.

Most folks think wood finishing is tricky business, but I like to keep things easy in my woodworking shop, and I use the same three equal parts polyurethane finish on tables, chairs, rockers, night stands, sofa tables, and just about every piece I build.
This easy to make wood finish recipe is a breeze to apply, and dries quickly allowing multiple coats in a short amount of time. This method requires the least prep work (goodbye sanding!), and because it’s not semi-gloss or high-sheen, it’s very forgiving.
You also don't need a bunch of other finishing supplies for this method. No spray booth and no special finishing room, you just dust off your bench and wipe the finish on the bare wood.
Even the fumes of this finish are very mild! Because this has been my favorite wood finish for so many years of projects, it's the best one I can recommend.
Ingredients and Supplies Needed
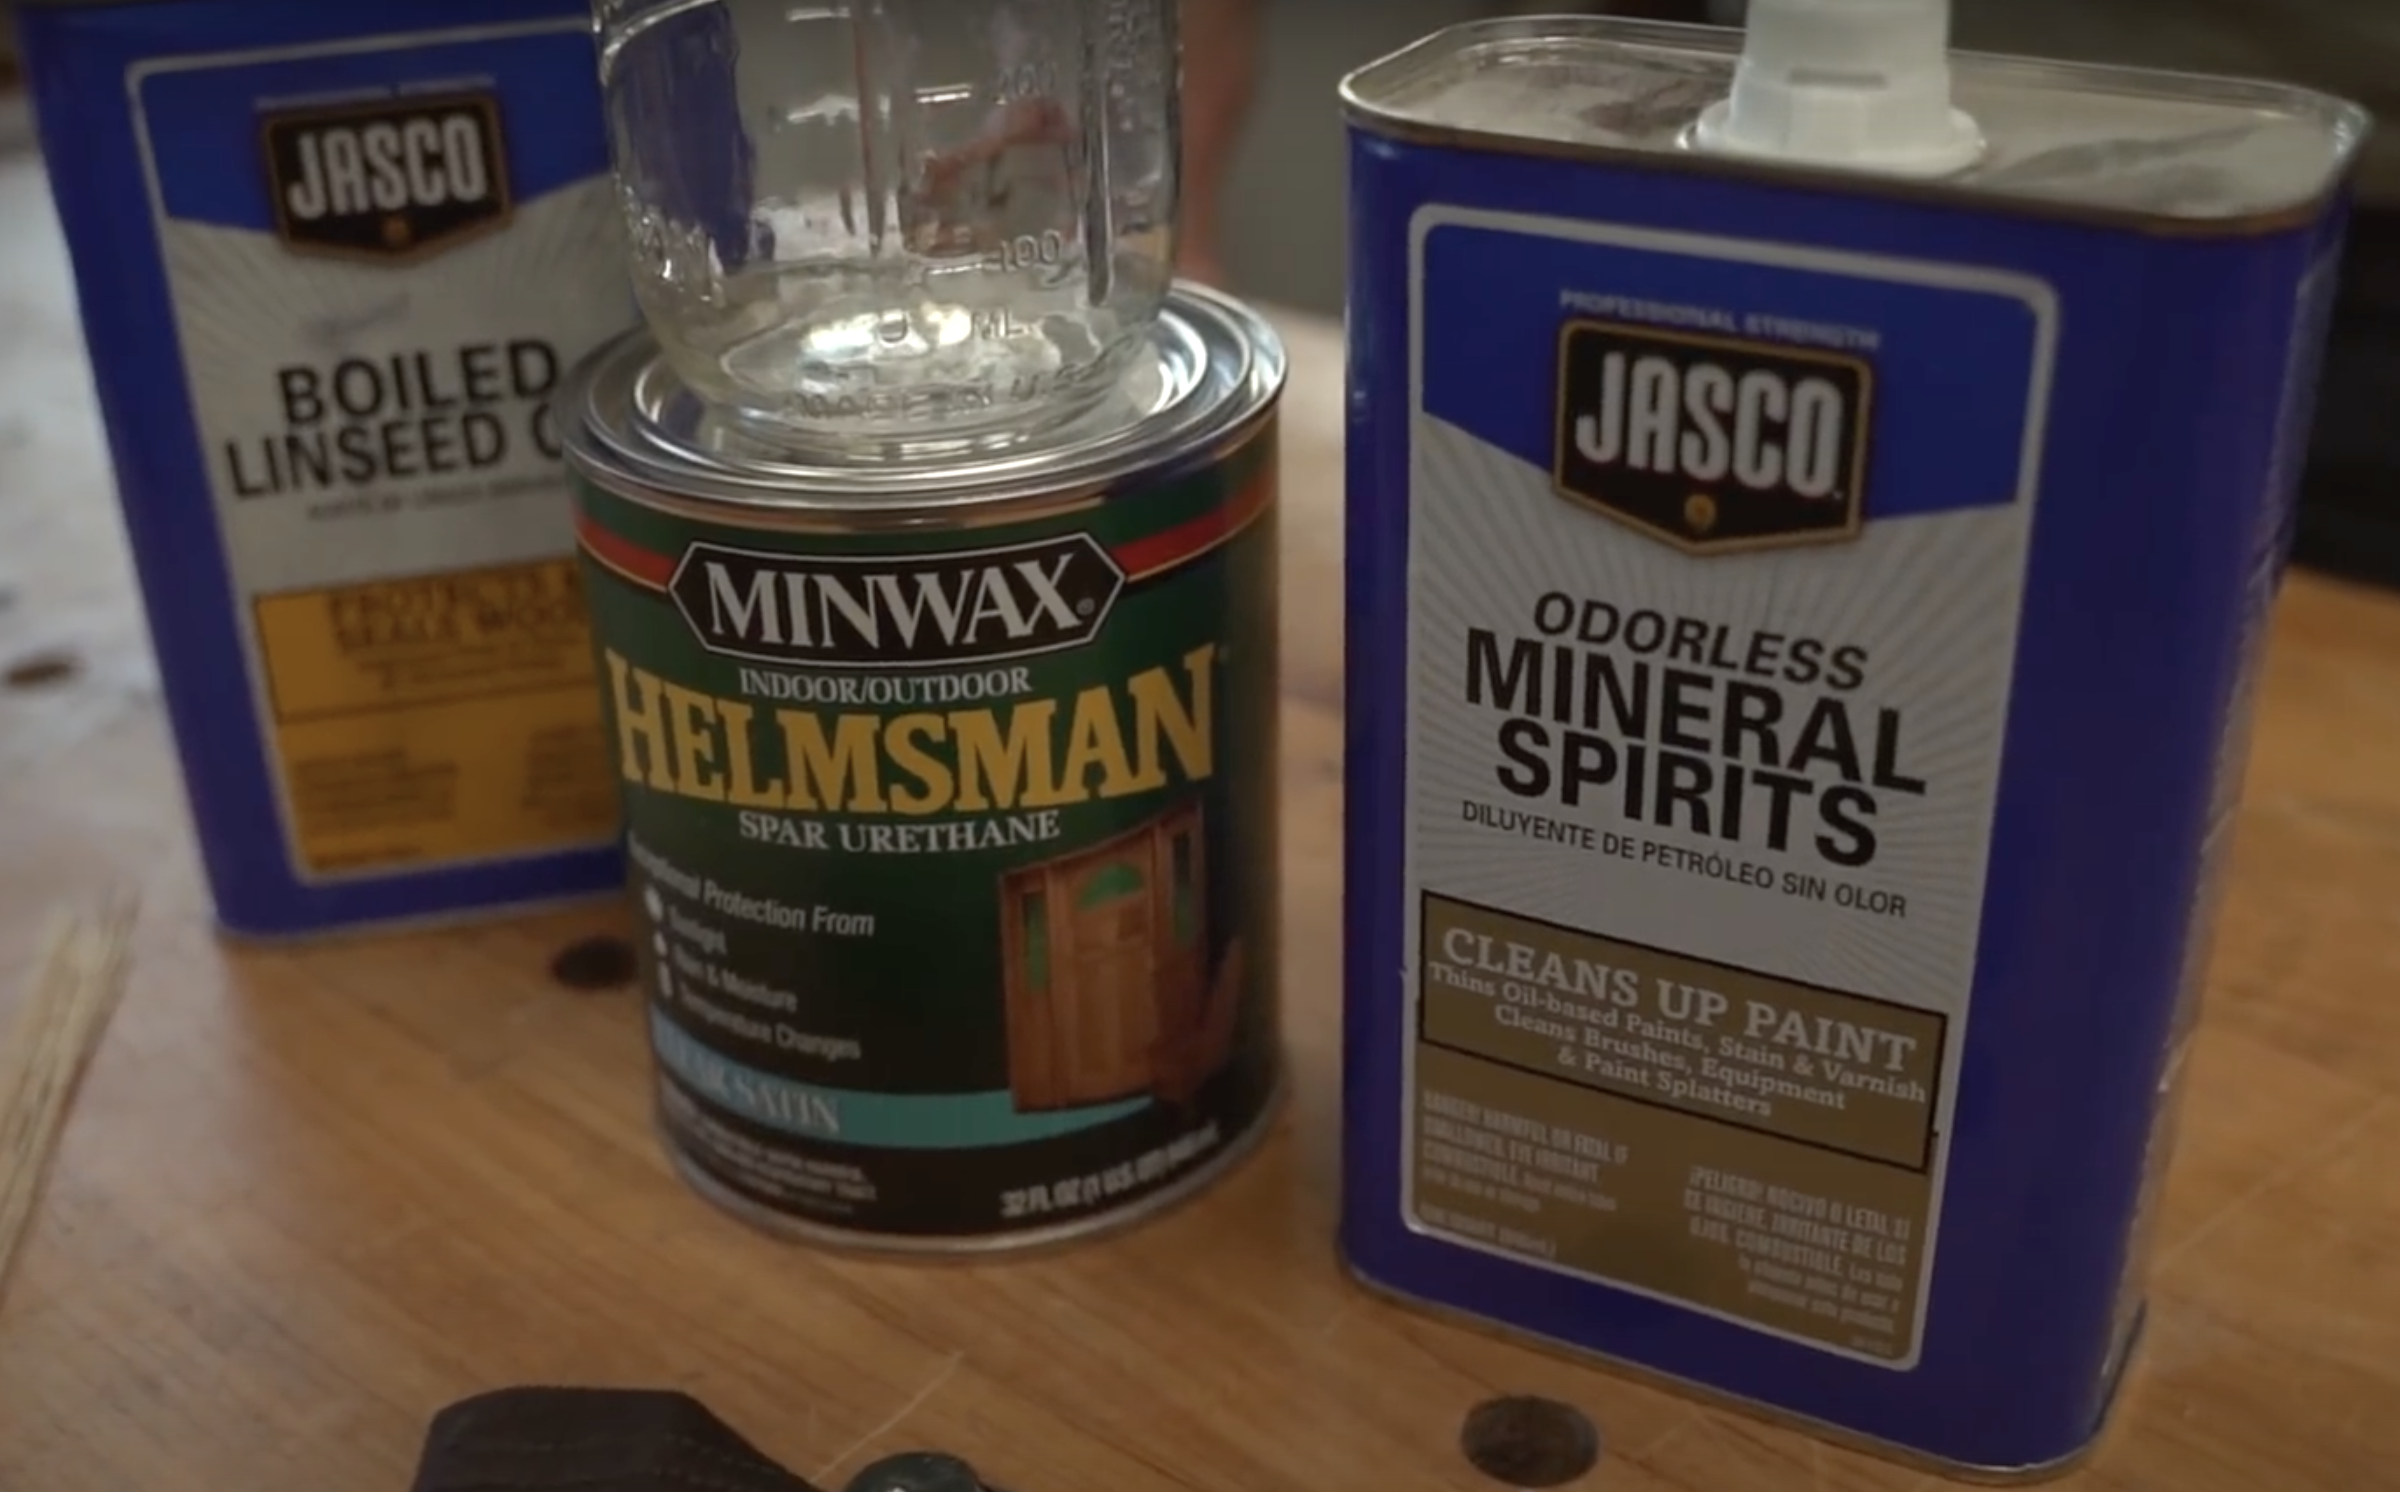
Boiled Linseed Oil - I commonly use Jasco Boiled Linseed Oil which oils and protects the furniture and gives it a beautiful glow. It does not, however, harden well, which is the job of the polyurethane.
Polyurethane *** - The urethane helps the boiled linseed oil to harden and therefore protects against water damage and other elements. I commonly use Helmsman Indoor/Outdoor Spar Urethane. This clear satin spar varnish still adds a warm amber hue, and I love it because I don't want the finish to be super shiny which requires quite a bit of sanding to cover flaws left behind. I don’t know about you, but I hate sanding! ***A common mistake people make is not making a distinction between water-based polyurethane and oil-based polyurethane. With water-based finishes, this recipe will fail.***
Mineral Spirits - The mineral spirits help both of the other components dry faster. I commonly use Jasco Odorless Mineral Spirits.
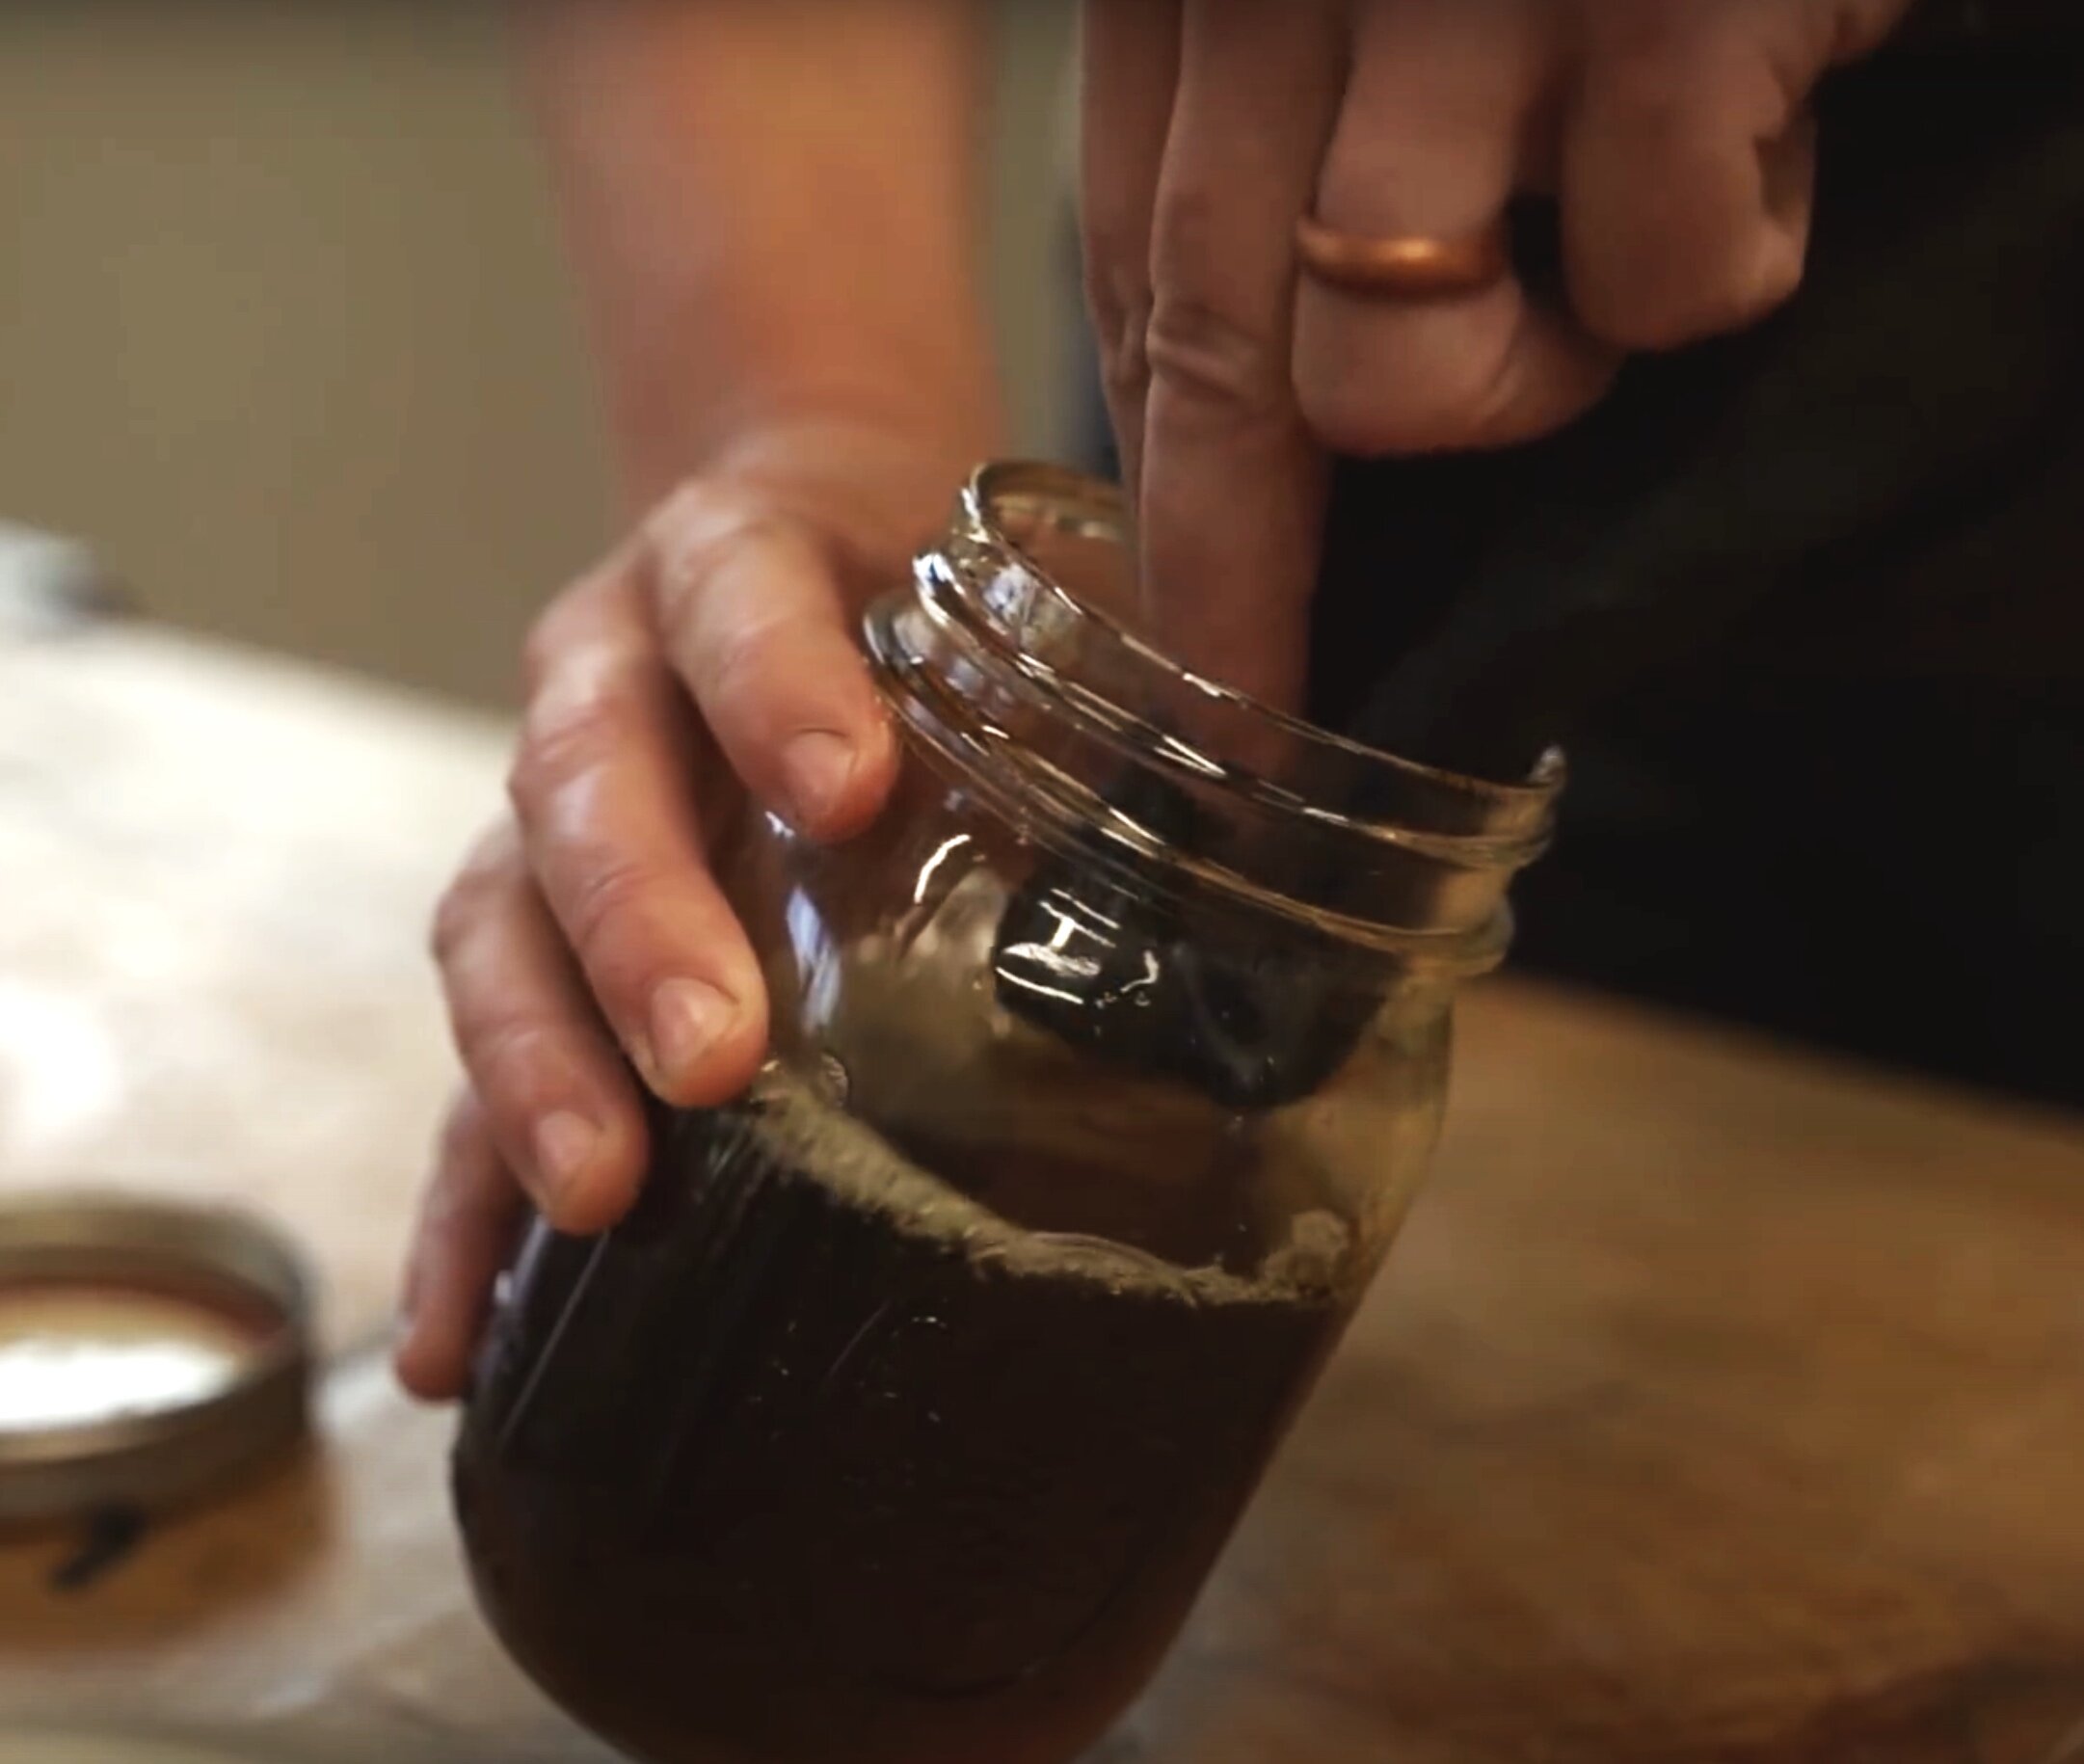
Mason Jar - I like to mix and store the furniture finish in a mason jar because they have an airtight seal and handy dandy measuring marks on the side.
Stirring Stick - This does not have to be anything fancy. I generally just use a piece of scrap wood from my woodshop.
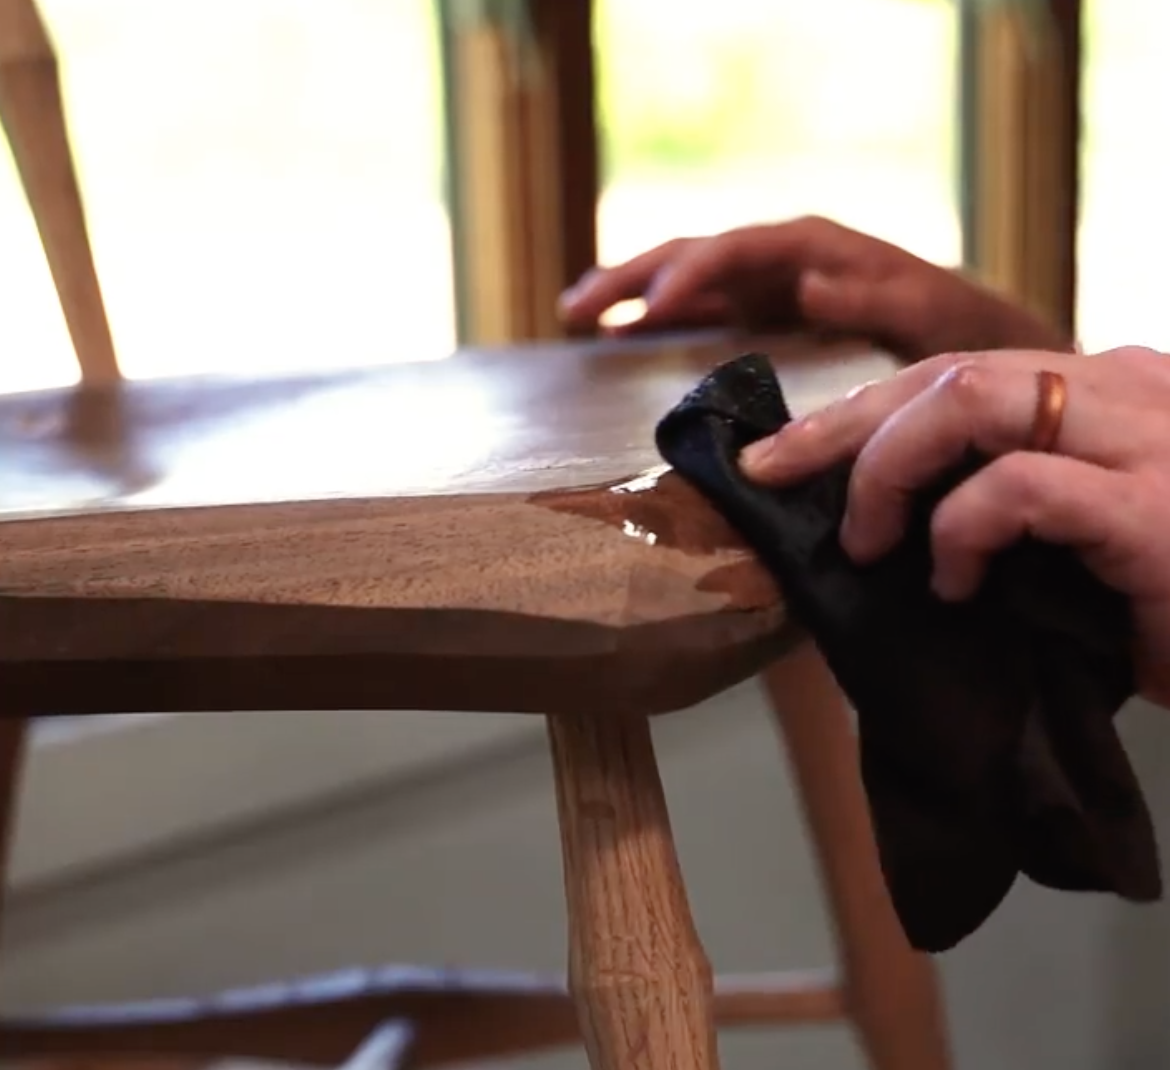
Rag - Old cotton t-shirts work really well to avoid streaking that a natural bristle brush can leave behind. Do not use foam brushes. They will leave bubbles on the surface of your finish.
Gloves - As a safety precaution, I recommend using gloves and working in a well-ventilated area.
A quick note: make sure to wipe on a generous initial coat, rub it in, but MAKE SURE to rub off ALL the excess (all the shiny spots) with a dry tshirt before that 30 minute mark or it’s going to get sticky, and will likely never dry properly. This finish is not meant to make things “shiny,” so keep in mind that “shiny” means “sticky” when it comes to this finish. It’s better to be a little stingier with the oil and apply more coats than to try to lay it on thick and hope for the best with this one. Let dry 24 hours between coats.
Step by Step Instructions
Don your gloves, and set up your project in a well-ventilated area.
In the Mason jar, mix equal parts boiled linseed oil, oil-based polyurethane, and mineral spirits (the amounts don’t matter, as long as it’s all equal parts, I try to only make as much as my project needs so I’m not having to store jars of unused furniture finish).
Stir well with a stirring stick.
If you are using an “off-the-tool finish”, you can skip steps 5-7 and move onto step 8 where you will be ready to wipe on the finish.
If sanding for a smooth finish, I like to use 300 or 400 grit sandpaper. Give your project a good once over.
Wipe it down with a moist microfiber cloth. This raises the grain and gives you an opportunity to sand once more and have a much longer-lasting finish.
Hit it with 400 grit sandpaper one more time, and wipe it down with a dry microfiber cloth. Do not use a tack cloth. Tack cloths are treated with materials that can interfere with the polyurethane.
With the first coat, apply the coat generously with a square of the cotton t-shirt rag, and allow it to soak for 15 minutes. Applying with the grain of the wood will allow the pores to soak up the finish most effectively and evenly.
Use a clean dry t-shirt scrap to remove the extra finish from any remaining wet spots.
Let it dry for a few hours or overnight. A single coat is fine, but the more times you sand between coats with 400 grit, clean the surface, and then reapply another very thin coat, the more durable finish you will achieve.
Tips for Success
If you realize mid finishing process that you missed a glue spot or something, you can just sand down that area and reapply. It is not difficult to re-match the finish.
The most important thing with this finishing style is to give plenty of finish to the wood (applying thin coats is not necessary). This allows the fibers to soak it up, but not to leave it sitting there long enough that it will start to dry and get tacky. Just hit it really quickly with the cloth, wipe off the excess, and let it dry.
You can keep adding as many coats as you want, but I generally tend to stop around two or three.
This is not a water-proof method, so it’s definitely not for outdoor furniture and I’d still recommend using a coaster :)
If you like tips and tricks like this, you might also enjoy another one of my favorite shop tips: easy install rasp handles!