
Painting With Milk Paint + Time-Saving Hack
Painting Windsor chairs takes multiple hours, even days, to complete because of the numerous coats of paint needed for a high-quality traditional finish. Learn how to apply a quality Milk Paint finish and how to speed up a traditionally very slow process, with the tips below.

Spoiler alert: I figured out how to spray the first 4 of the 5 coats of Milk Paint which saves a minimum of 3 hours of painting per chair - read more below.
Quick Tips on Spraying Milk Paint
For those of you in a hurry, let me save you some scrolling… here are the most important things you need to know about spraying your milk paint:
Mix your paint 2-3 days ahead of time, if possible.
Filter the paint at least twice before spraying.
Coats 1-3 in your base color and the 1st coat of your top color can be sprayed, but if you want that “traditional finish,” brush on your last coat by hand (and, of course, wipe on and burnish your oil by hand as well).
why I Love Real Milk Paint
Real Milk Paint comes in a powder that you mix with water, and this allows you to get the thickness and consistency of paint that you want in the perfect amount for every project. That means you’re using fresh paint and you never have leftover paint just laying around.
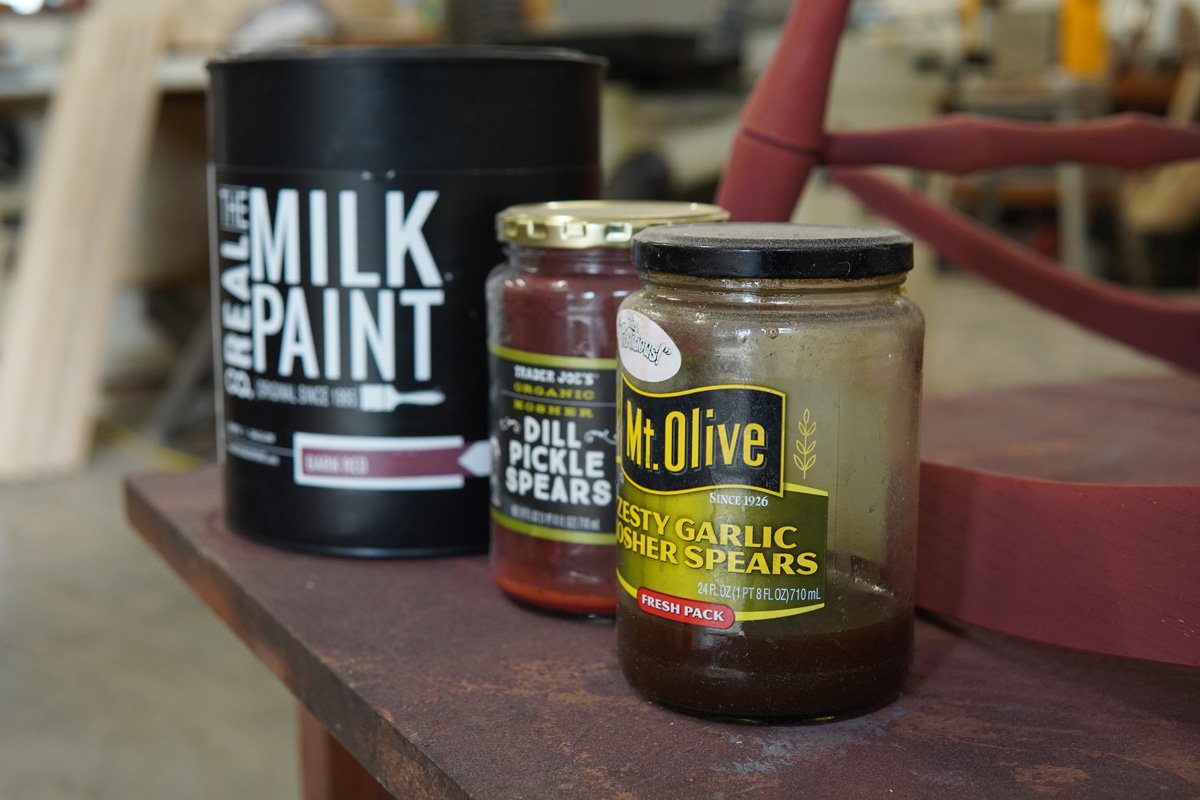
PRO TIP: If you love pickles as I do, then save those pickle jars because they’re the perfect size for whipping up a batch of paint!
I also love that Real Milk Paint is 100% organic and food-safe so you never have to worry about painting or doing DIY projects with kids or pets around.
Use this link if you want to try Real Milk Paint for your home projects, then use coupon code “anneofalltrades10” at checkout for 10% off your order!
Supplies Needed
The basic supplies needed for a traditional, brushed finish are:
Two Colors of Milk Paint - I like to use Real Milk Paint (if you use code “anneofalltrades10” at checkout you’ll receive a 10% discount!). The traditional colors for a Windsor chair are black over red.
Pickle Jar - Or any jar for mixing paint, I happen to have a pickle obsession, so pickle jars are always available.
Paint Brush - A decent quality, medium detail paintbrush (I’ve used cheap sponges and fancy brushes, you get what you pay for here).
Water
Stir Stick
Paint Filters
Steel Wool
220 Grit Sandpaper
Wood Putty
Abrasive Pads - You can find these from 3m, Mirka, Diablo, etc. They all make them and you’ll want coarse, medium, and fine.
0000 Steel Wool
Microfiber cloth - Super important and handy for dust removal.
Furniture Finish - My favorite homemade furniture finish (also called danish oil) can be found here.
Scrap T-shirt - This is the perfect fabric for applying oil.

Optional supplies:
These are the supplies needed if you want to save yourself some time and energy while painting your Windsor chair.
Air Gun/Compressor - For quick dust removal.
$14 HVLP Spray Gun - For quick coats of paint (PRO TIP: if it’s a fancy gun, remove the filter before spraying)
A Respirator - Although Milk Paint is a non-toxic paint, it’s still getting into the air and you just want to avoid breathing it when possible.

How to Paint a Windsor Chair
Painting a Windsor chair is pretty straightforward, but there are about 10 steps you must follow in order to get a high-quality traditional finish.
Paint Prep
Mix Paint
Filter Paint
First Coat (Raising the Grain)
Knock Down the Grain
Putty
Dust
Re-Coat Paint (Multiple Times)
Last Coat
Oil

Paint Prep
Sand or scrape all the components of your chair until you’re satisfied. Different folks care a whole lot differently about quality/care when it comes to surface prep.
I will say this: Greg has taught me to care a whole lot LESS about sanding, prepping, etc before painting because SO much of the little stuff gets taken care of by the multiple layers of paint/sanding between coats.
I use Real Milk Paint because they’re local to me here in Tennessee and they make a great product. Real Milk Paints come with a de-bubbling agent, a single drop of this in your pickle jar when mixing the paint goes a long way to giving you a smoother finished surface.

Mix your milk paint
Milk paint comes in a powder that you mix with water, which is kind of ideal because you can mix on demand, mix more if you need it, and don’t have to worry about storing leftovers for days/weeks/years on end. You can also adjust the thickness/consistency of your paint simply by changing the ratio of powdered paint to water in your mix.
For Windsor Chairs, we use a 2:1 mixture, 2 parts hot water to 1 part paint (ex: one cup water would need ½ cup of paint powder), and for reference, I usually mix up about one pint of paint per chair.
Ideally, you’ll want to mix up your paint at least 24-48 hours before using it so the powder can fully absorb, but I rarely plan that far ahead.

Filter Your paint
Pour your paint through a paint filter to filter out any little chunks that might be left. A coffee filter will work in a pinch here.
If you’re planning on using the time-saving hack, then filtering is a must or else you’ll likely clog up your spray gun and end up spending any time saved cleaning out the clogged gun.

first coat (Raising the grain)
The first coat of paint does two things for us, it provides a base coat of paint, and, because the paint is water-based, it also raises the grain of the wood, an integral piece of the wood-finishing process when any sanding has been involved.
Sanding wood fibers scratches and tears the surface of the wood. Adding water causes the rough areas to swell, which then allows us to knock them down and improve the wood’s surface quality with subsequent sanding sessions.
If using a brush to apply your milk paint, you don’t need to be super careful to get every single spot on the chair or get things really evenly coated. Go for 90% coverage here. You’re going to sand and recoat, several times, so don’t be a perfectionist at this stage.
Let your paint dry until it’s dry to the touch (time can vary depending on humidity/thickness of coat/application process) before moving to the next step.

Knock down your grain
Using a Mirka/3m/Diablo “medium-fine” grit pad (or 220 grit sandpaper where necessary), knock down the grain that was raised by the first coat of paint. Find any “problem” spots you may have missed in your finish prep and address them with sandpaper/scraping.
While knocking down your grain you can also address any drips or runs of the paint.
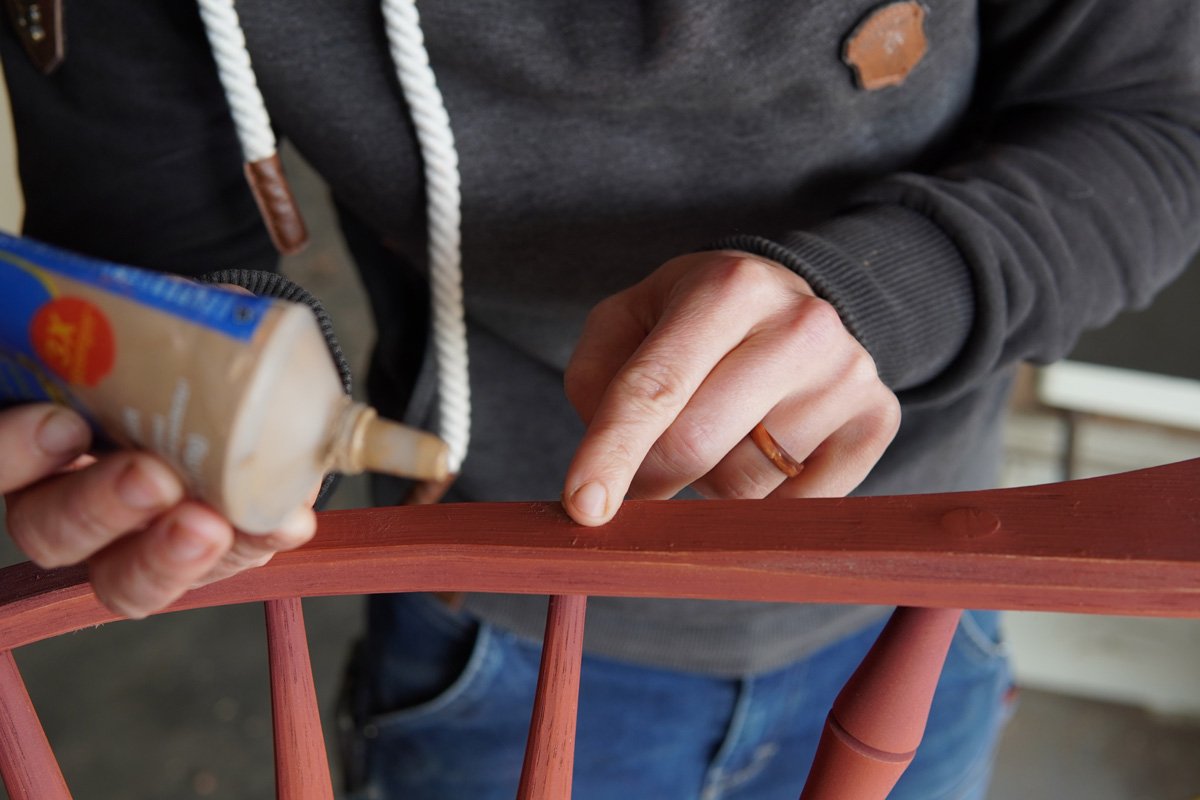
Wood putty
Inevitably there are going to be some blemishes in your wood. The beauty of applying that first coat of paint is it makes these areas obvious and easy to fix before we finish painting.
Using wood putty, fill your holes, let it dry, and then clean up the putty after it’s dried with sanding/abrasive pads.
Blow/wipe off dust
Before moving on with anymore coats of paint, it’s crucial we take the time to dust and wipe off the chair of any dust, wood fibers, or bits of remaining wood putty.
As I mentioned before, the quick way to do this is with an air compressor. But if you don’t have one available, a microfiber cloth will do the job just fine.
Re-coat
This is where you can now re-coat your base color paint as many times as you’d like. Usually, three coats of red and two coats of black are sufficient, but it’s up to you!
Use the “fine” abrasive pad in between each coat to blend out high spots, address drips, even things out, blow off the dust, and repeat.
I keep my shop very warm and very dry, so I can usually sand and re-coat within a couple of hours, getting multiple coats done in a day in between other tasks.

Last coat
This one should look a tad better than your first! Your last coat of paint needs to be carefully *brushed,* details paid attention to, runs avoided like the plague. This final coat is what you’ll stare at every time you look at your chair, so now is the time to be precious about your painting skills.
And like I mentioned in the supplies section, the quality of your paintbrush will show up here, so don’t skimp on quality!

Oil
After your last coat of paint dries, it’s time to add the miracle oil (here’s a recipe and application instructions for my favorite homemade oil-rubbed finish). I use a t-shirt to apply, I add a penetrating coat, rub off the excess, burnish out all shiny spots and let dry (at least 24 hours per coat is my preference).
Add subsequent coats if desired. The more you “burnish” (rub vigorously) this finish, the better it looks (to a point, let’s not go crazy, folks), especially on the most-touched areas of the chair, a little extra burnishing on the seat of the chair where your legs will rub, the backrest where your neck will rest, or your seat where your tush will rest, on the armrests, etc, and you can pre-reveal some of the beautiful undercoat that will show up more over time and use.
If you’re careful you can use 0000 steel wool or a fine mirka/3m/diablo pad to do the burnishing, but don’t go overboard or you’ll have some serious backtracking to do.

Time-Saving Tips
Now… As promised, here’s a better (faster) way to do all that!
I figured, if you can spray oil-based paint, why not milk paint? My initial research led me to believe that part of the issue was that there are actually special water-based and oil-based sprayers. Greg had a fancy water-based sprayer that he reluctantly agreed to let me use, but we were correctly worried that the solid particles in the milk paint might clog the gun. Turns out there were three pretty easy solutions there, mixing the paint 2-3 days before spraying, filtering the paint multiple times before spraying, and removing the filter from the gun.
Harbor Freight also had a $14 gun… what could go wrong?
It turns out, NOTHING. This little gun was the perfect solution for issues of maneuverability (the hopper on Greg’s Gun got in the way of spraying the undercarriage and detail bits) and didn’t even have a filter to remove, and I didn’t end up breaking Greg’s fancy gun, so win, win, win.
Spraying the first 4 coats takes about 5 minutes per coat, saving about 3 hours of painting per chair. Another really cool side effect of spraying the milk paint in an air gun is that it dries almost immediately. The spray-painted chairs are ready for sanding and a recoat after about 10-15 mins of dry time.
For the final coat to appear “traditional,” you really do need to brush the last one by hand. And, of course, I tried a buffing wheel for the oil application and burnishing, but it just made a mess and ruined my buffing wheel.
If you do use my favorite handmade oil finish to seal your milk paint and make your colors pop, make sure to wipe on a generous initial coat, rub it in, but make sure to rub off all the excess with a dry t-shirt before that 30-minute mark or it’s going to get sticky.
This finish is not meant to make things “shiny,” so keep in mind that “shiny” equates to “sticky” when it comes to this finish.
But, but, but… what about “tradition?”
I painted my first 10ish chairs with a brush, 45-60 minutes per coat of paint, 5 coats of paint and an oil burnish per chair. I had a really hard time not getting clumps of paint in the detail spots and also… I just hate painting, and that was a lot of time spent painting.
When building one chair at a time, brushing is fine, and, while I’m all about tradition when it matters, I have no problem adding a little power - if I can speed up a process without compromising quality, why not??
So when tasked with painting 8 chairs for my friend and woodworking mentor Greg Pennington recently, I decided it was time to figure out how to speed up the process a bit.
Why Do We Paint Windsor Chairs?
If you’re here wondering why I’d ever paint a beautiful handcrafted wooden chair, click here to read about why I paint Windsor chairs.
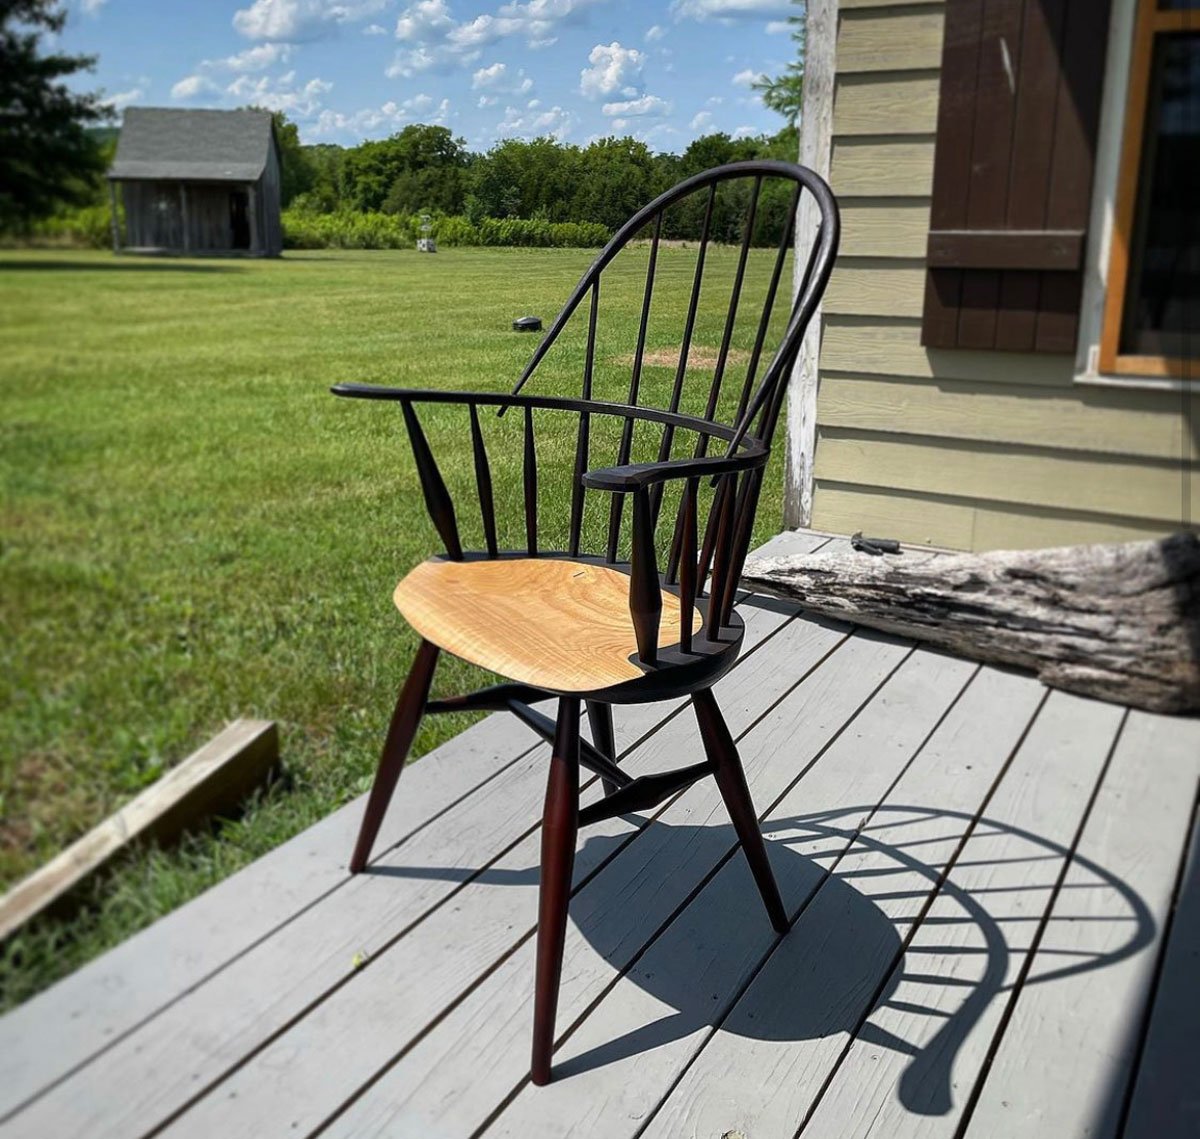
Chairs were traditionally painted black over red, the idea being that as the paint wore away from certain areas of the chair during use (the armrests where your hands rubbed, the seat front where your legs rubbed, the top of the spindles where your back rubbed), the red would start to shine through, giving the chair a deeper, richer, almost wood-like appearance. I’ve since played with combining natural oiled wood grain and milk paint, green over brown, and dark purple over red. Those first pops of oil over those paint jobs were something really special to behold.