
The Tale of the Tippy Table Top
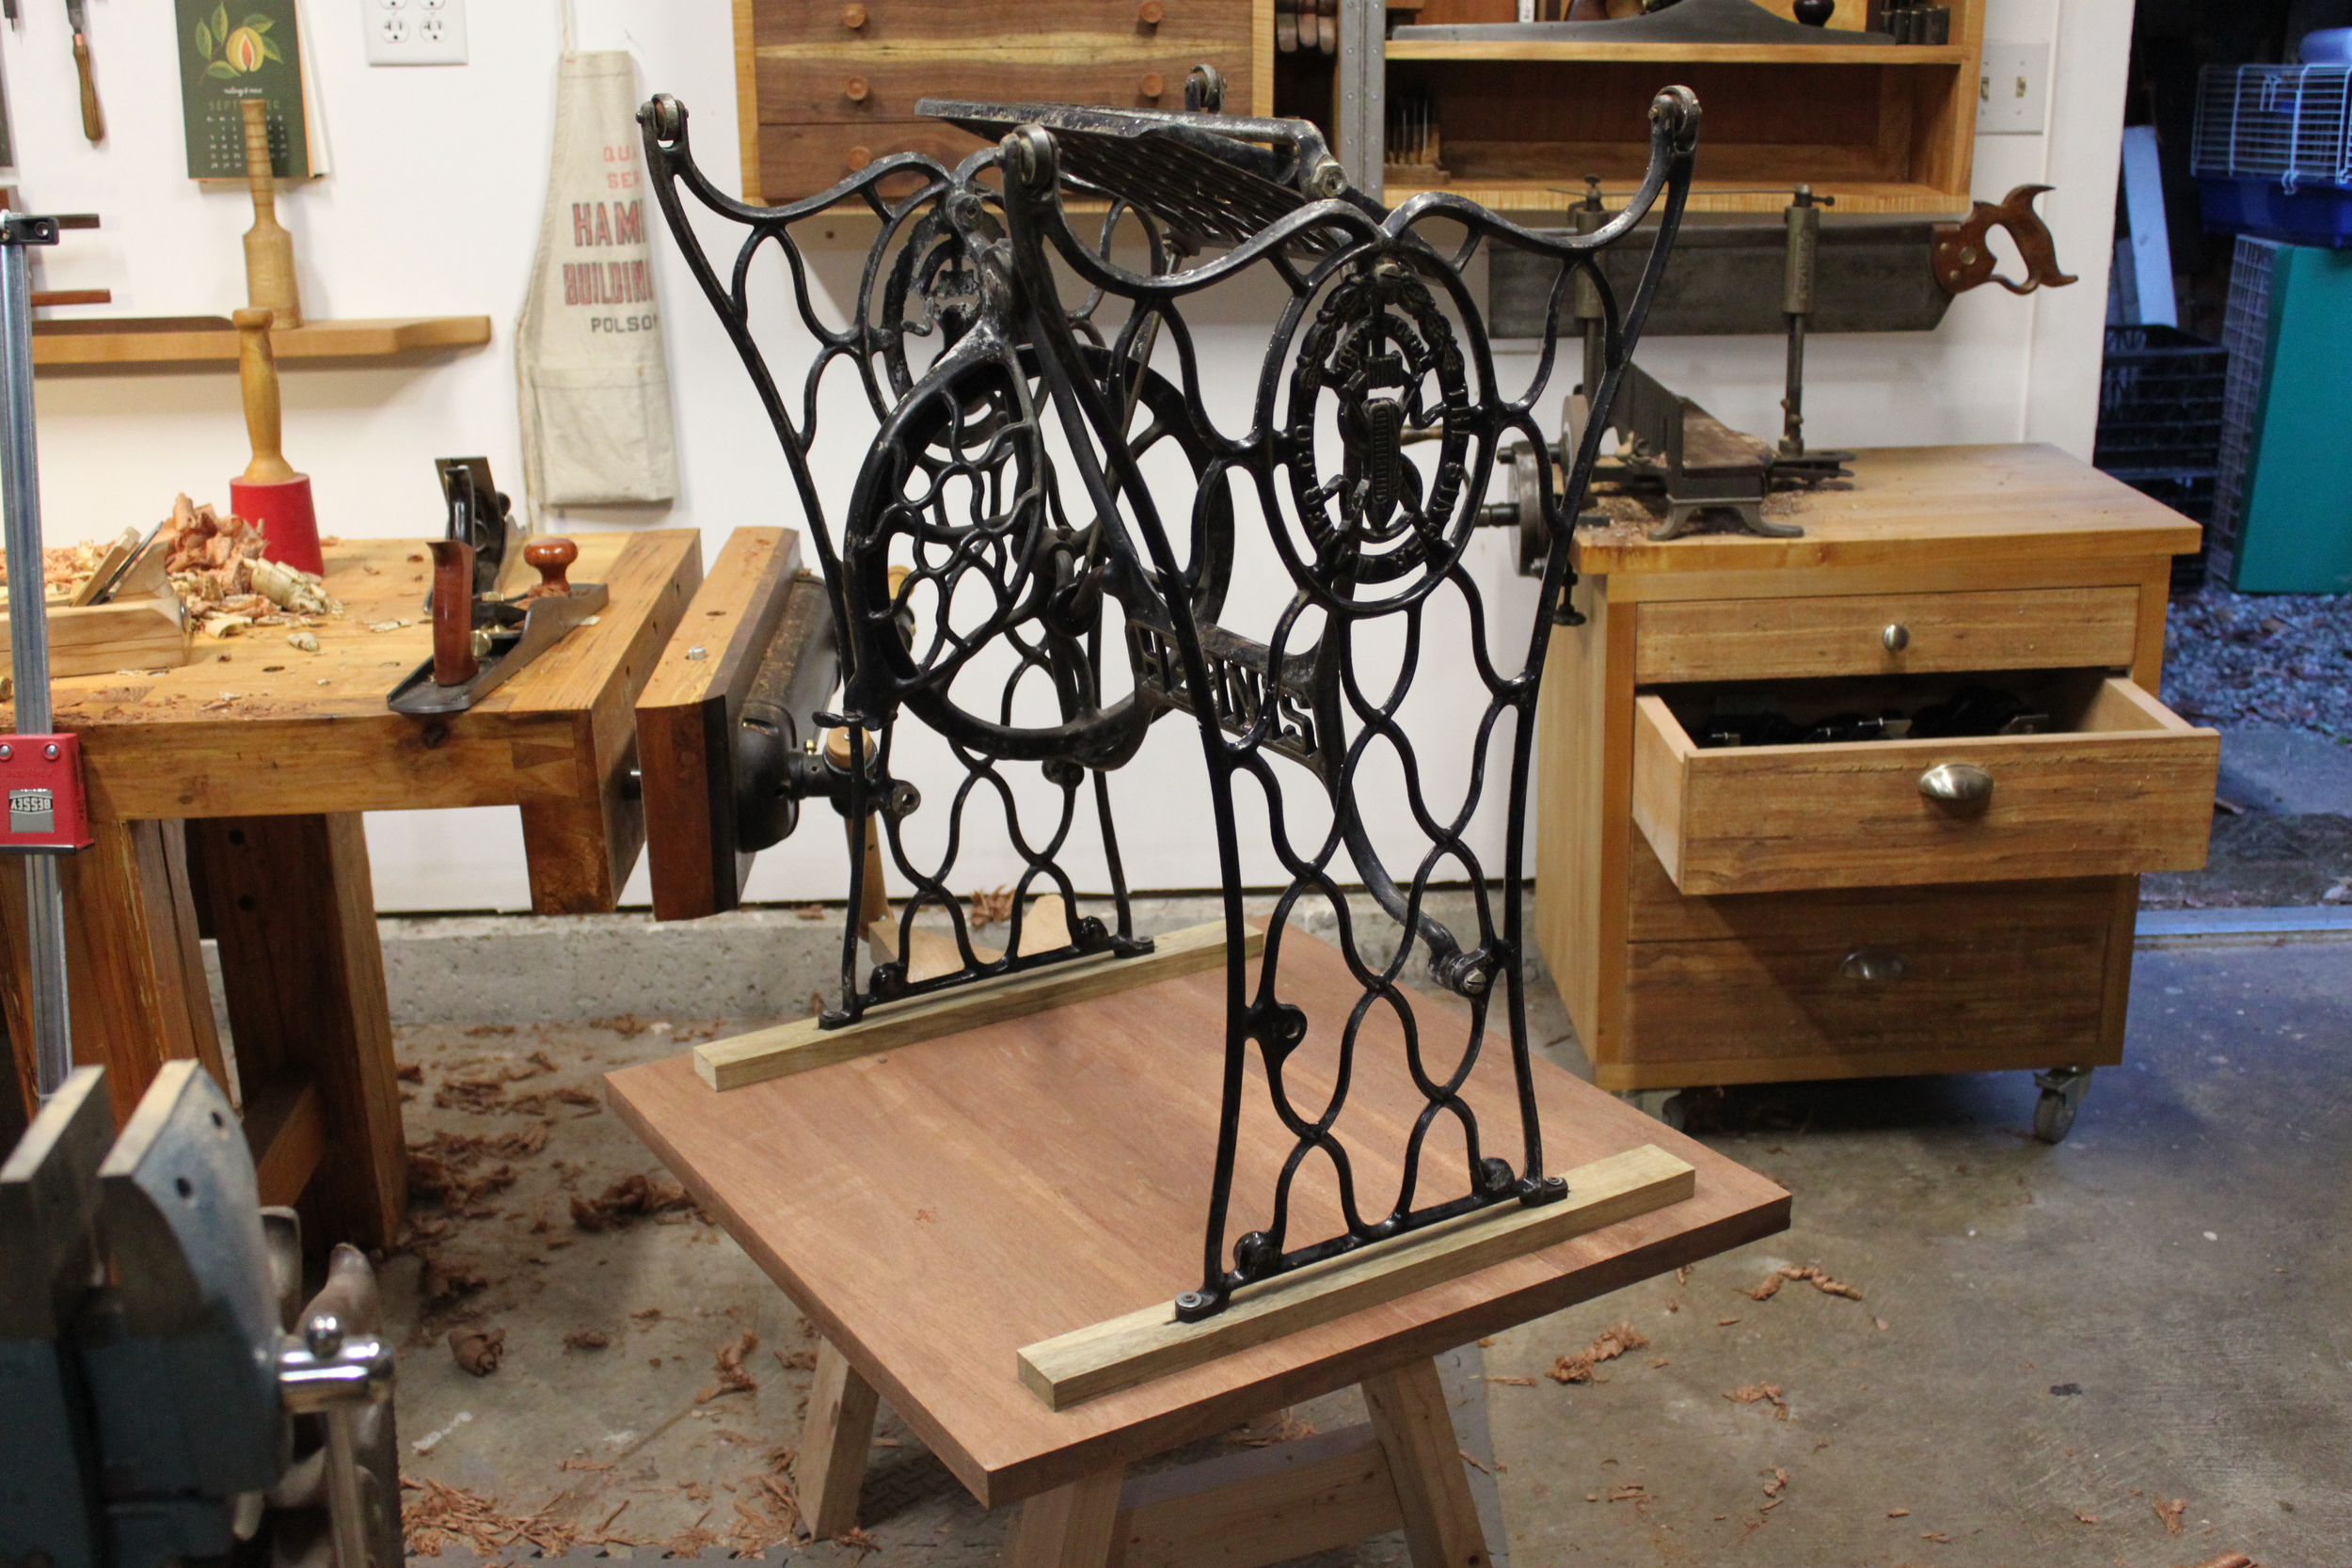
Recently I saw an interesting blog post about converting treadle sewing machine bases into side tables. I was at an antique store a few weeks ago and found a sewing machine base for a reasonable price, so I brought it home and decided to make myself a nice rustic looking side table.
I cut some mystery wood I'd saved from the post-powderpost-beetle-invasion-of-2014 burn pile roughly to size and glued up my new table top. I set it on the base and then that project got put aside for a few weeks. I came back to it last week and it had twisted to an unbelievable degree, which came as a shock because the wood had previously been aged and stored properly for over twenty five years. What was even more shocking was when it twisted a second time, but by that time, I was committed and too stubborn to toss it back in the burn pile (which, let's be honest, is where it belonged from the start).

That's a lot of twist, and a LOT of potential planing.
I realized that I had two choices- to try to battle the piece as a whole or to cut it back apart to deal with each piece individually. I chose the latter. Had I known the seven layers of hell I was about to go through with those boards, I probably would have opened a nice cold porter and enjoyed it while warming my hands over a satisfying bonfire instead of pursuing this little project, but hindsight is 20/20, and let's face it, I'm stubborn (did I already mention that? Maybe I'm humble too).
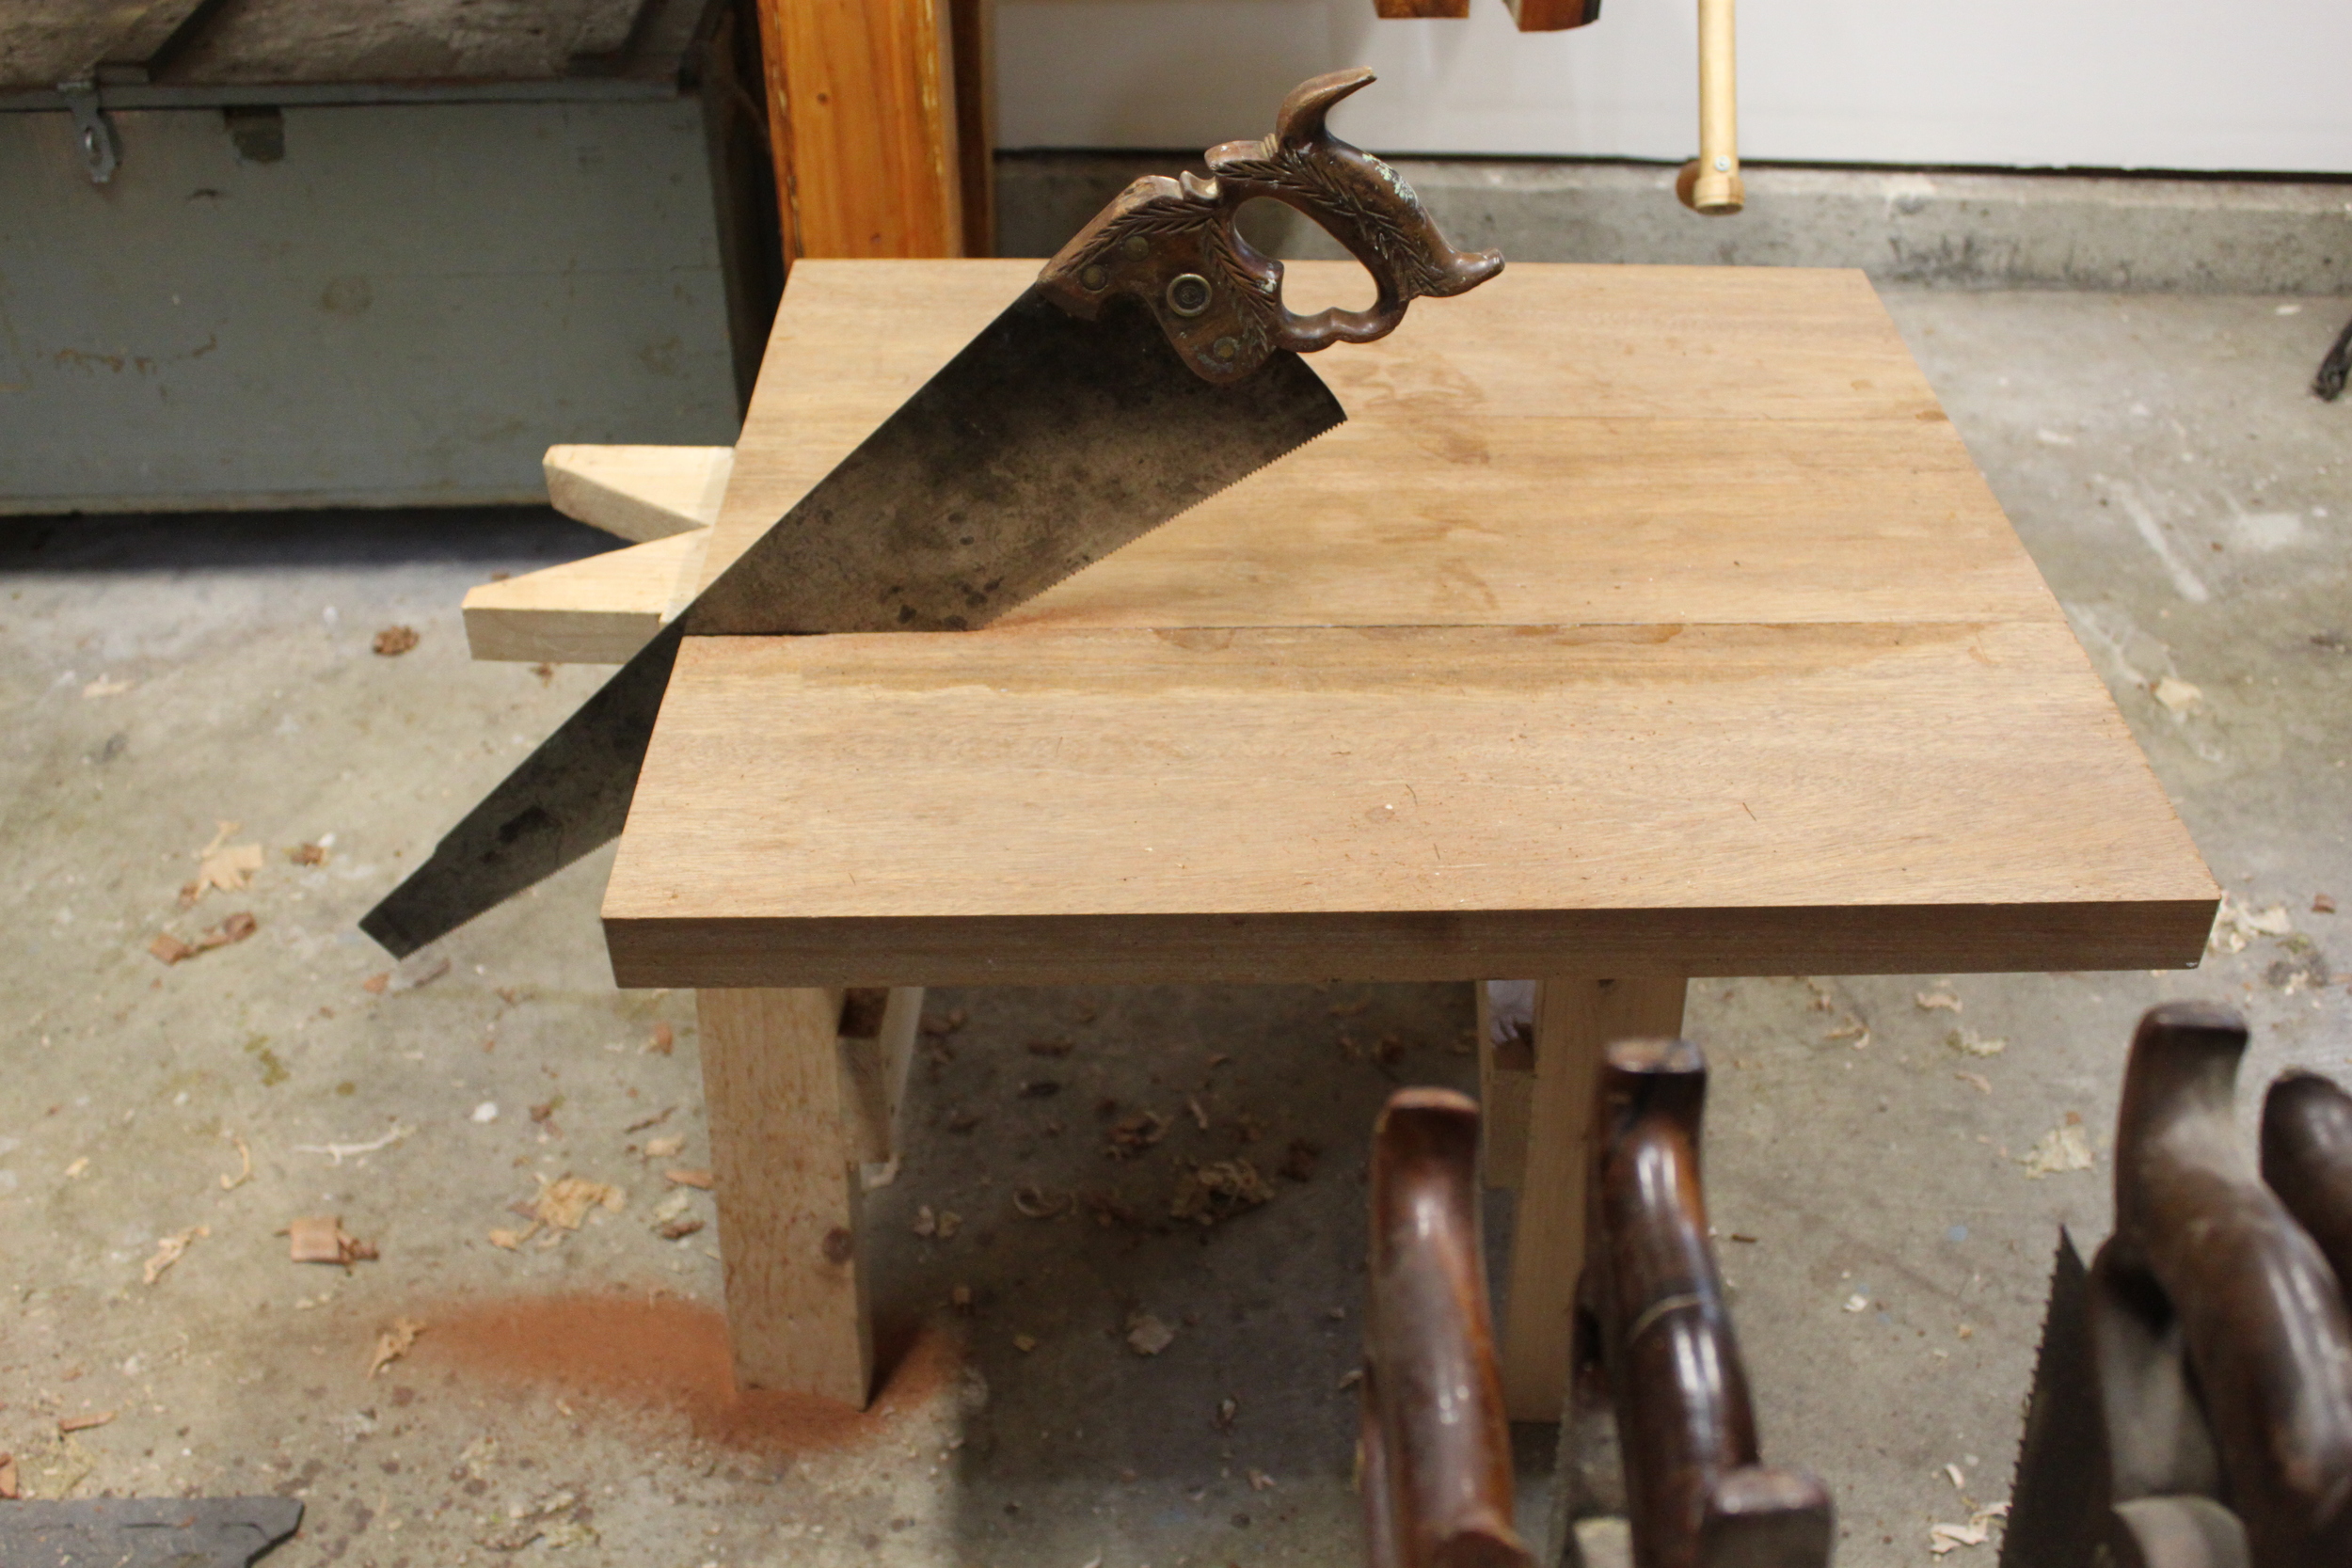
Sawing through this material was quite a workout.
Once I had the tabletop cut into three pieces, I could immediately see the twist.

Winding sticks, commercial or homemade, really help to point out twist, though in this case, it was pretty obvious.
The first thing to do when dealing with twist is to get the piece sitting square on the benchtop so it's not moving all around while you're planing.
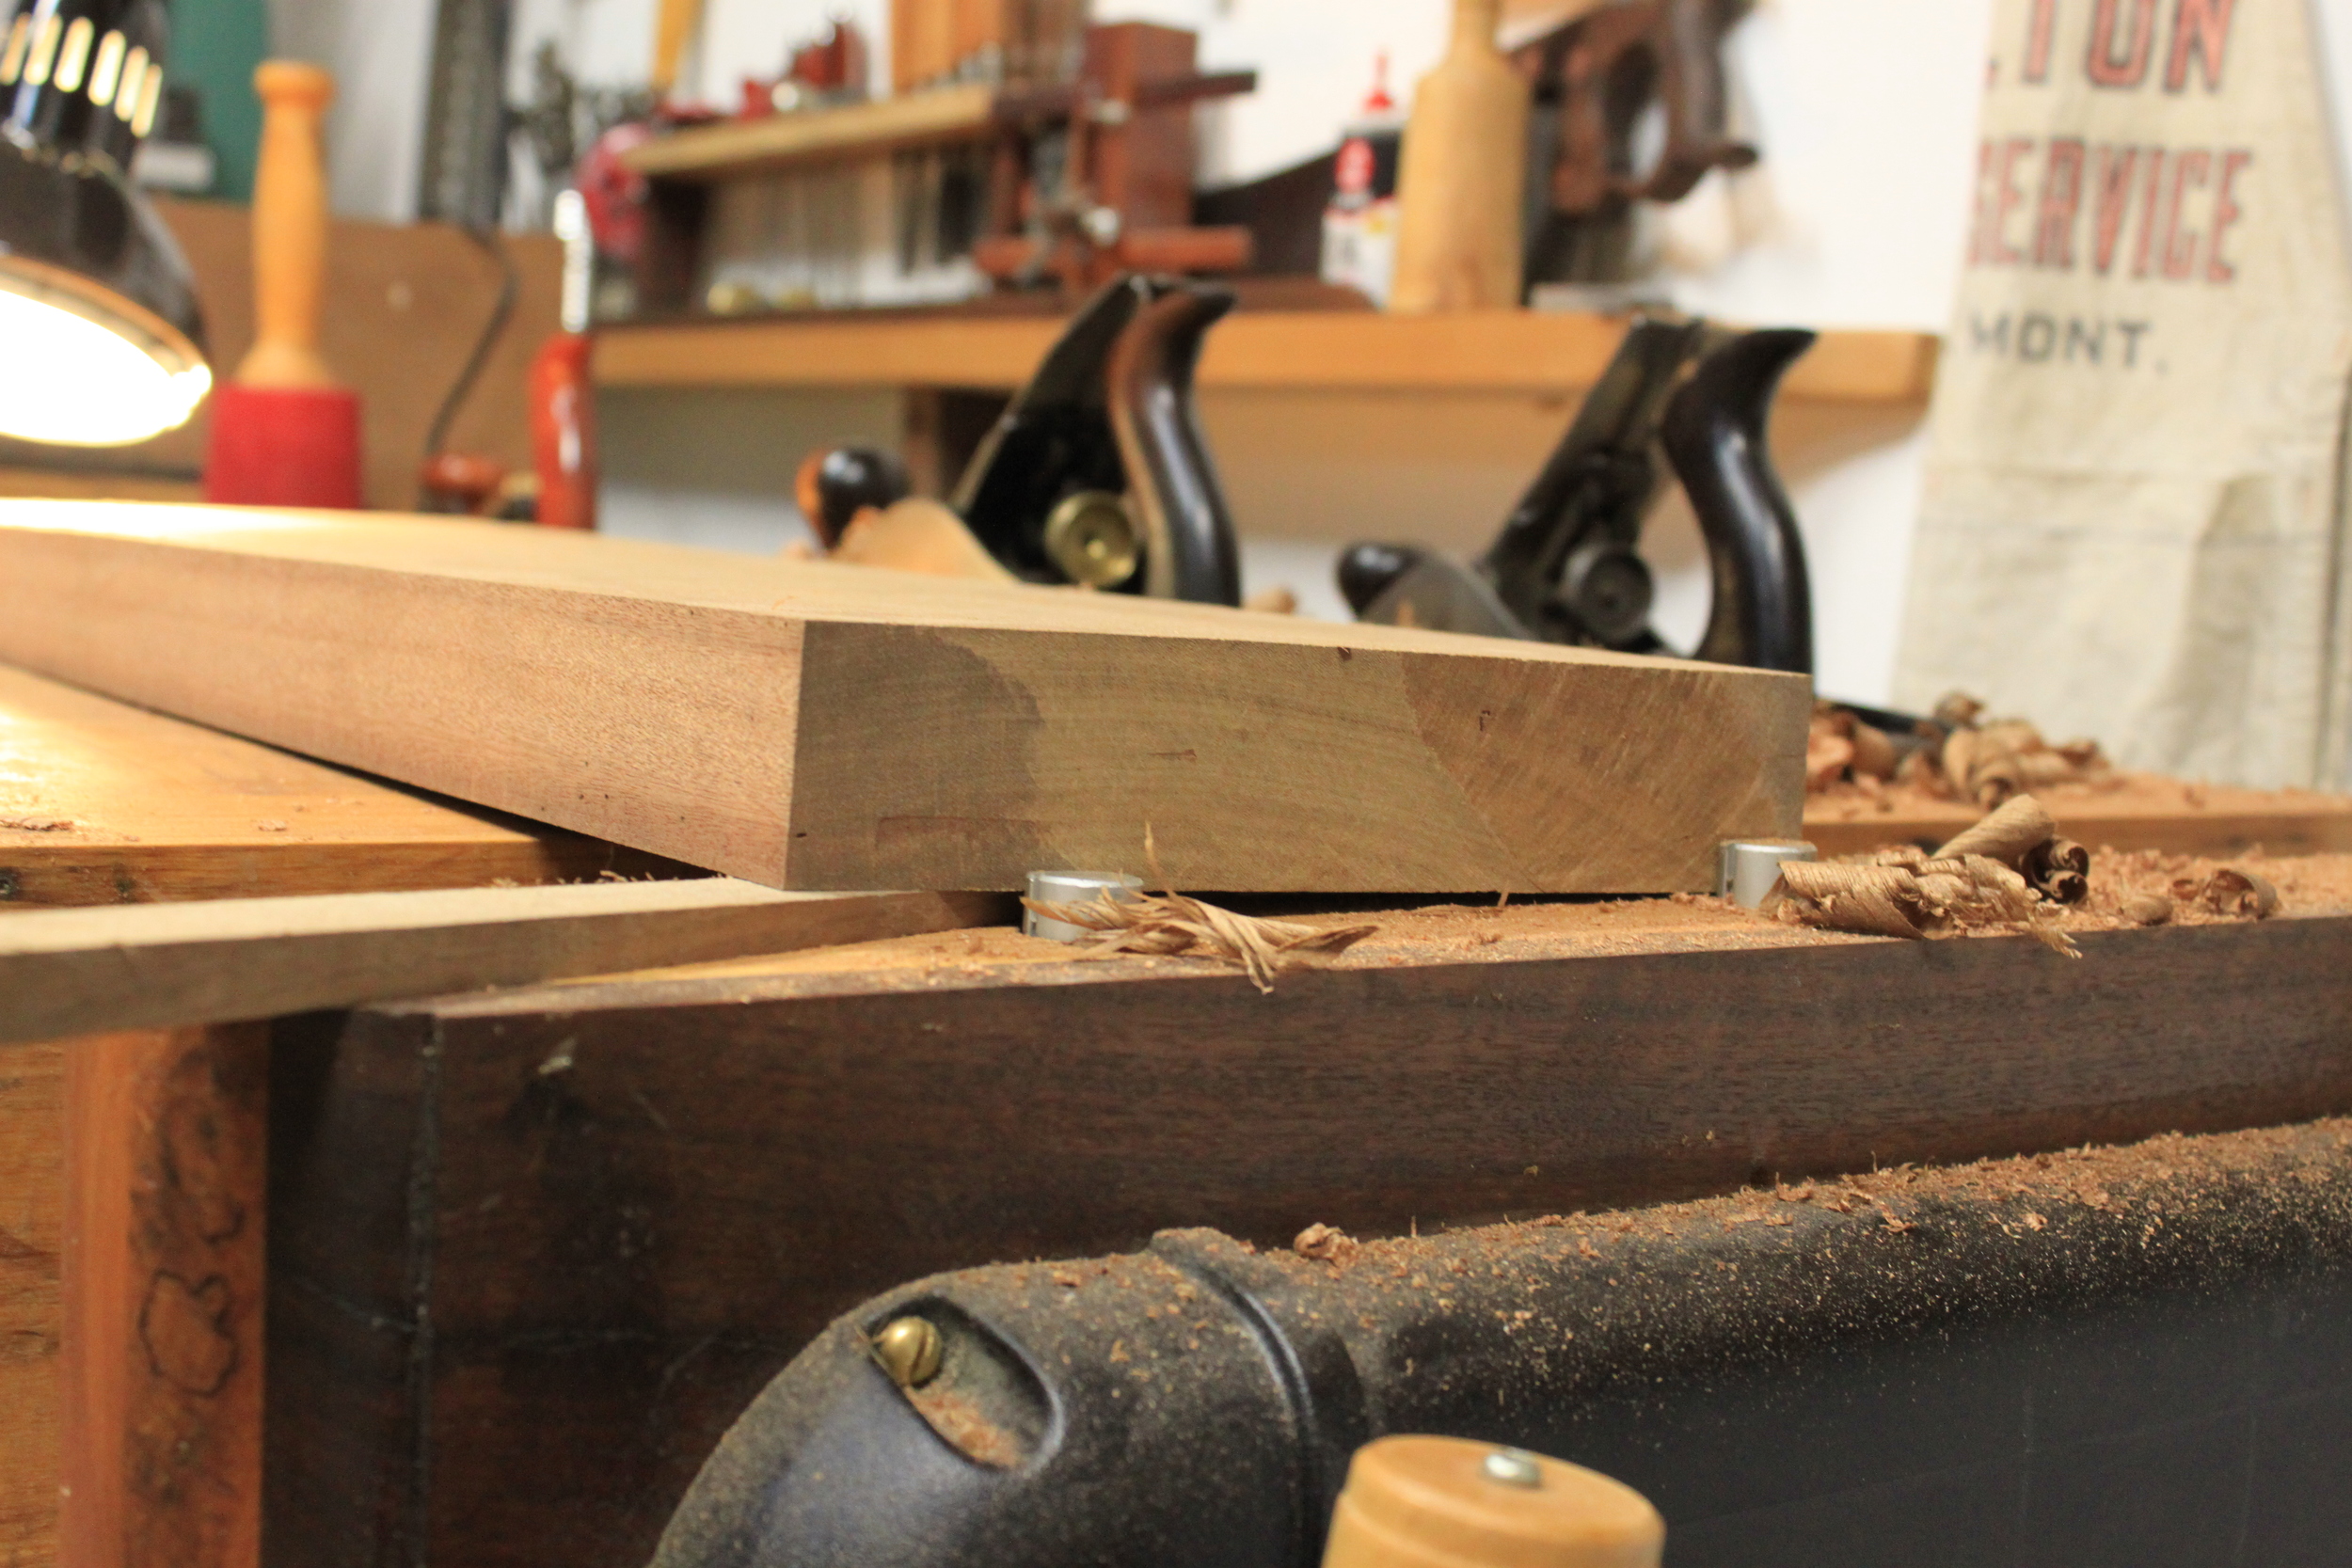
A few homemade shims really did the trick to get this twisted piece sitting level on the benchtop.
Once I had the piece securely fastened and leveled with shims, chamfered the back edge of the board with a low angle block plane and then started traversing the grain with my scrub (going diagonally back and forth until the scrub would take a full shaving), paying special attention to the areas the winding sticks pointed out as being high. I used my antique Stanley No. 40 Jack with a replacement blade Hock Tools contributed to the Community Tool Chest. The key when using a scrub is to keep that back edge chamfered to reduce blowout on the edges and to check back with the winding sticks often because it takes such a huge shaving.
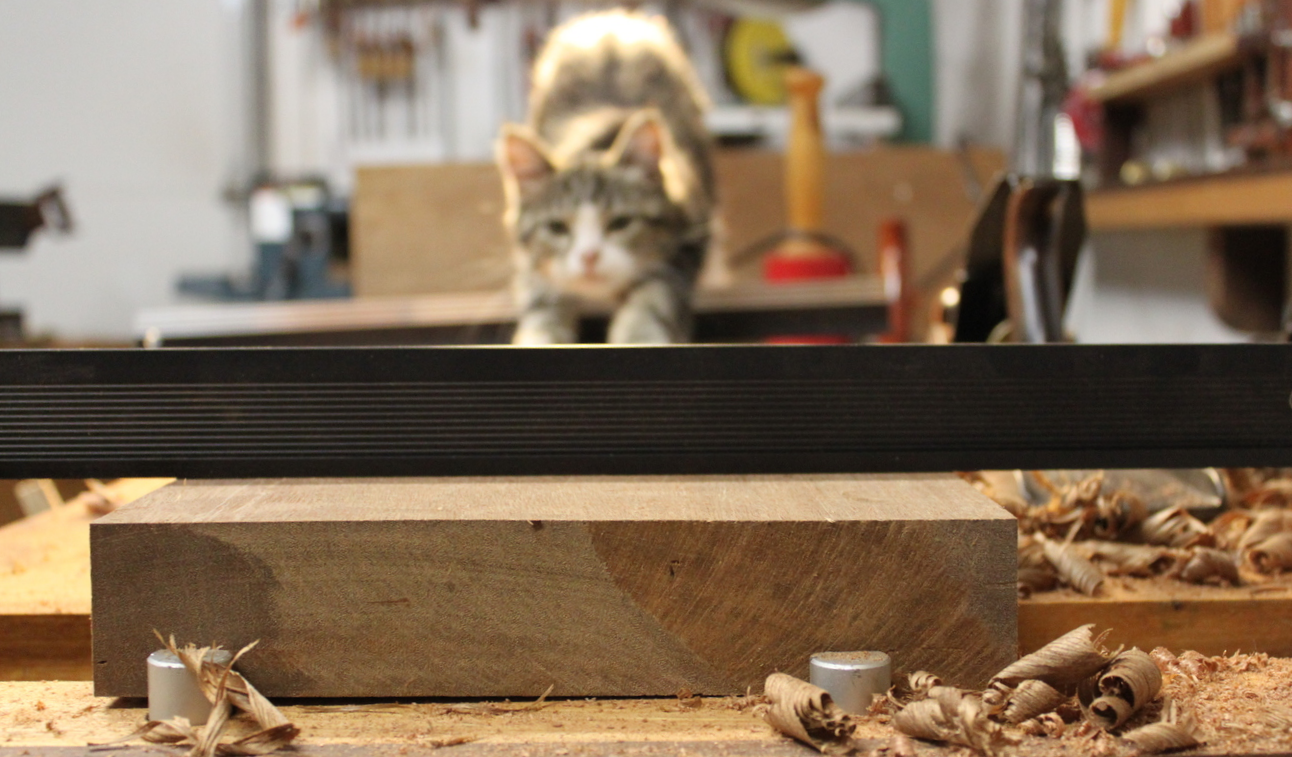
It is inconceivable for Penny to nap or play anywhere other than right in the middle of the action all the time. She is constantly in the way, but always too cute for me to care.

It is helpful to mark your high and low spots as you are planing, especially on wide or long boards because things can get confusing quick. As I'm planing, I hold the sole of my plane or a winding stick at an angle with a light behind it so I can see where the wood is high. As I drag it across the surface, I follow the high and low lines with a pencil and fill them in accordingly so I can plane away high spots and avoid low spots.
Once I finished with the scrub, I used my low angle jack the same way, diagonally across the whole board until the scrub marks were gone, then straight, following the grain of the wood, checking often for square. The finish from my Jack plane (I used the Lee Valley Low Angle Jack for this in tandem with my refurbished Stanley Type 11 Number 5 Jack) was sufficient for my needs, or I would have then moved on to my Stanley No. 3 or 4 smoother.
I finally, after no small effort, got all three pieces flat on one side again, so I decided to stack them up and come back the next day. I brought my coffee into the shop the next morning to find the wonderful surprise that all but one had again twisted. I should have known better than to have stacked them without stickers (pieces of wood set between each piece to allow airflow) or weight on top of them, but I figured only a few hours wouldn't be enough time to allow for twist. Unfortunately we also got 6 inches of rain that night and humidity was through the roof. Hence I got to flatten them again. Chalk it up to more planing practice, amiright? But this time, one of the pieces just would. not. cooperate. So when you have a big problem, one easy way to solve it is to make it smaller. Literally.
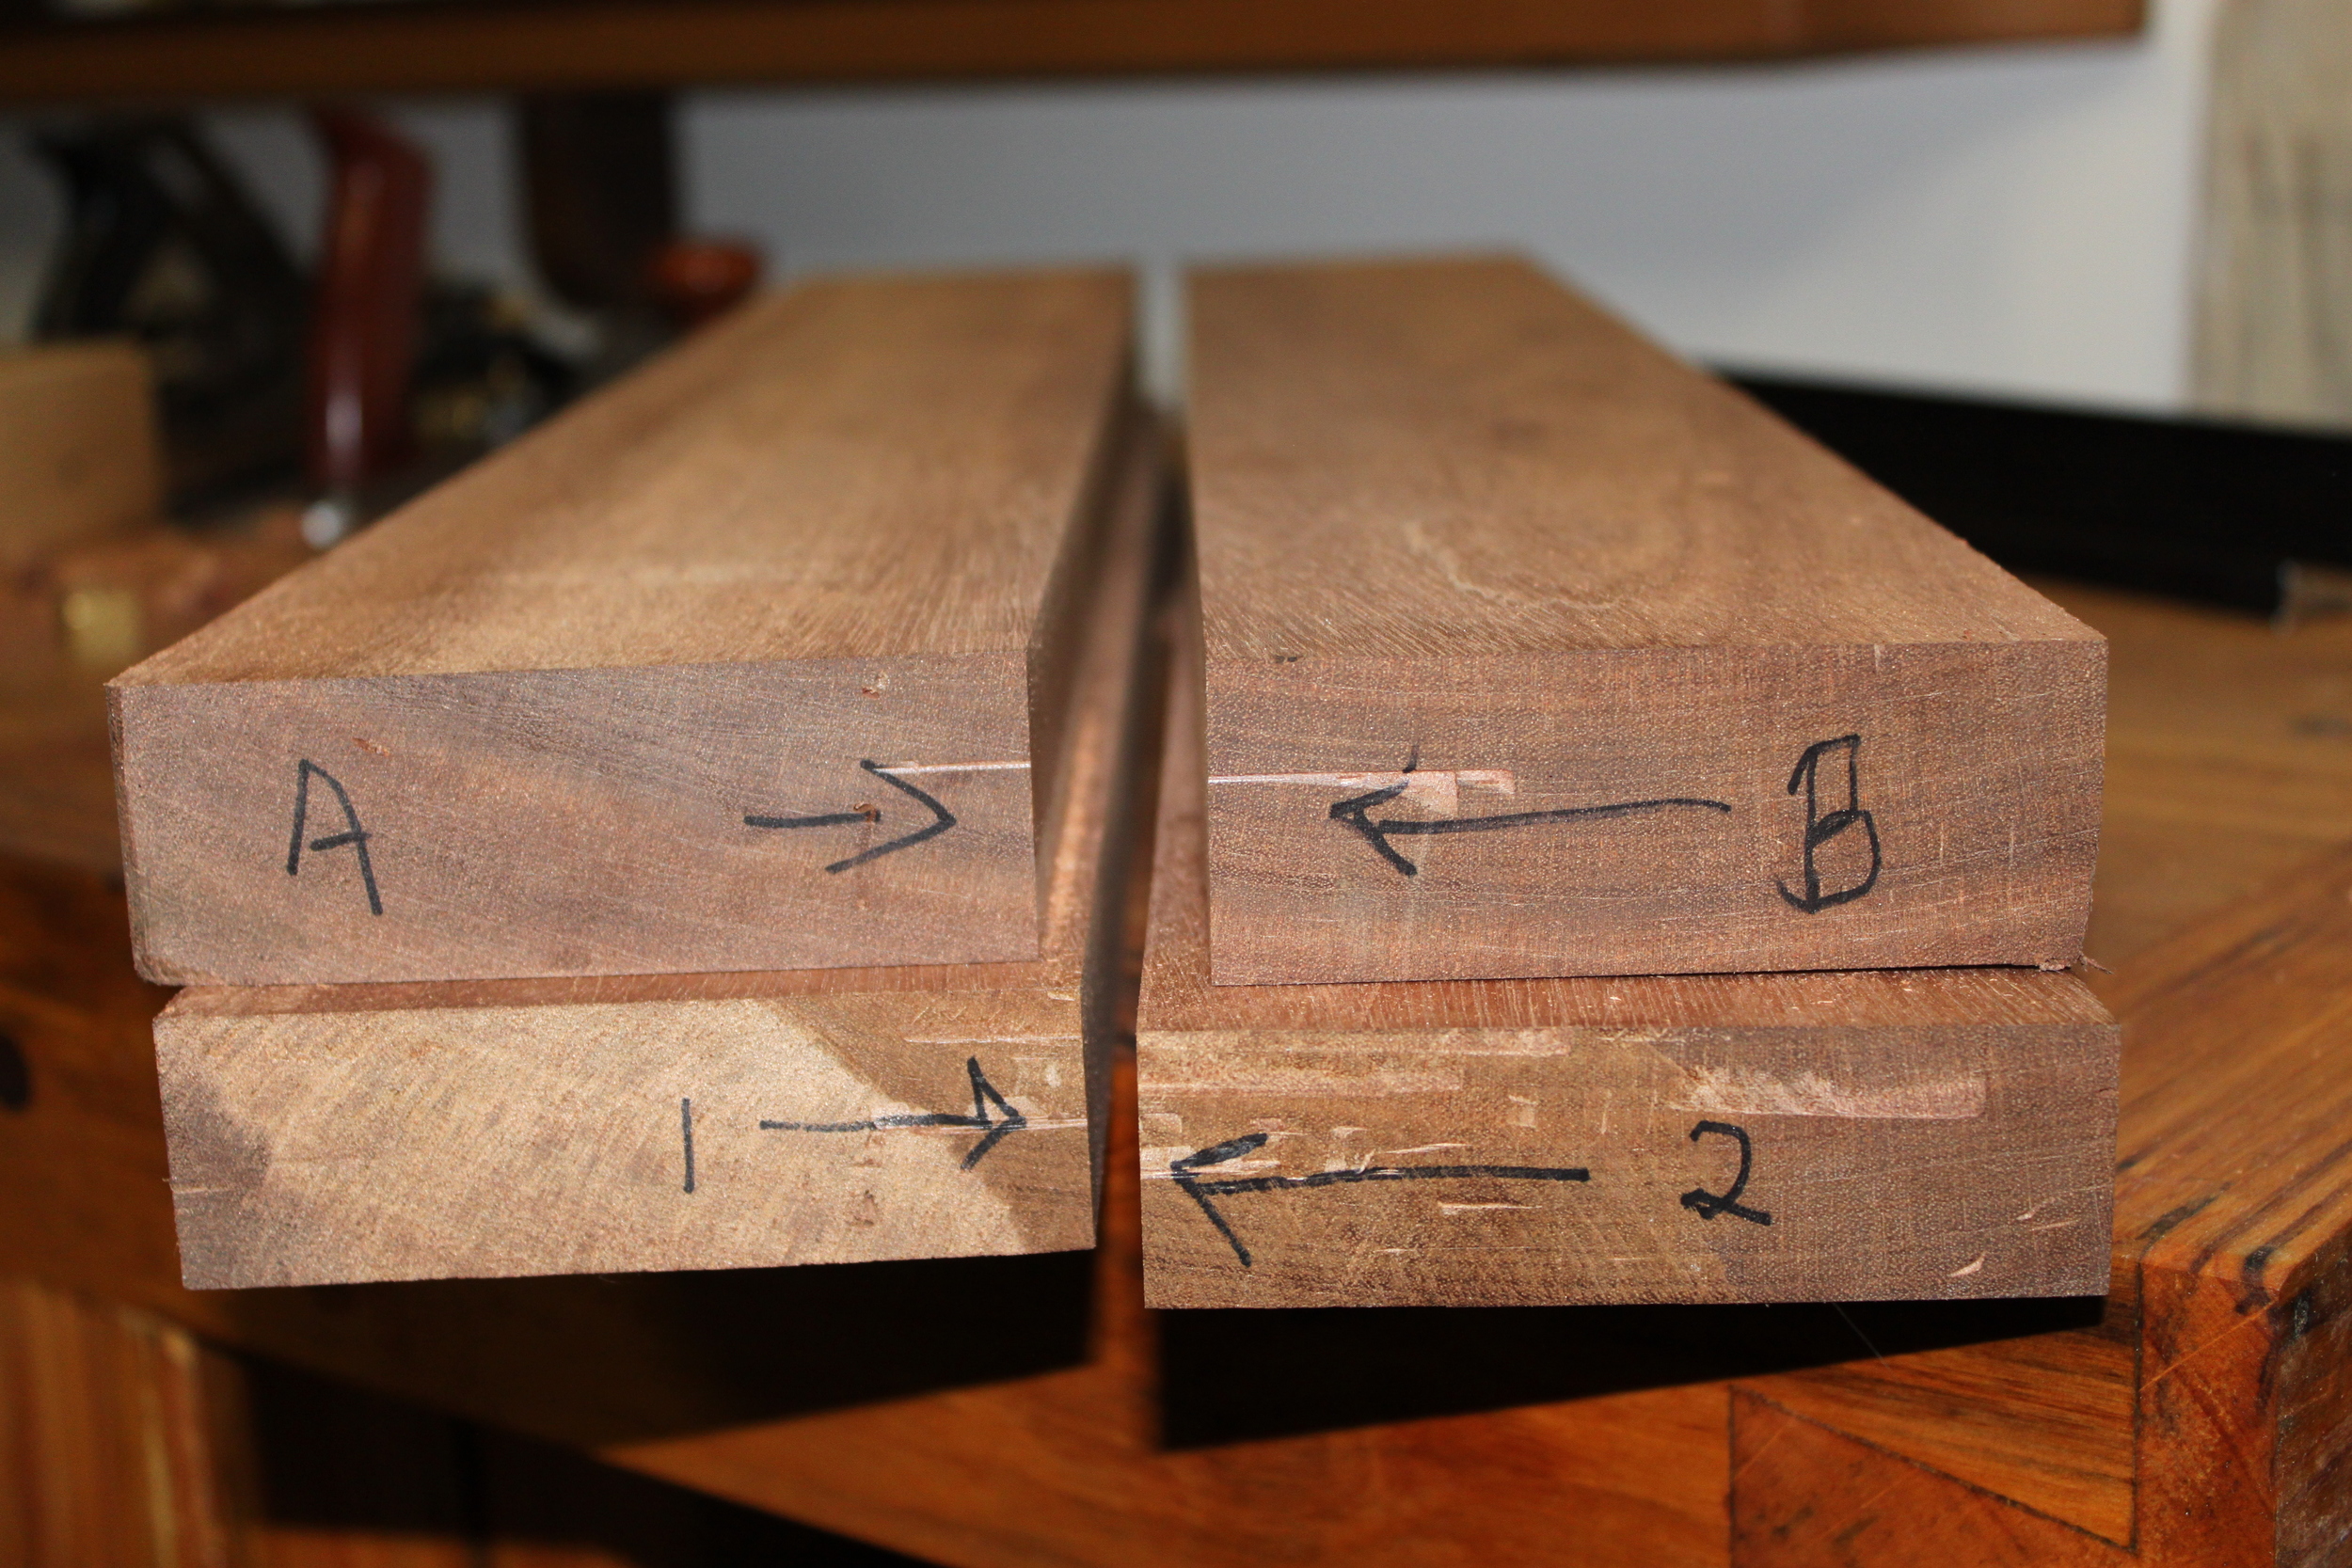
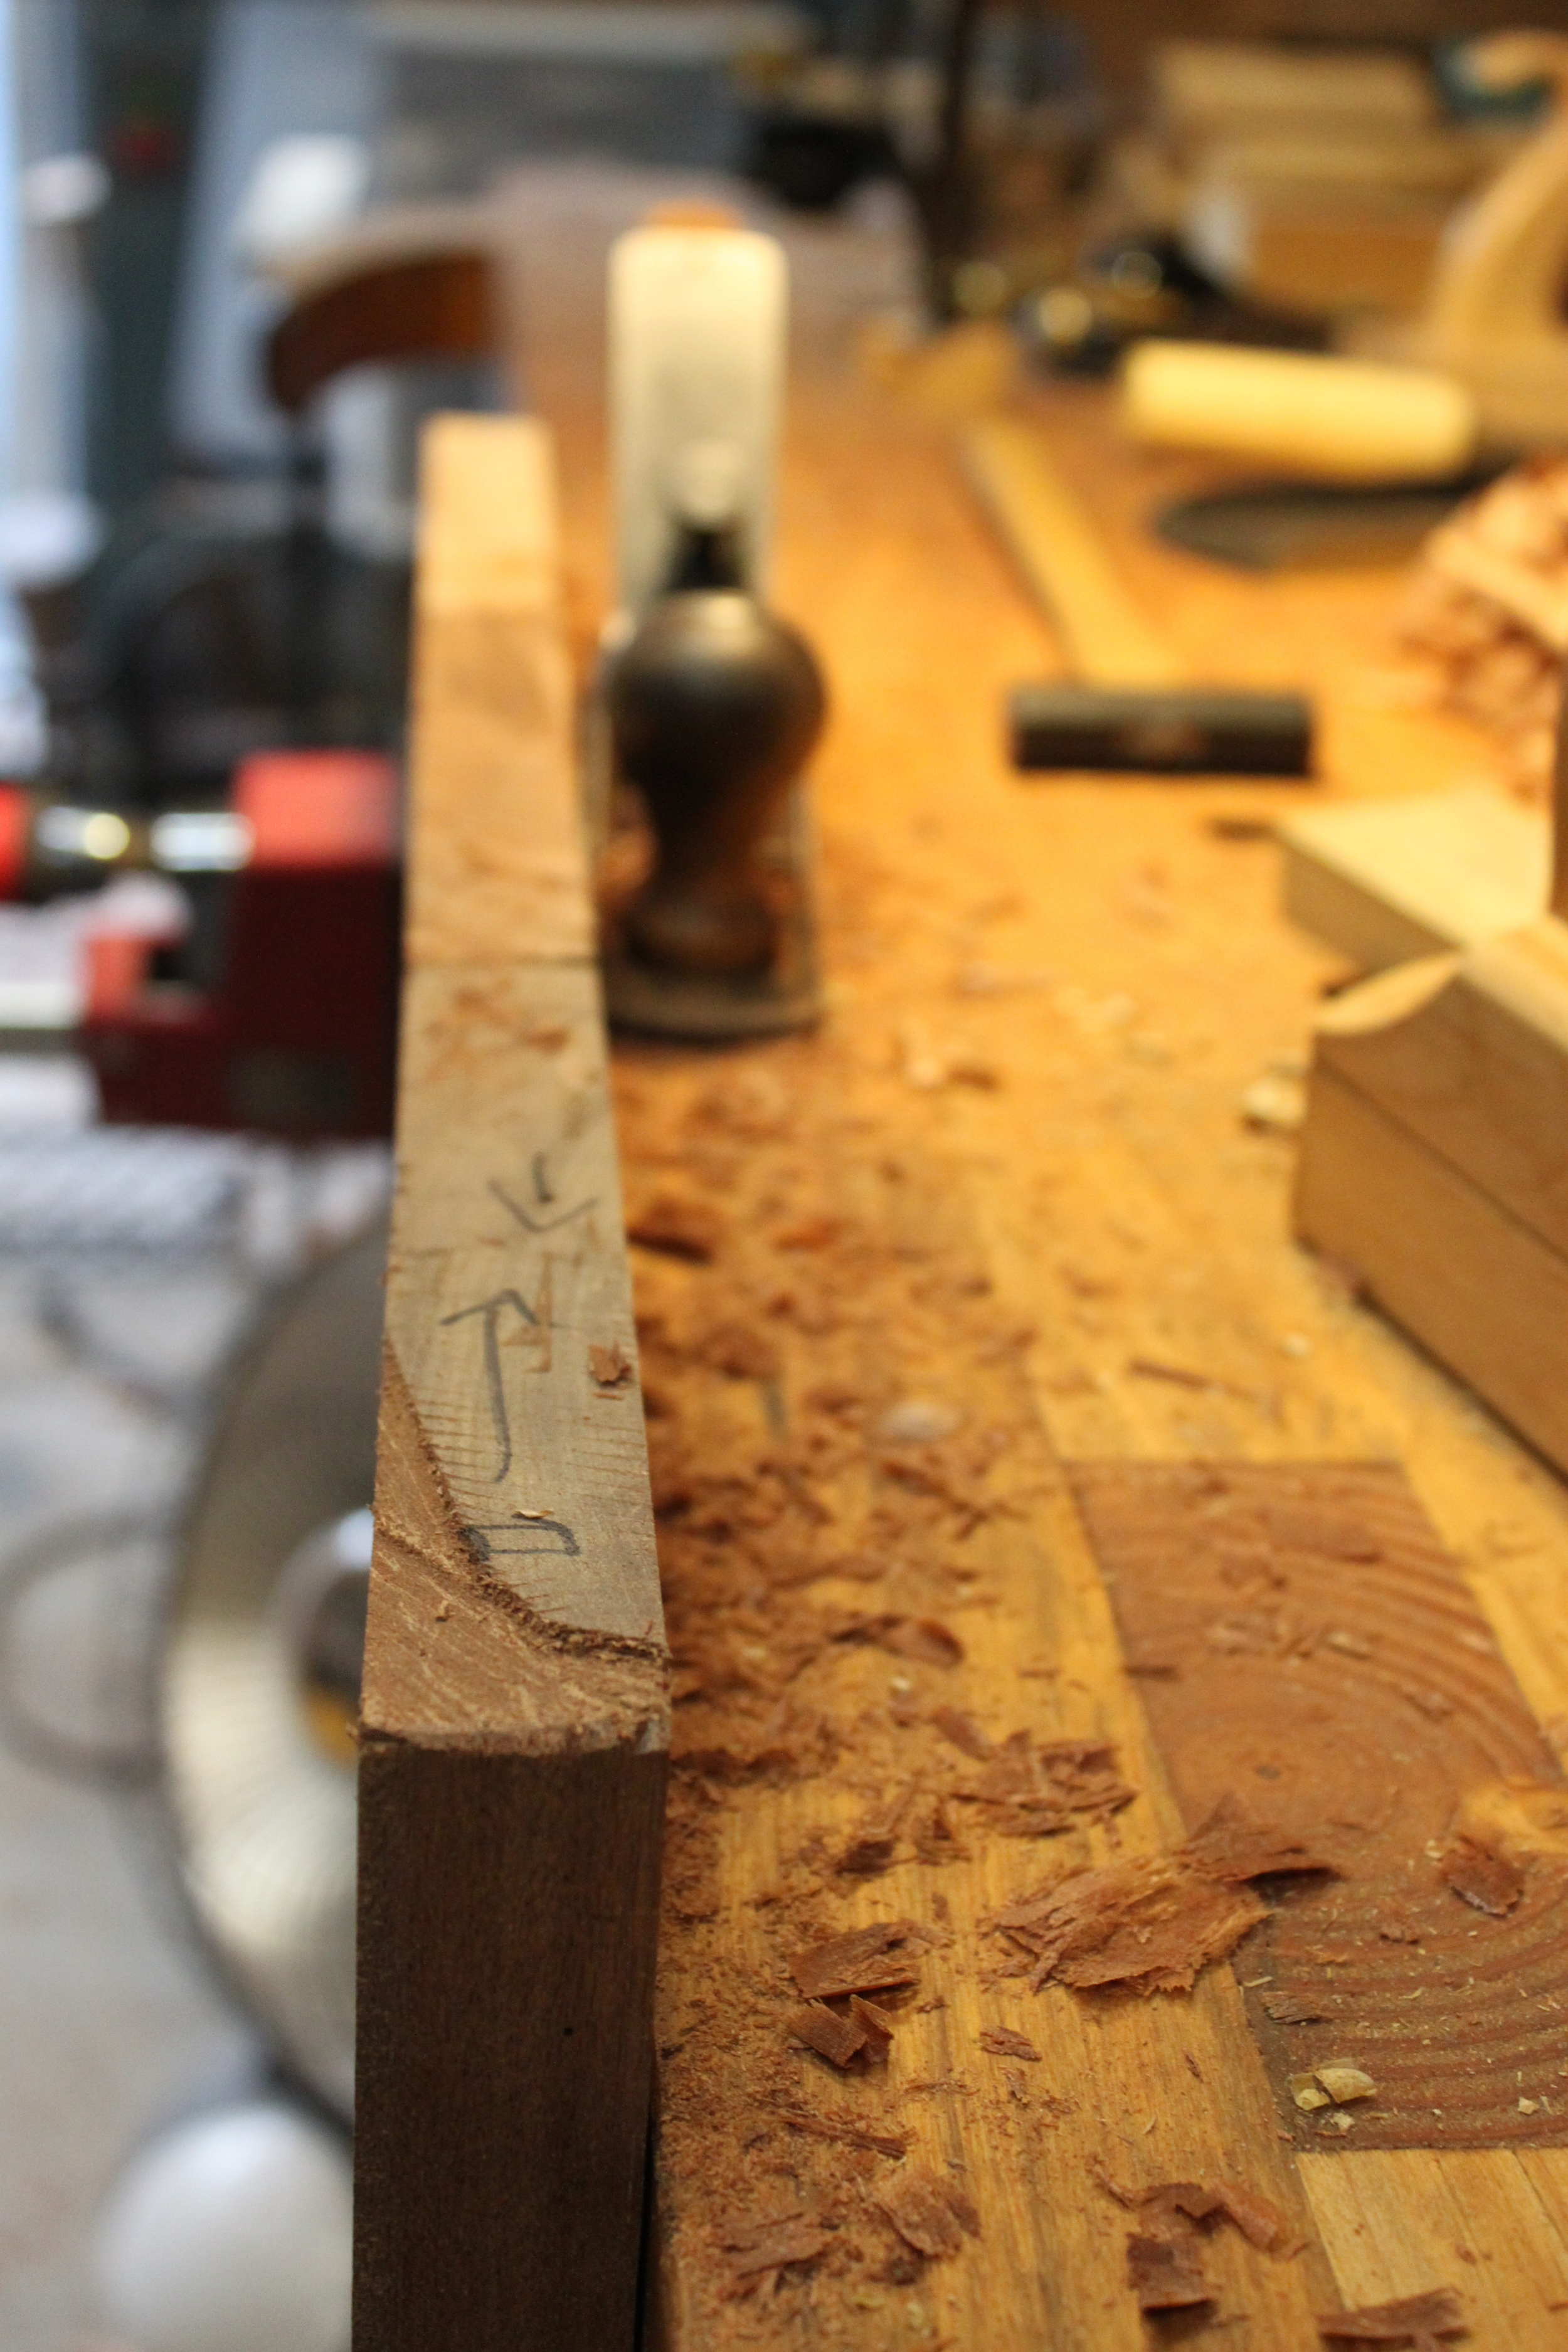
One can never be too careful- I wanted to make sure these boards went back together the same way I cut them apart- and I triple dog dare you to try to find the seams now that they are back together.
Once I had flattened each of those stubborn components, it was necessary to joint the edges so they could be re-attached.
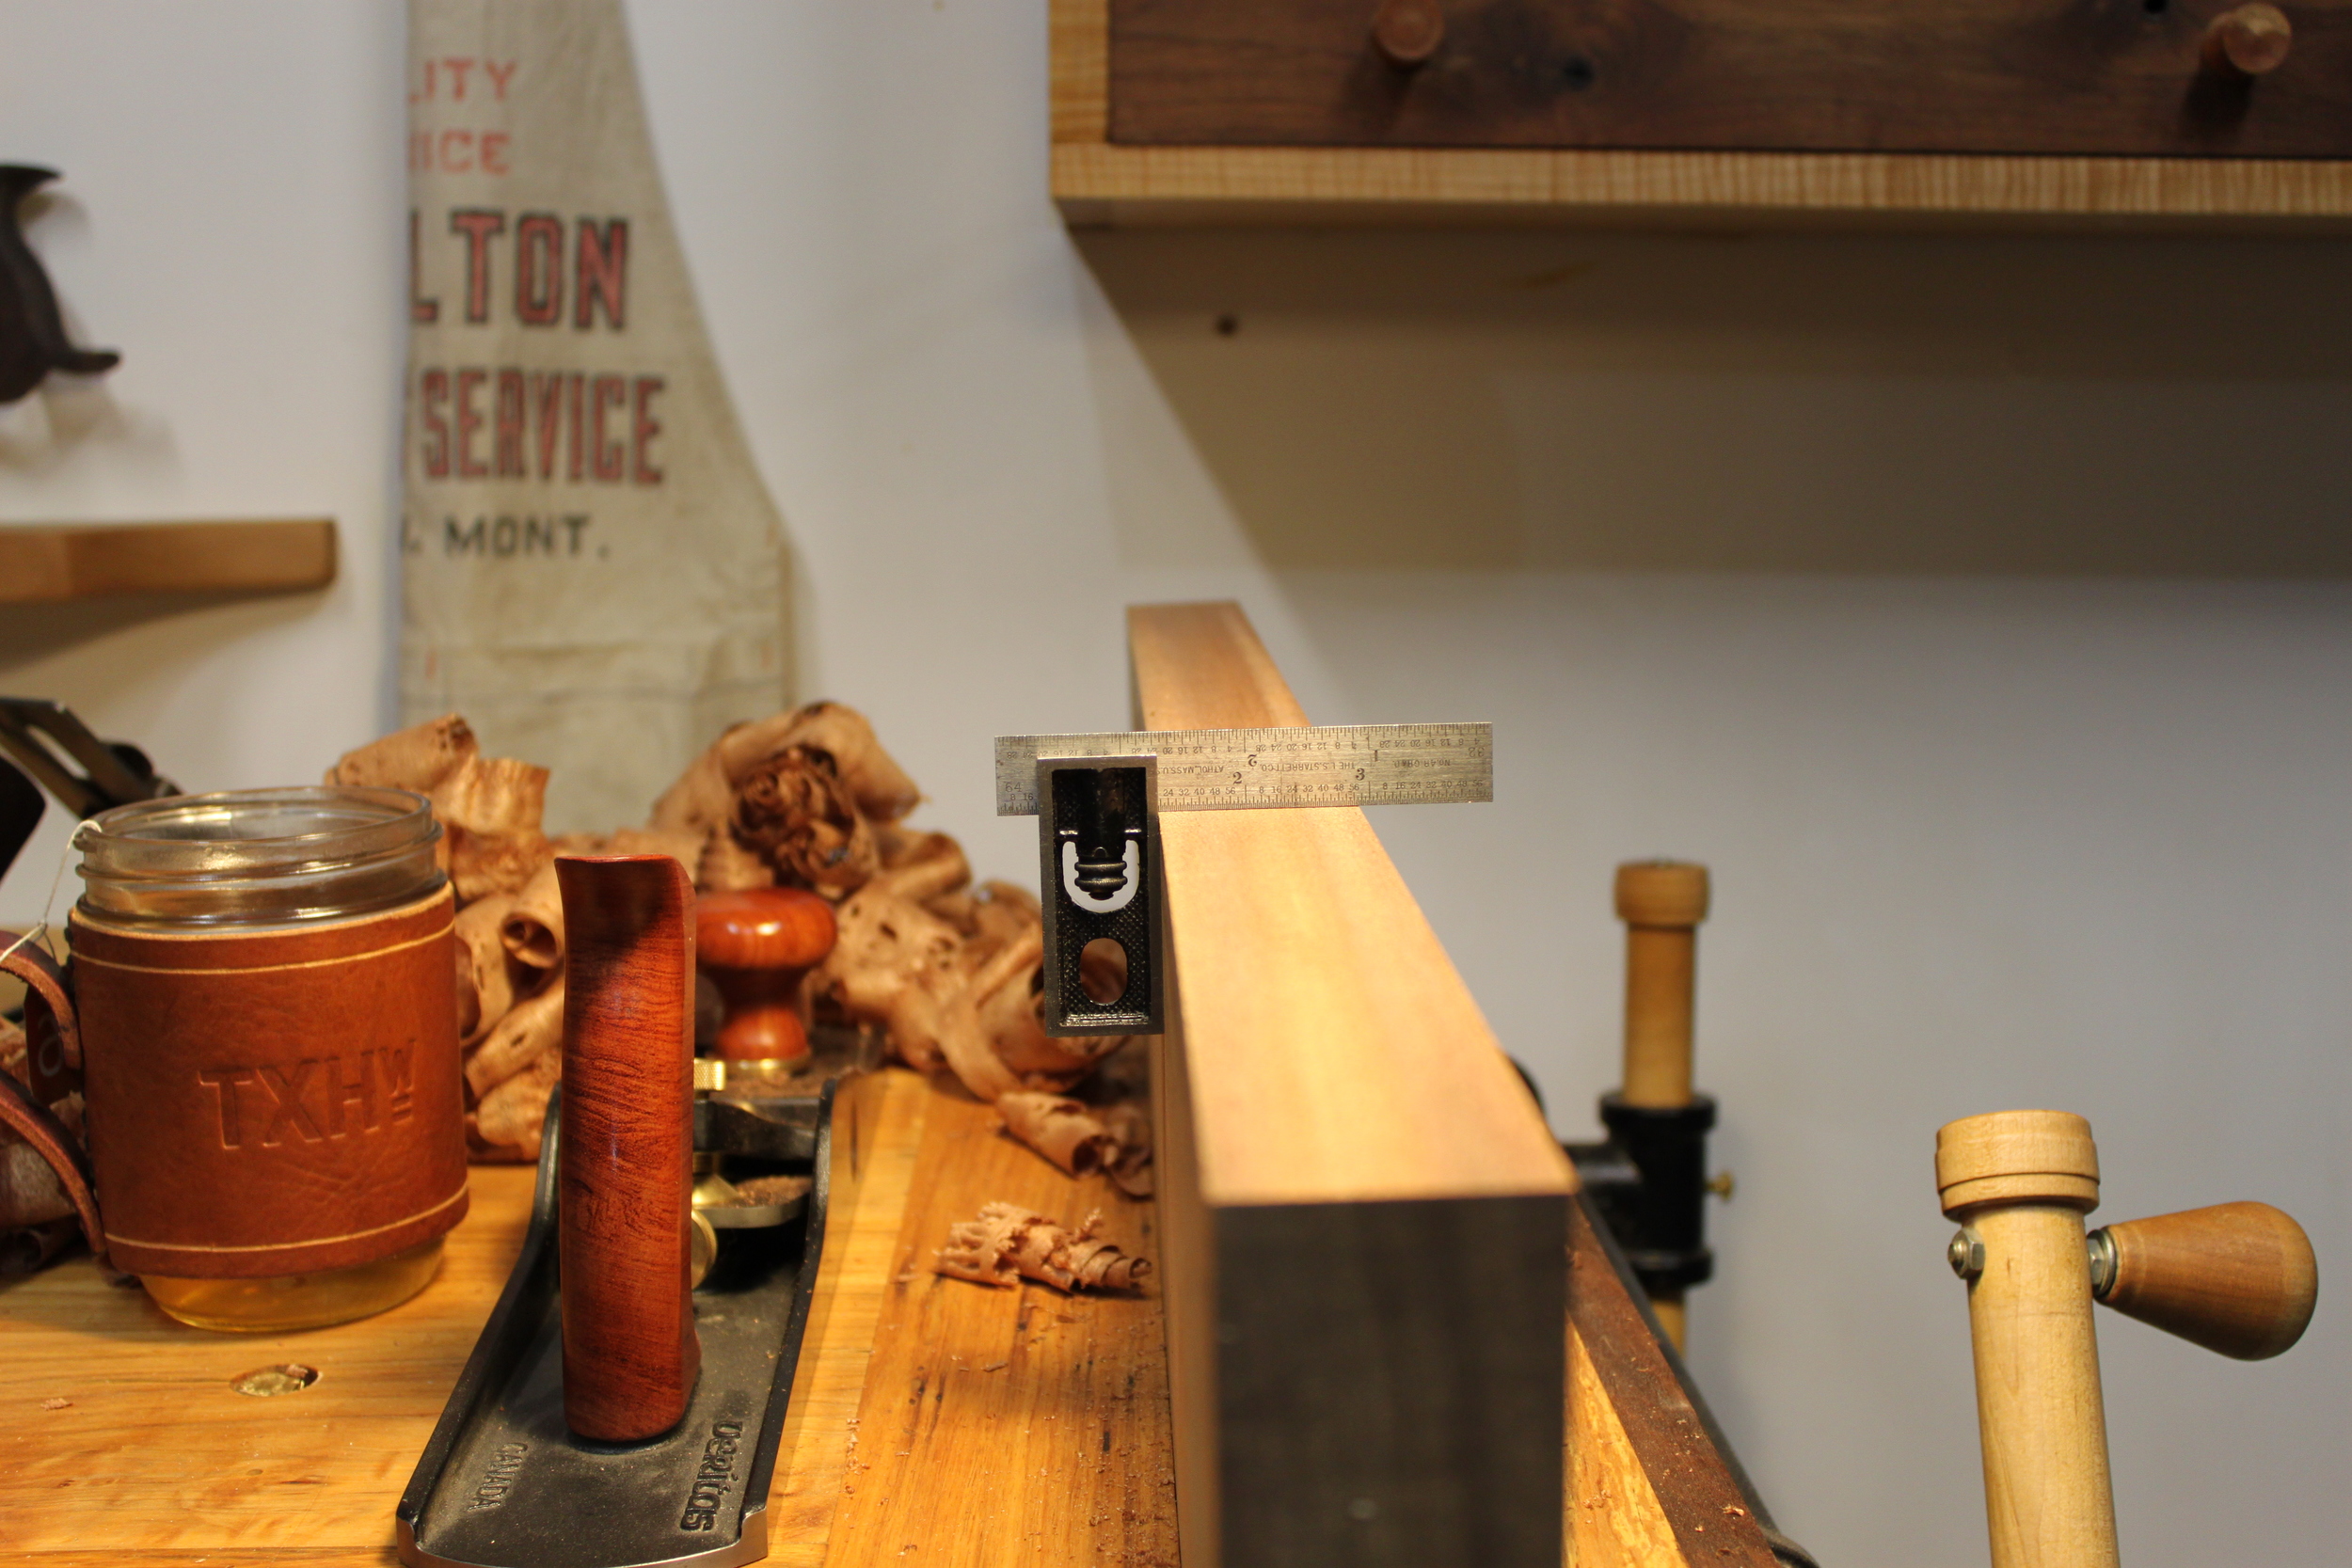
Using a proper square from the face side of the piece can help make sure you're planing the edge square.
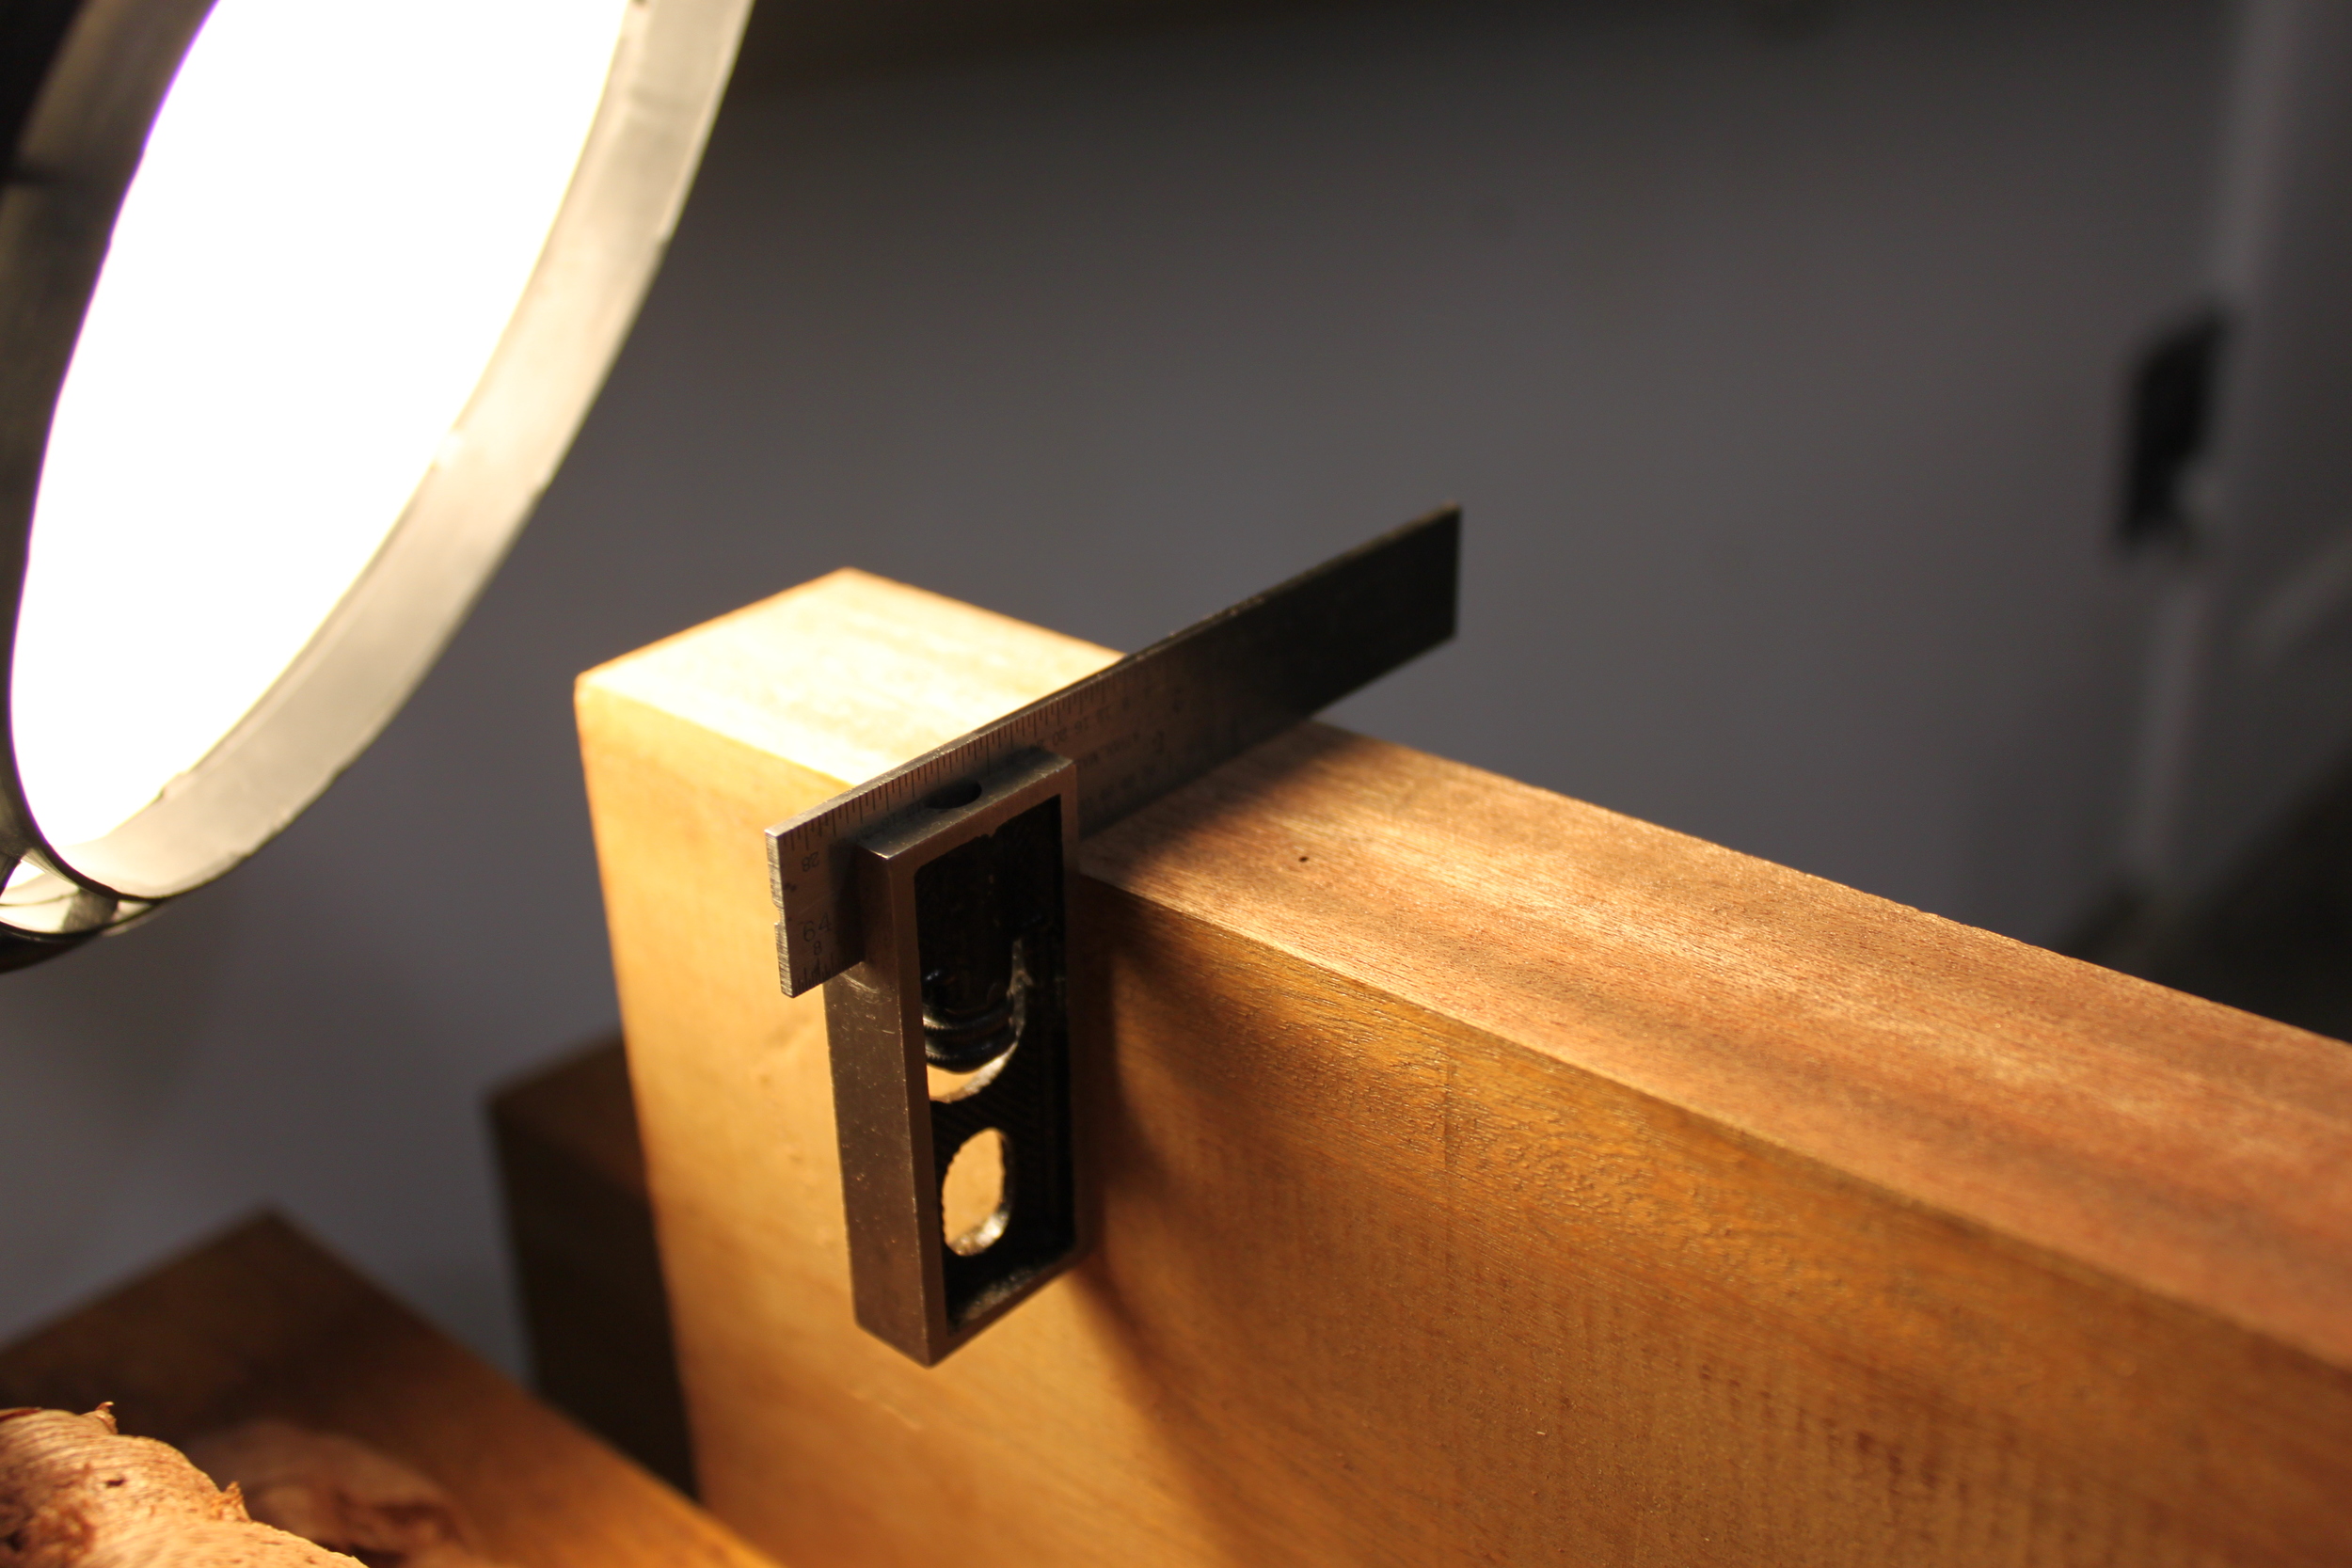
Sometimes it helps to get a little light behind the square.
Keeping my hand as a guide on the underside of the plane against the wood, I carefully plane the edges square to the face. A good way to check your progress is shown below.
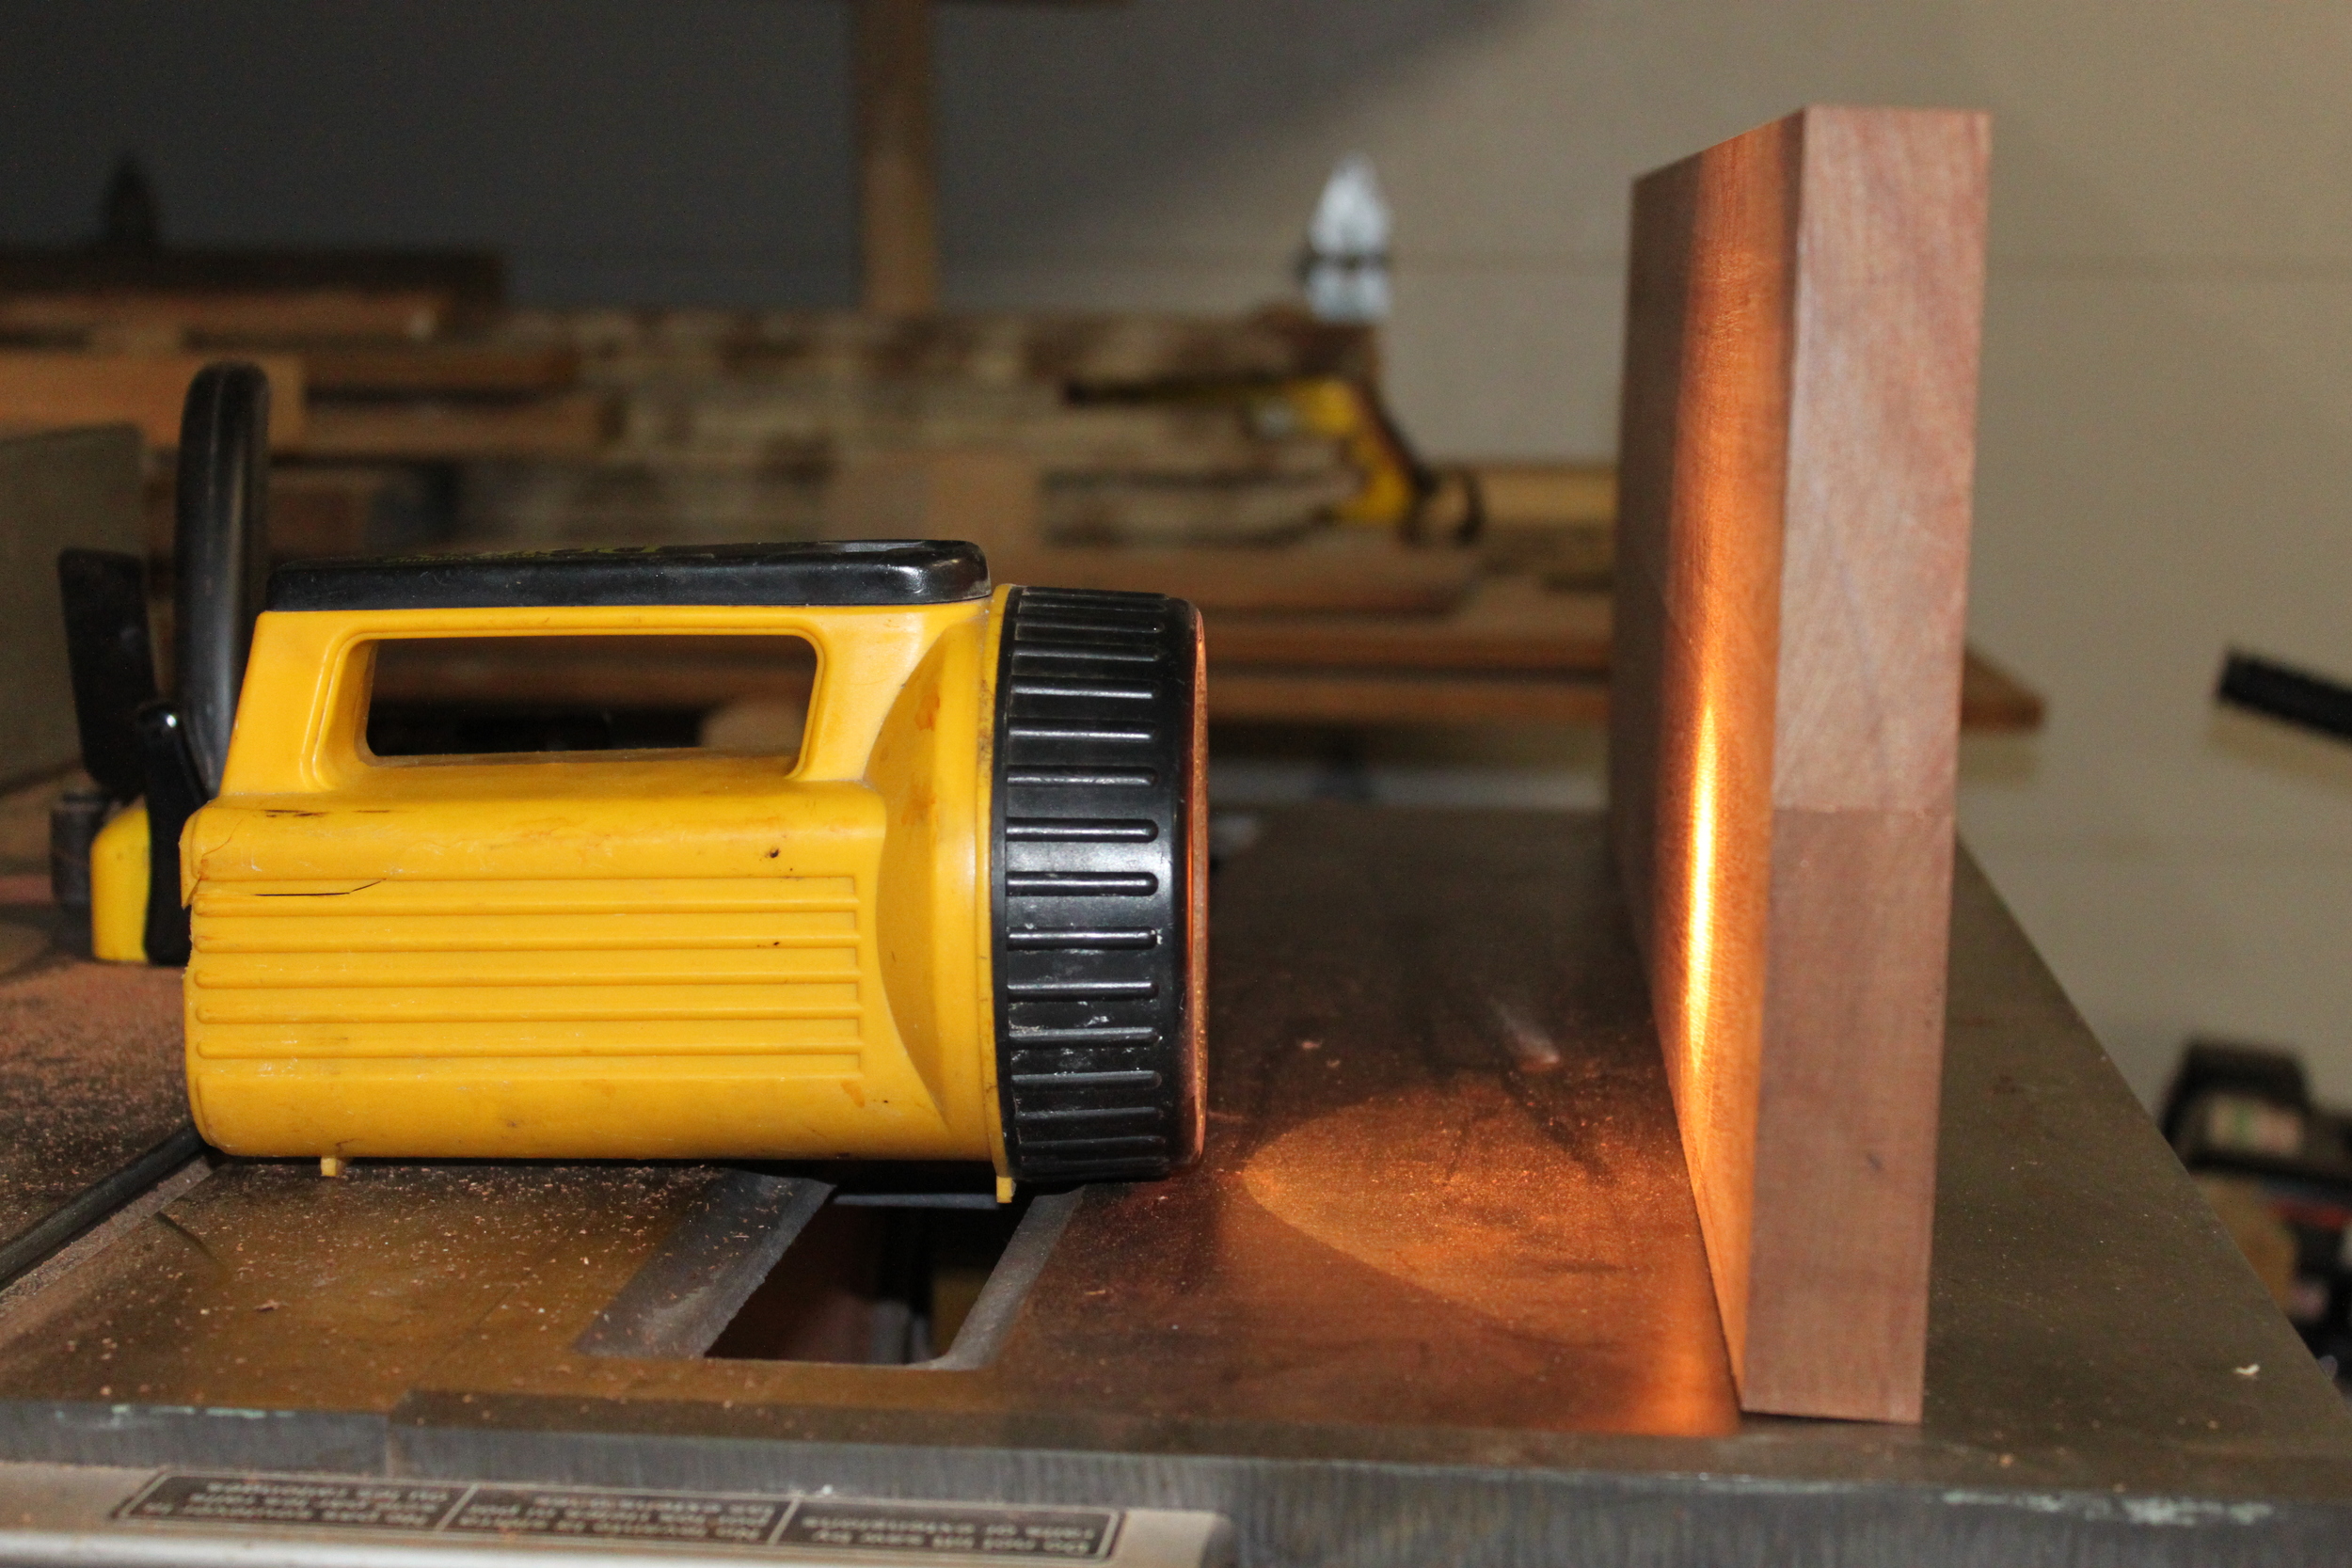
Set the two mating edges on a flat surface and put a flashlight behind them. If you can see light poking through the other side, you're off.

If you're having trouble, planing mating edges together can help. It makes the planing surface wider and also minimizes the chance for errors. Another tip is to tape the pieces together using blue painter's tape so they don't move around when mounting in the vise.
I finally got the top glued back together using many clamps and cauls. This time, I oriented the boards differently so I would hopefully be done with twist for good. Unfortunately somehow I didn't get a picture of that rinky dink glueing setup, but, oh well. After I got the clamps off I had a lot of glue cleanup to do. I pulled out my dedicated glue cleanup plane and got to work. You don't likely want to use your favorite planes or chisels for glue cleanup because there is potential for blade damage and dullage (made up word? possibly). Since sharpening isn't my favorite task, I use this guy to make quick work of glue cleanups.

Why do I have a dedicated glue plane? This plane was given to me as a test product a while back. It was built to be a smoother, but the mouth was far too wide. It could be a jack, but the design of the rear of the plane doesn't allow for comfortable use over long periods of time. It has an A2 blade which stays sharp and holds a good edge against glue and since this isn't one of my favorite planes, I won't be upset if I mess it up a little during glue cleanup.
After all my hard work squaring the boards prior to the glueup, it was ready to be cut down to it's final dimension soon thereafter.

My trusty Florip hybrid halfback made quick and easy work of squaring this bit up
Then I just needed to plane the sawn edges square.
In defense of my absolute rubbish sawing here, I realized it might be quicker just to plane this tiny bit off instead of trying to keep a straight sawline where there wasn't enough material to keep the saw in the cut.
I prepared some bits of Black Limba with which to attach the table top to the frame, carefully cutting sliding bits for the screws to allow for wood movement. I drilled several holes then used a chisel to hog out the waste between them.
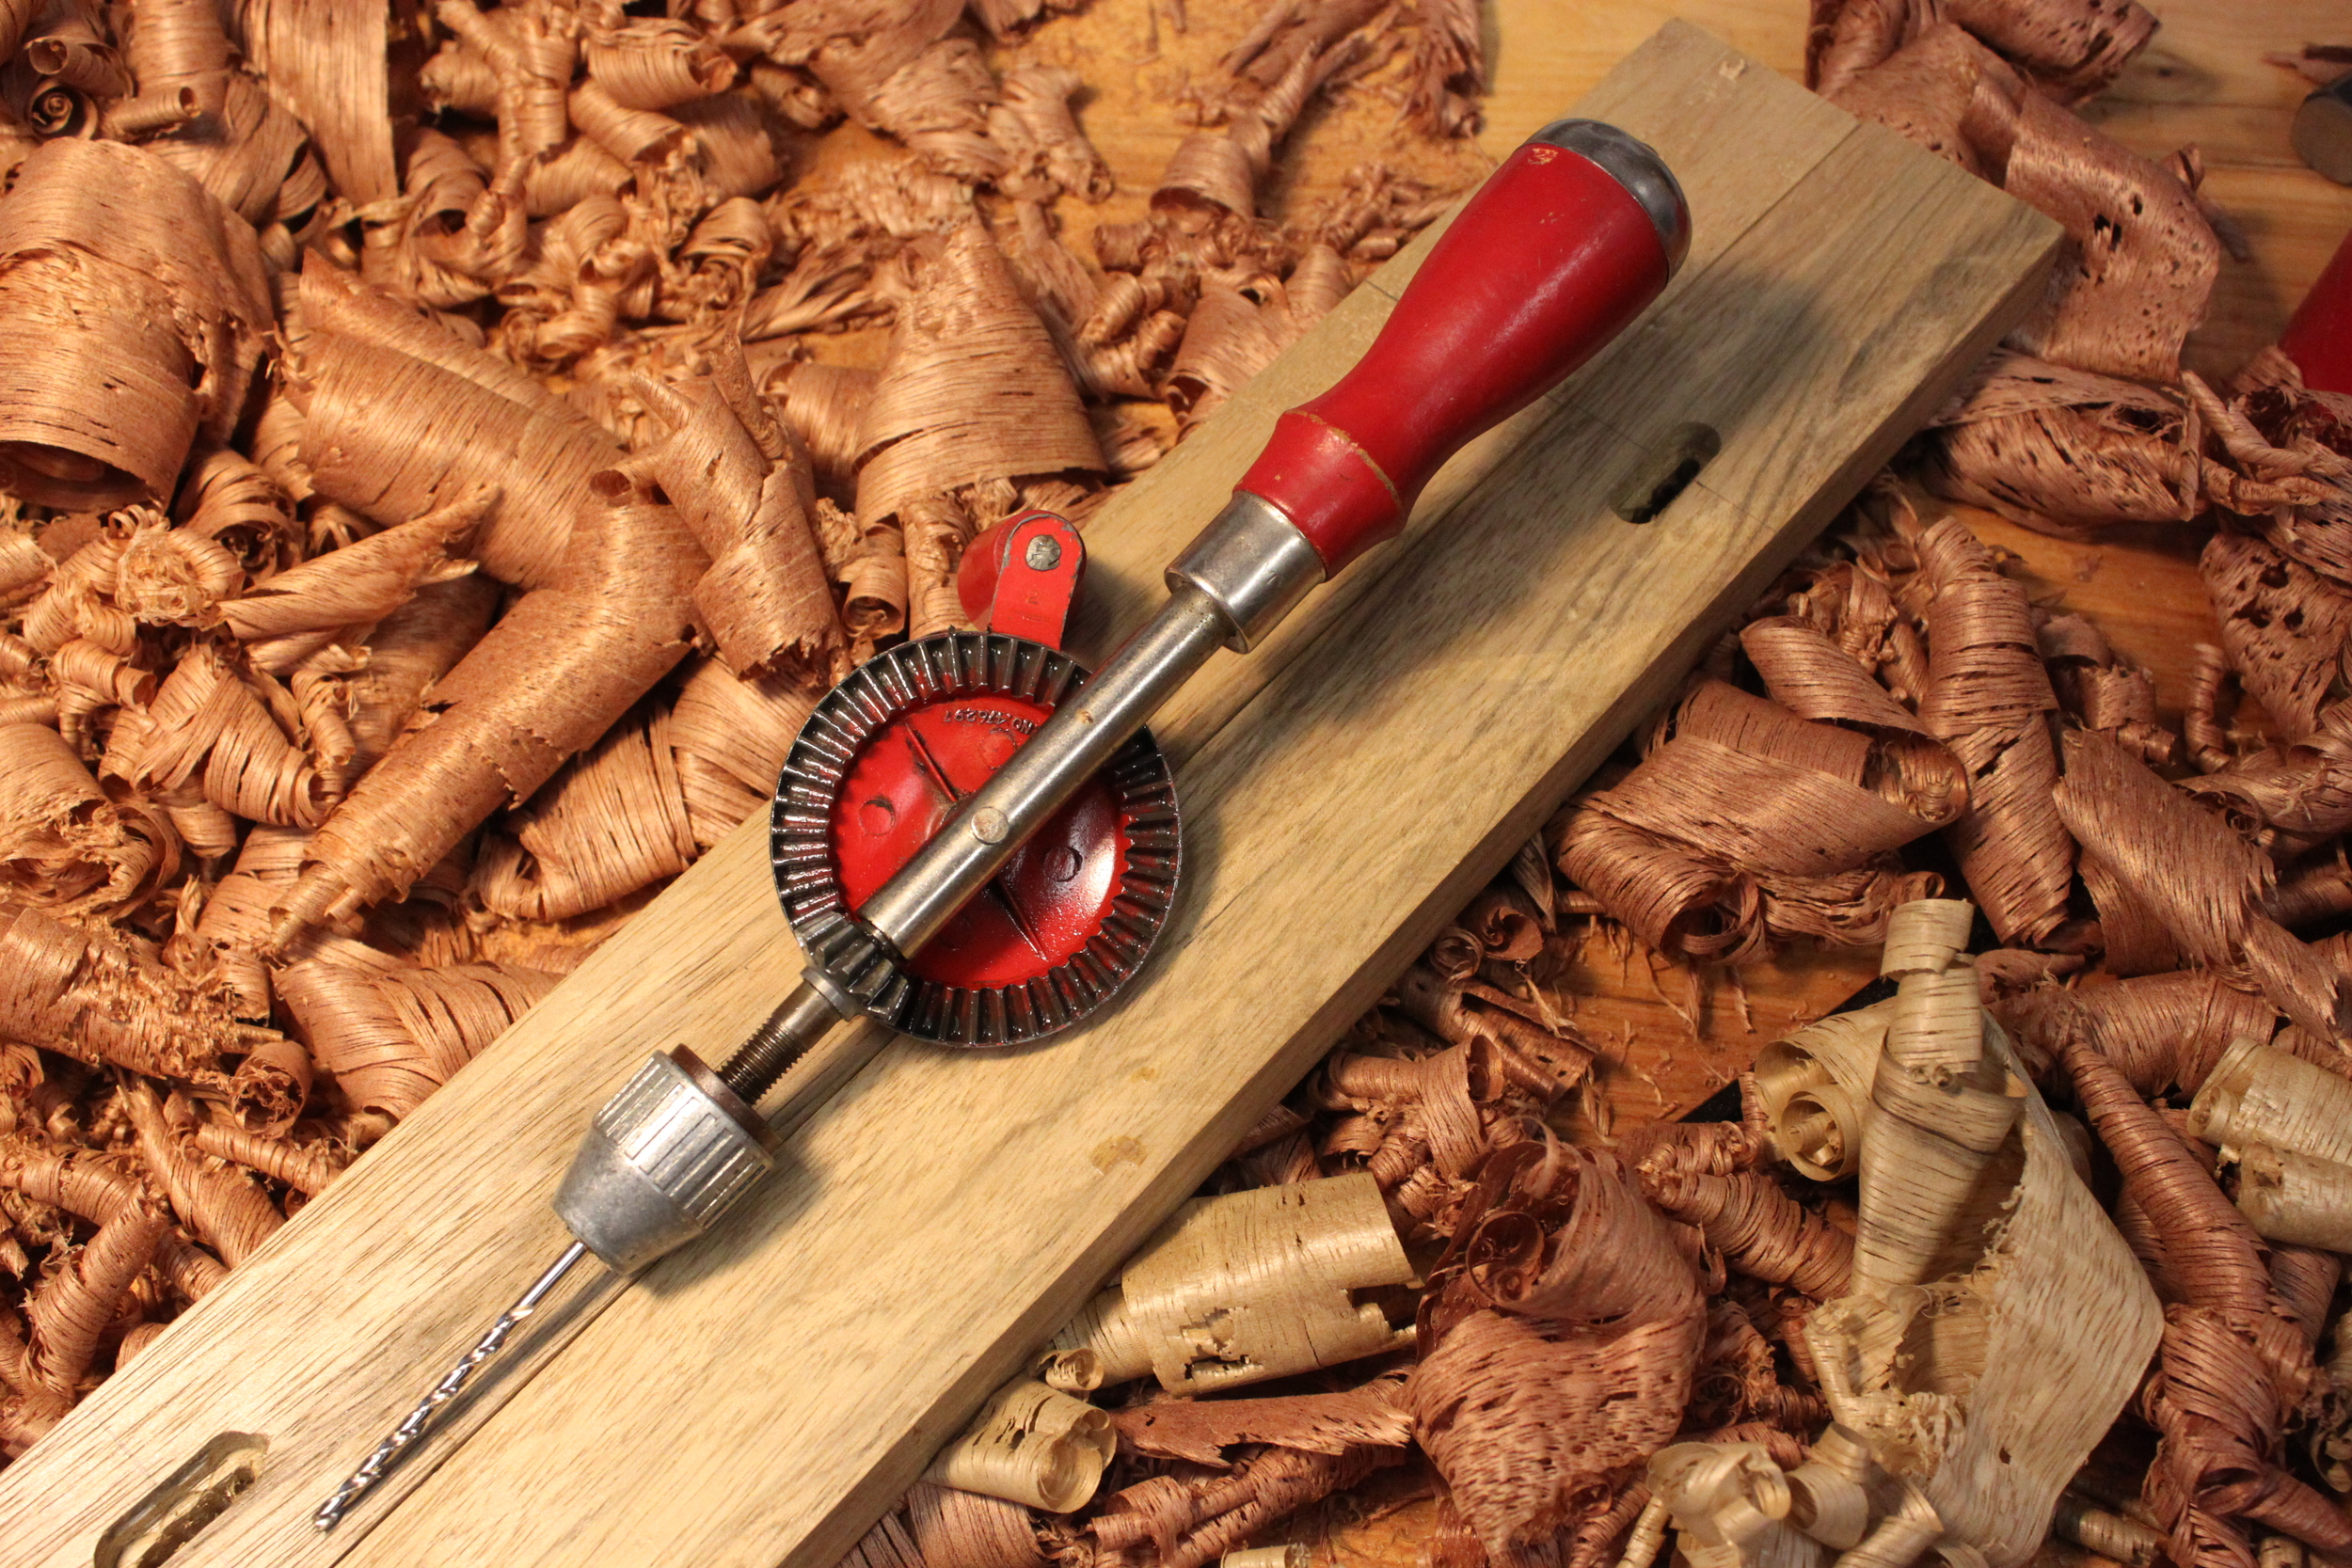
There are few things you can't do with a trusty brad point drill bit and an eggbeater drill.
And Voila, the case of the Tippy Table Top was solved. With no small amount of sweat, cursing, coffee, beer, and stubbornness. Stay tuned to see the brilliant use I've come up with for the table in my shop.
You don't get to see the finished product yet because I've since come up with a super brilliant top secret Part 2 for the function of this table.