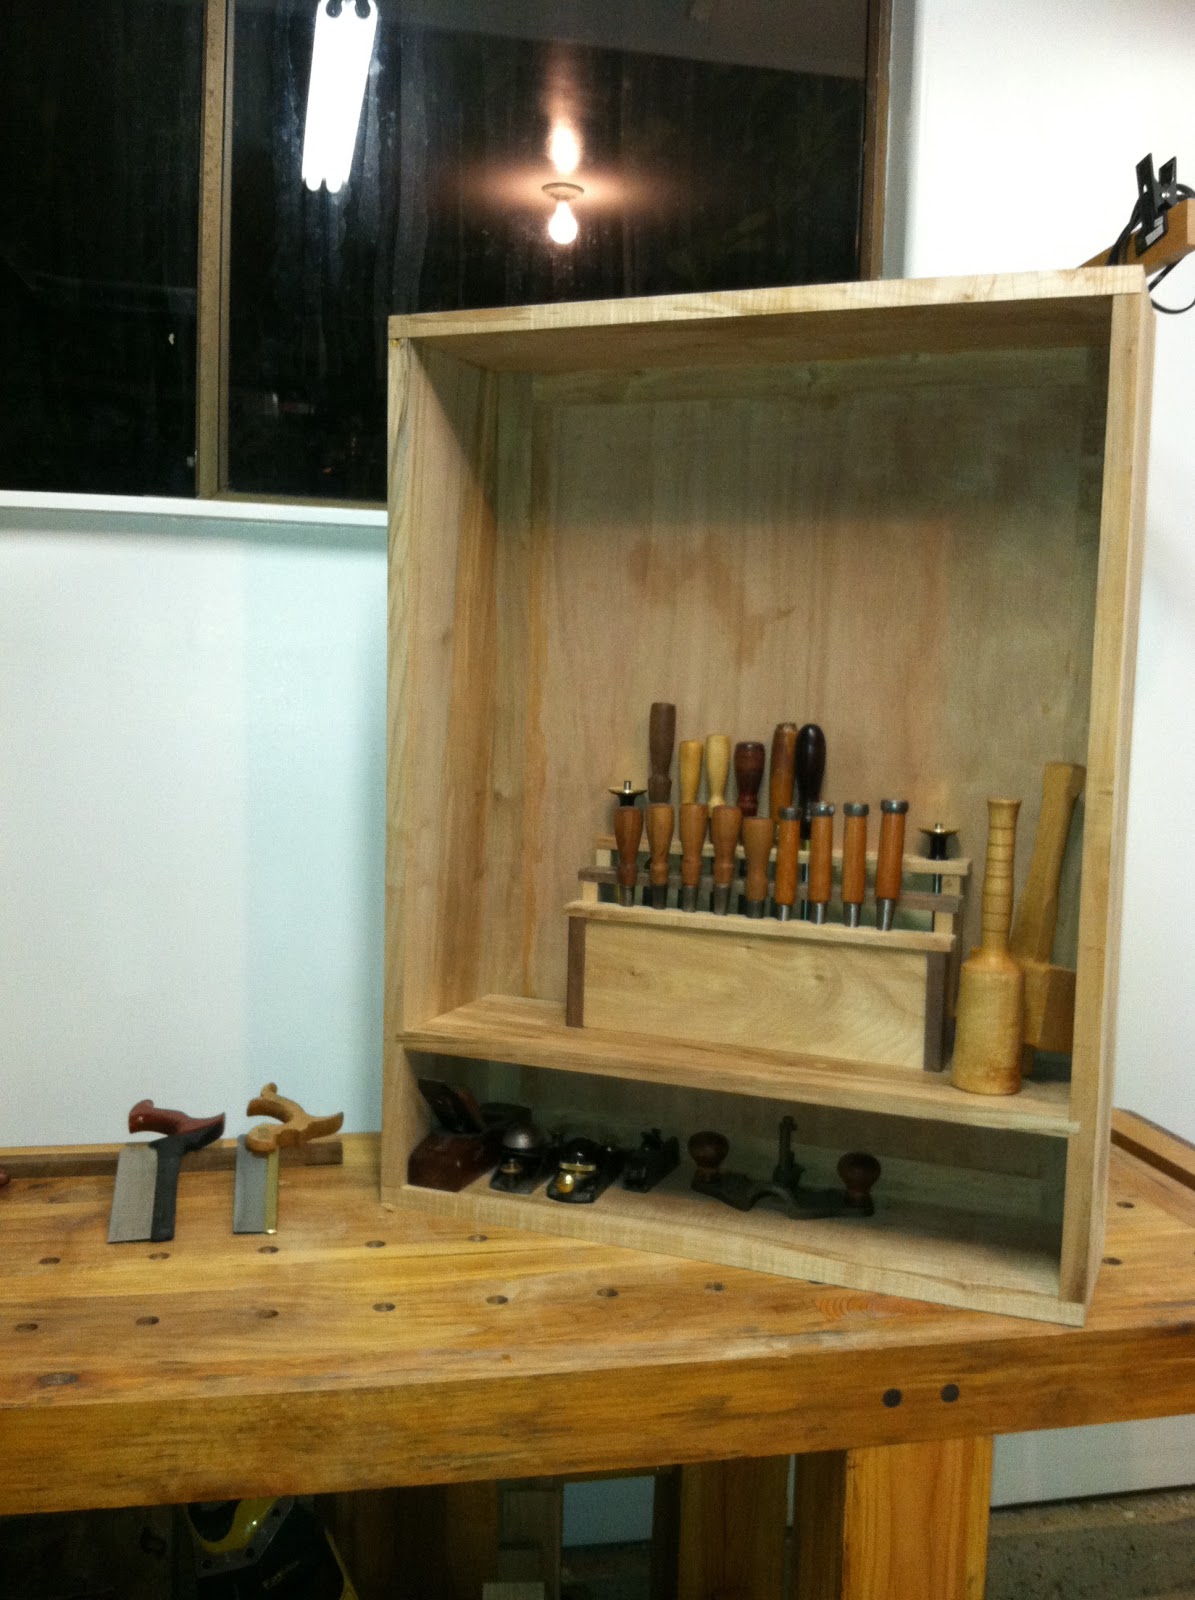
My "ATC" Build
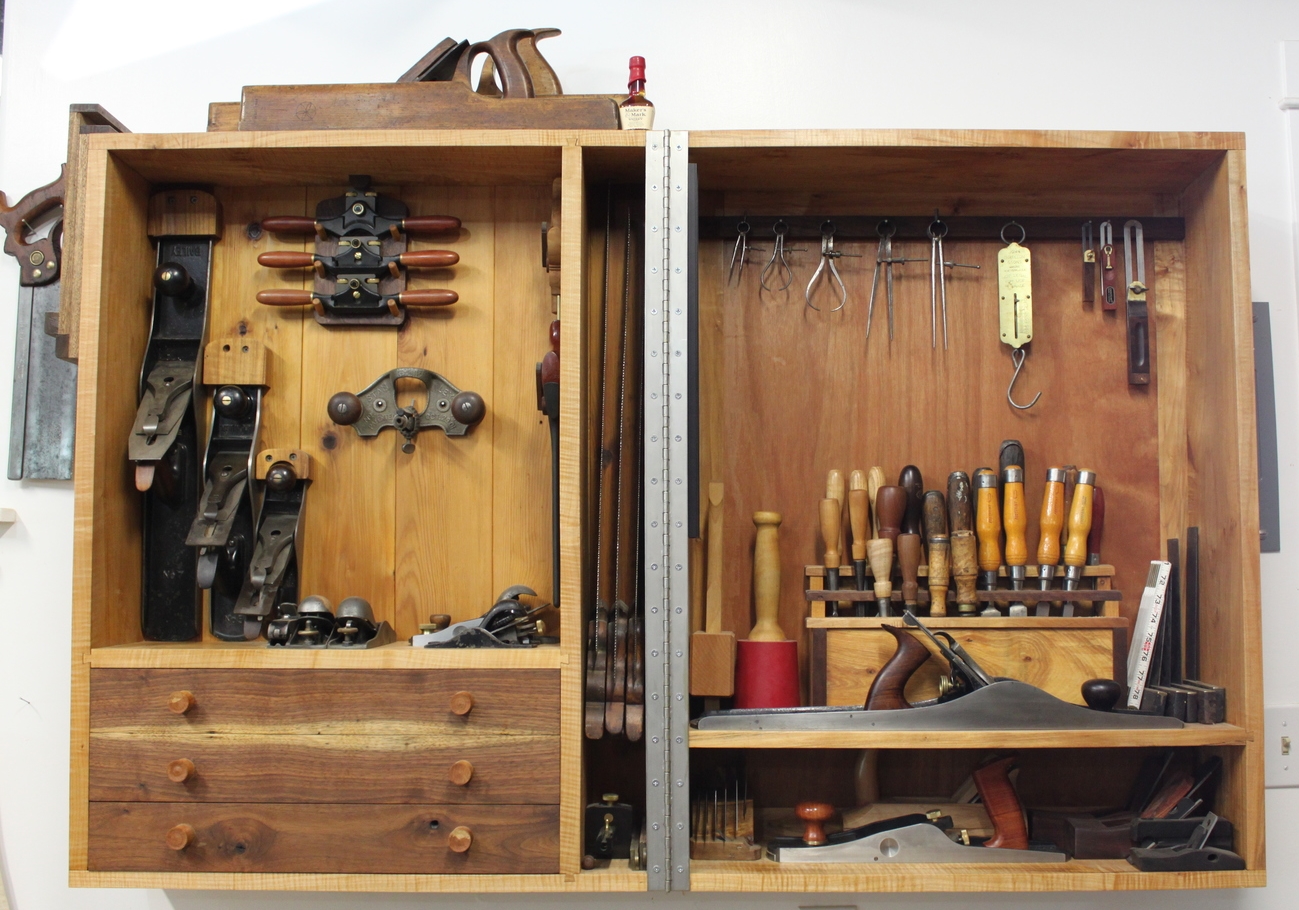
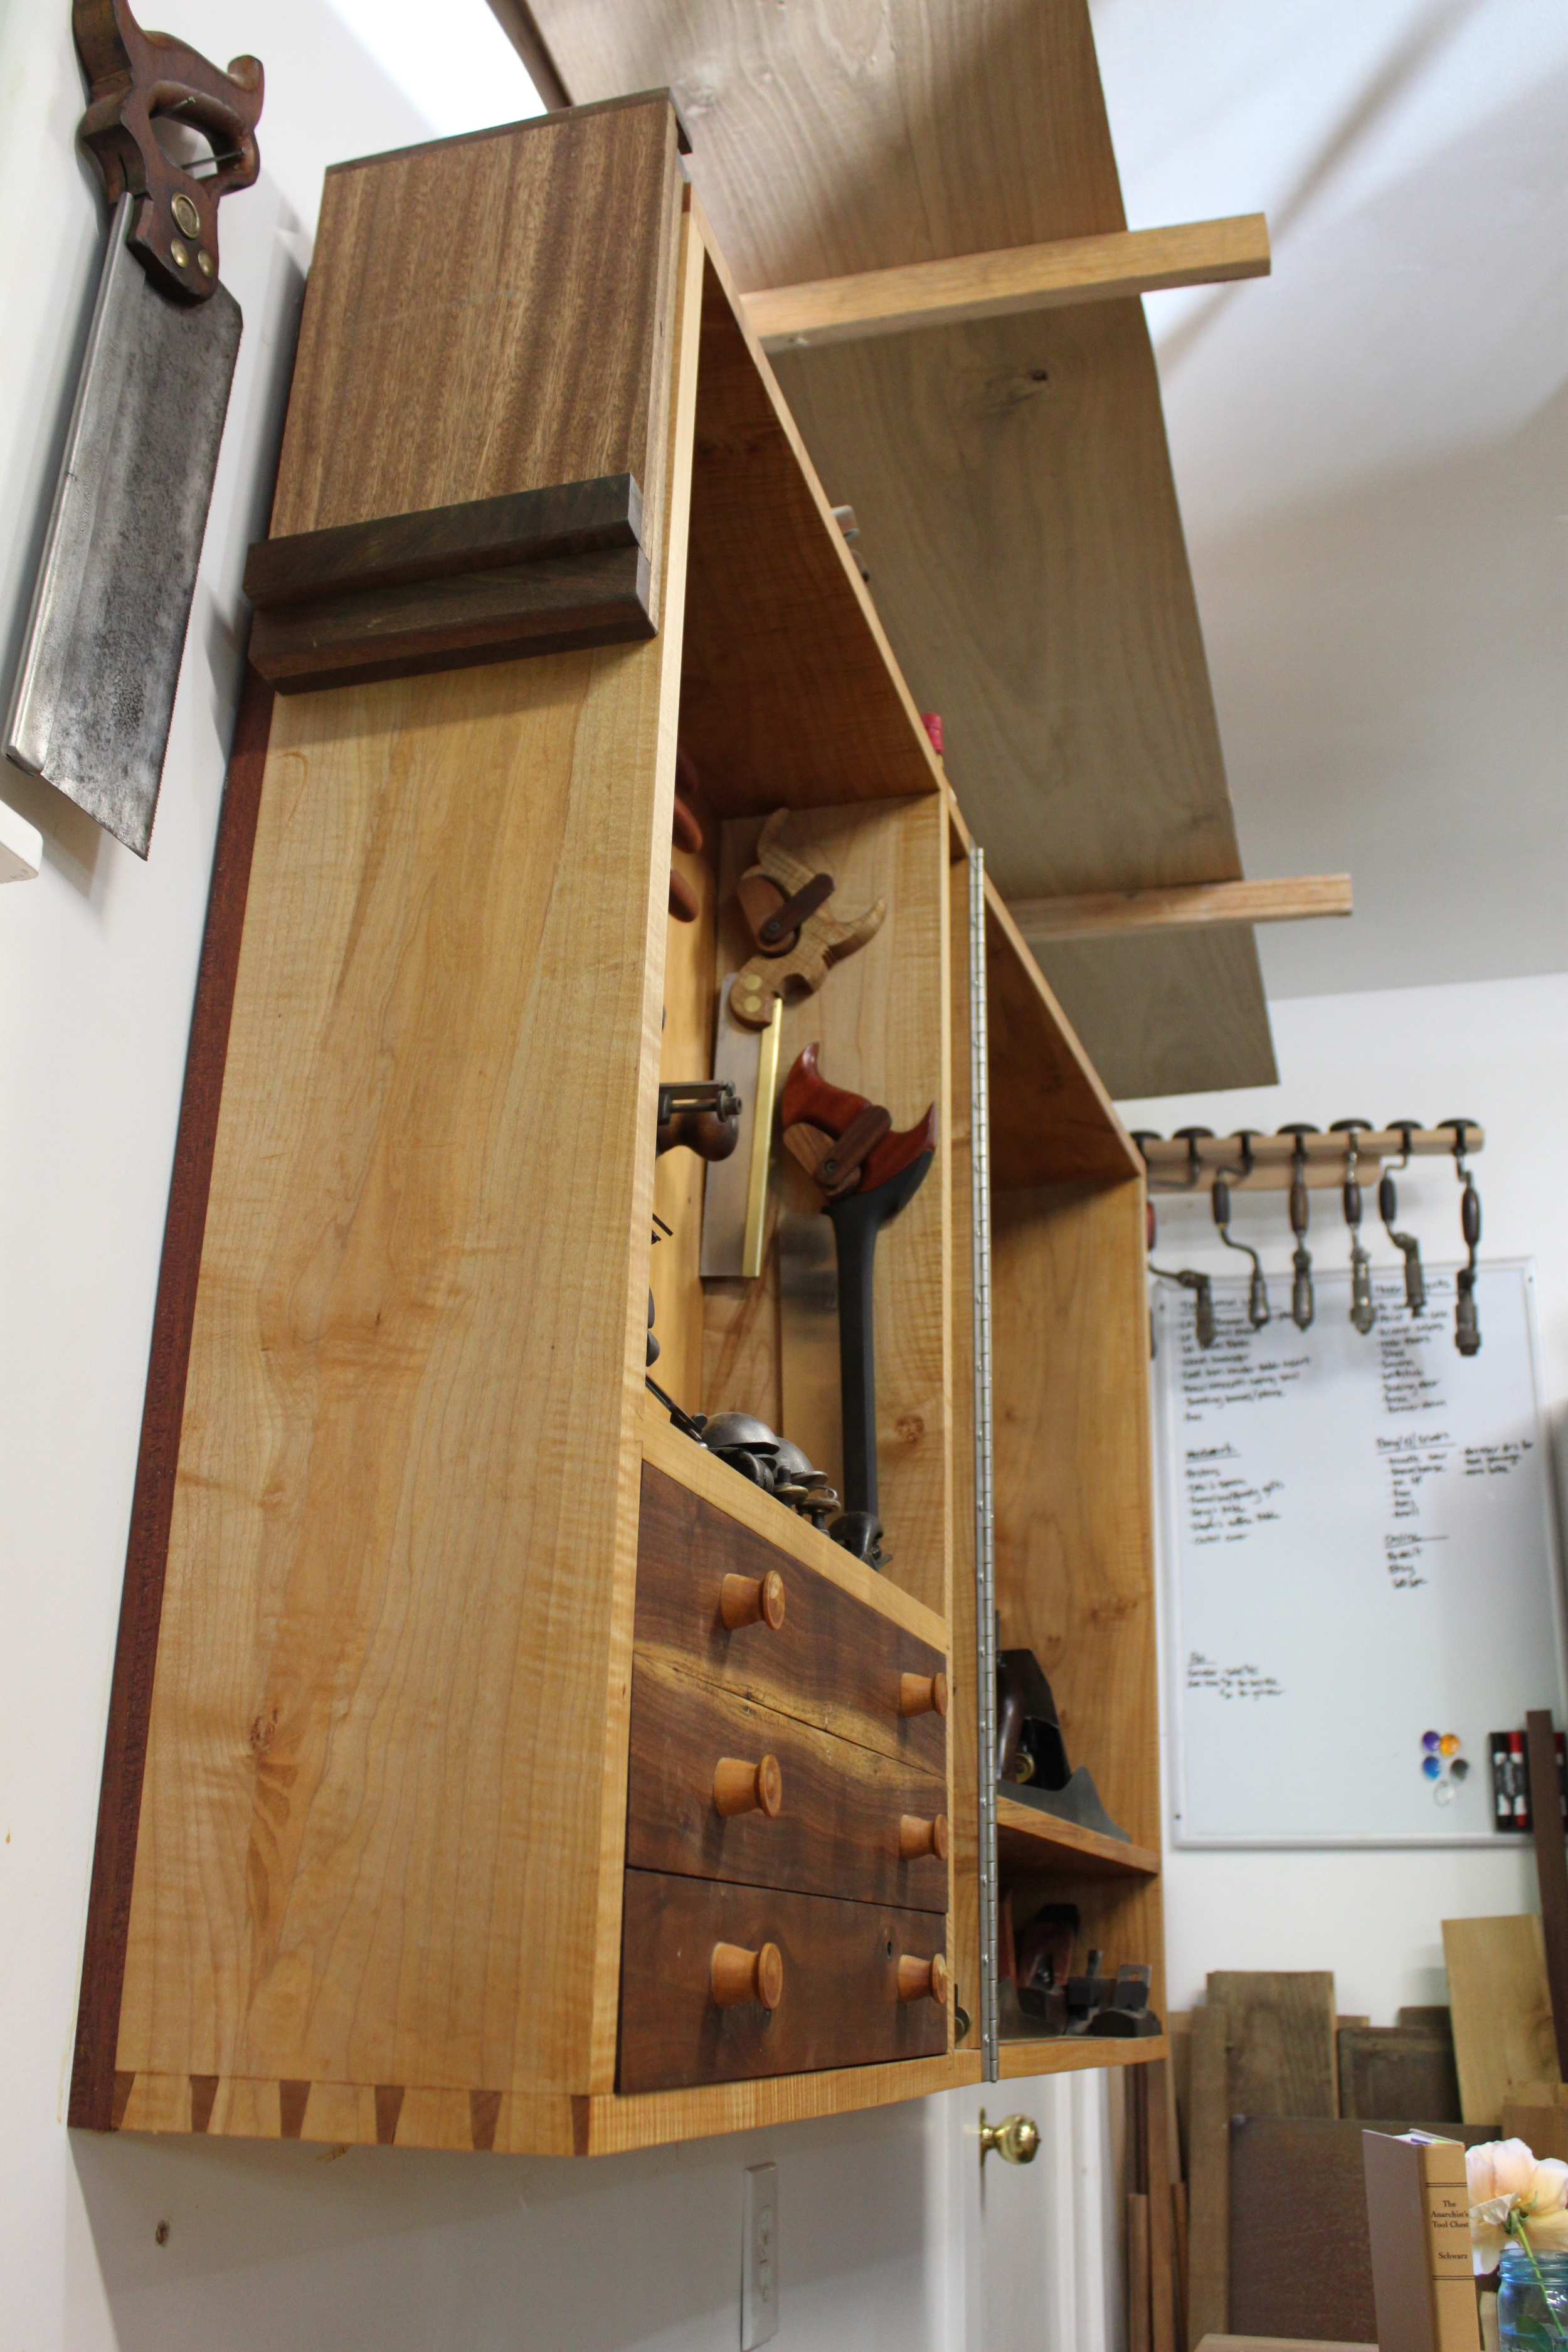
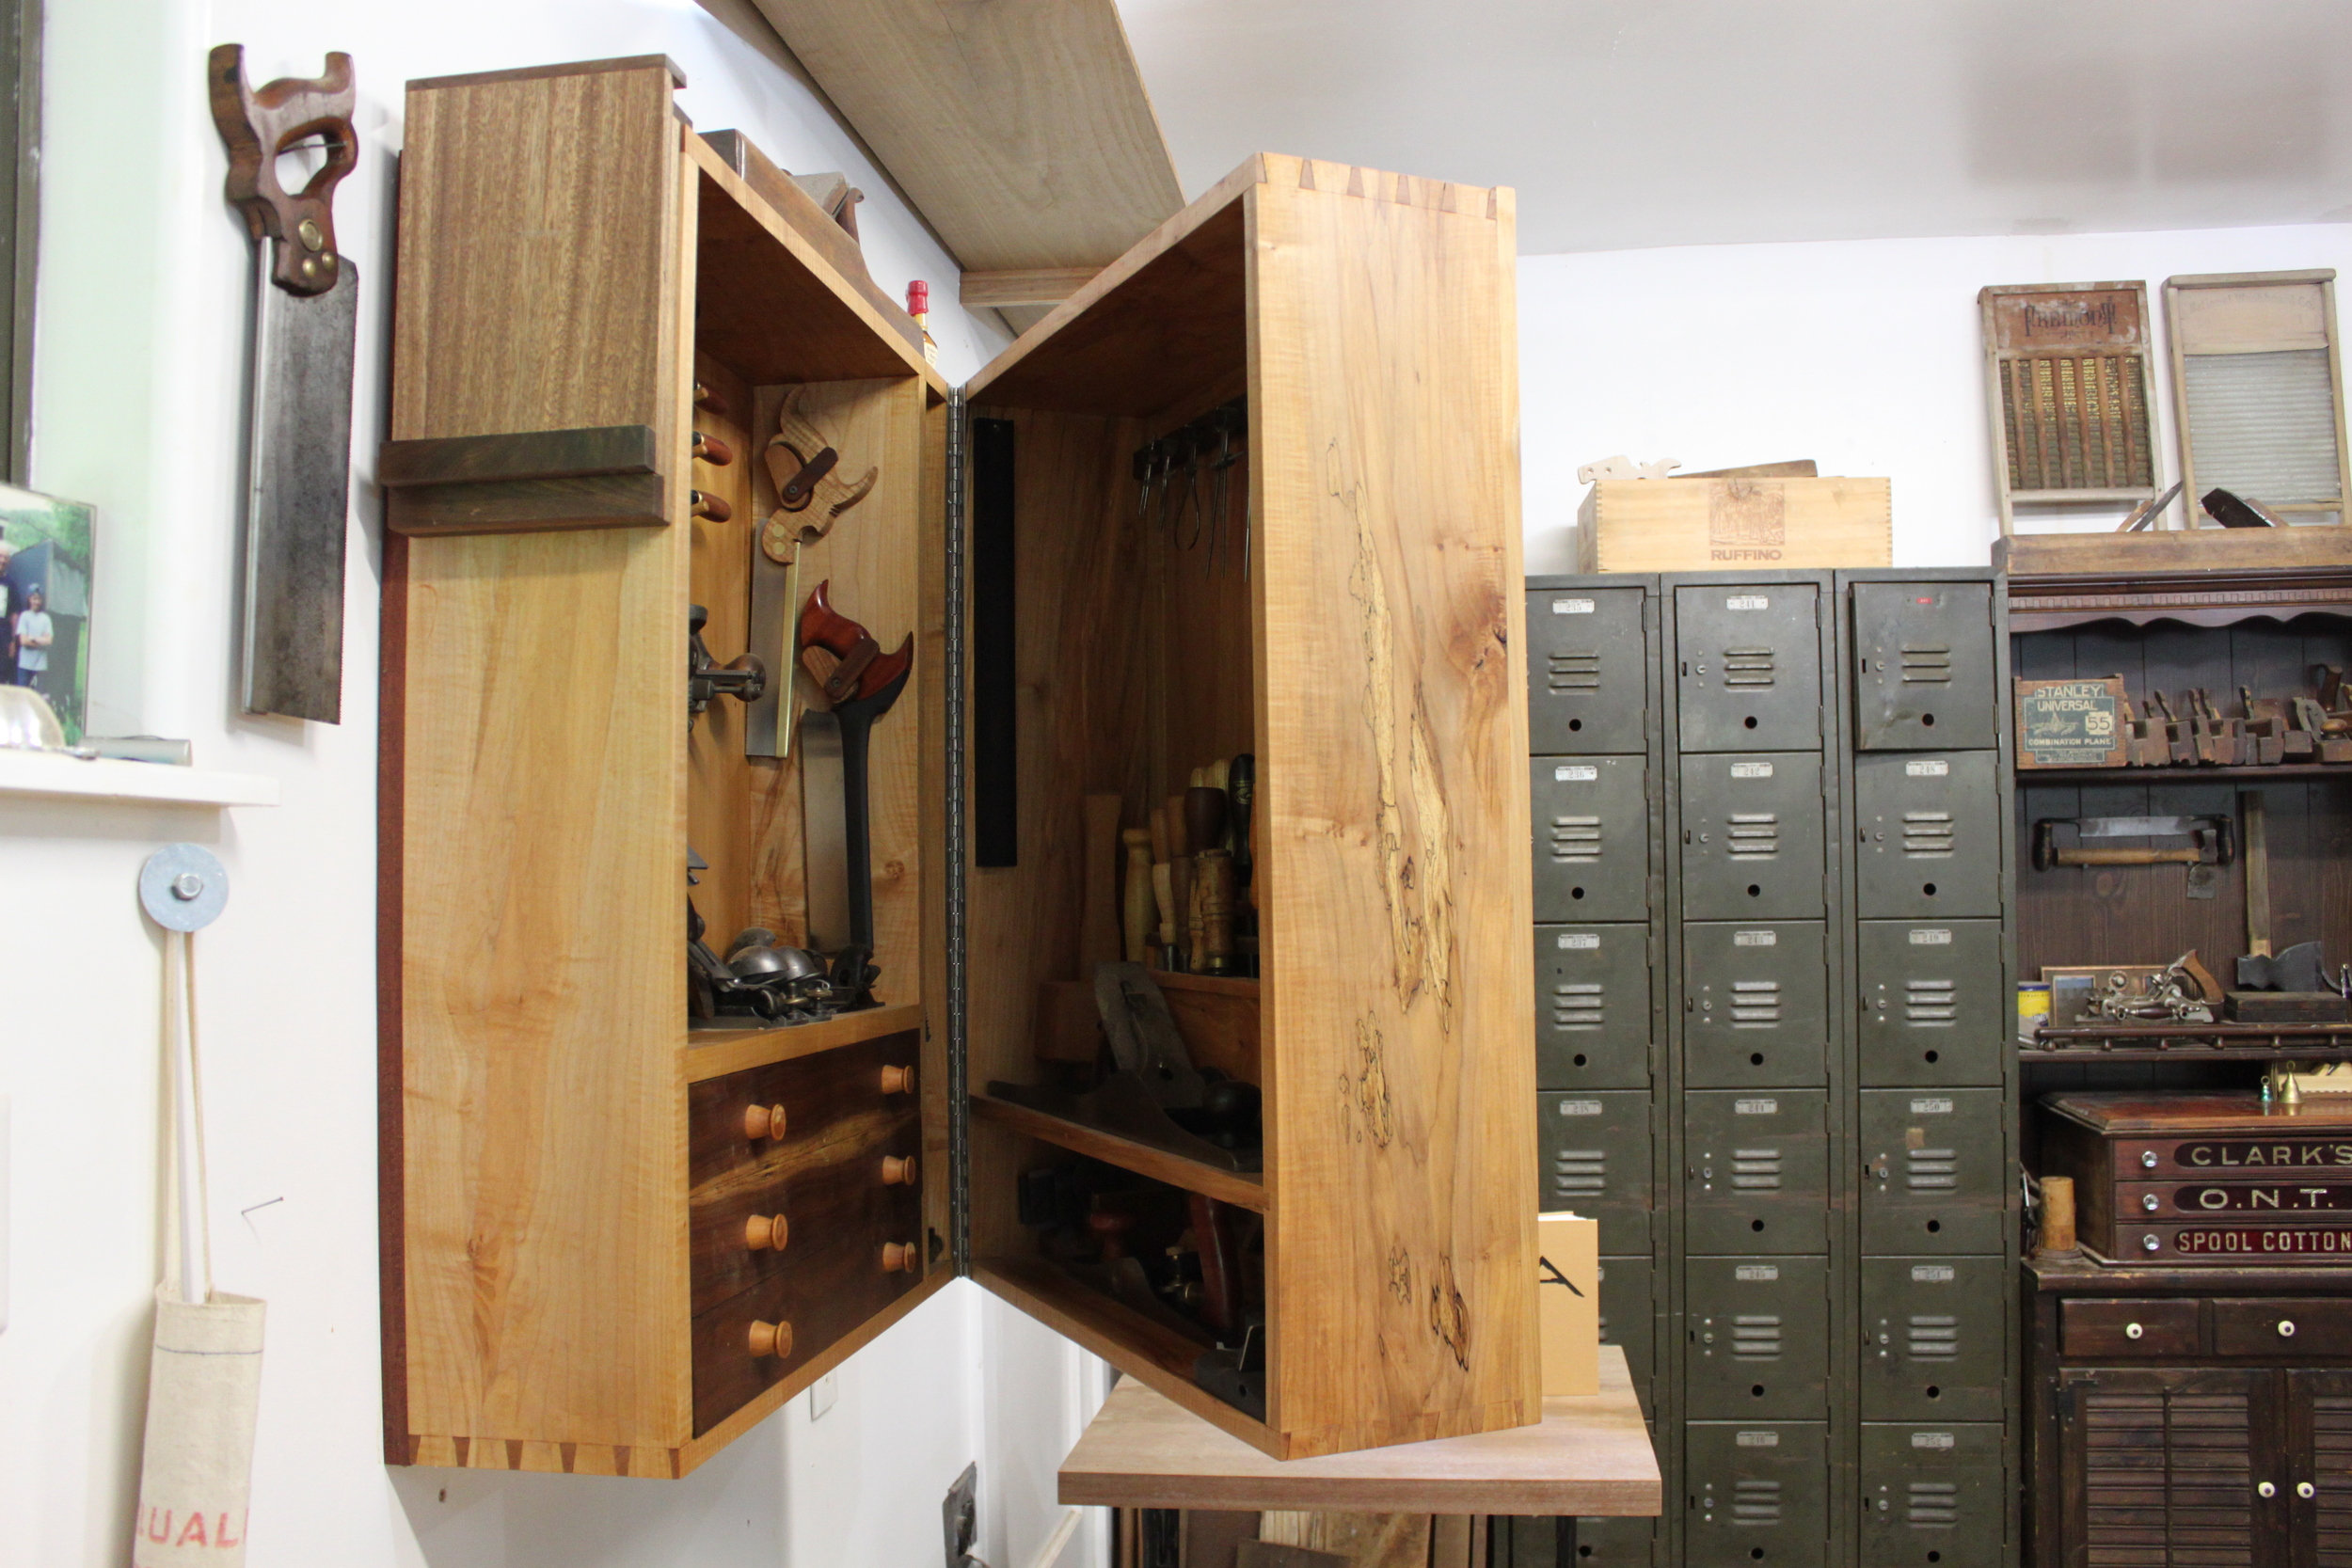
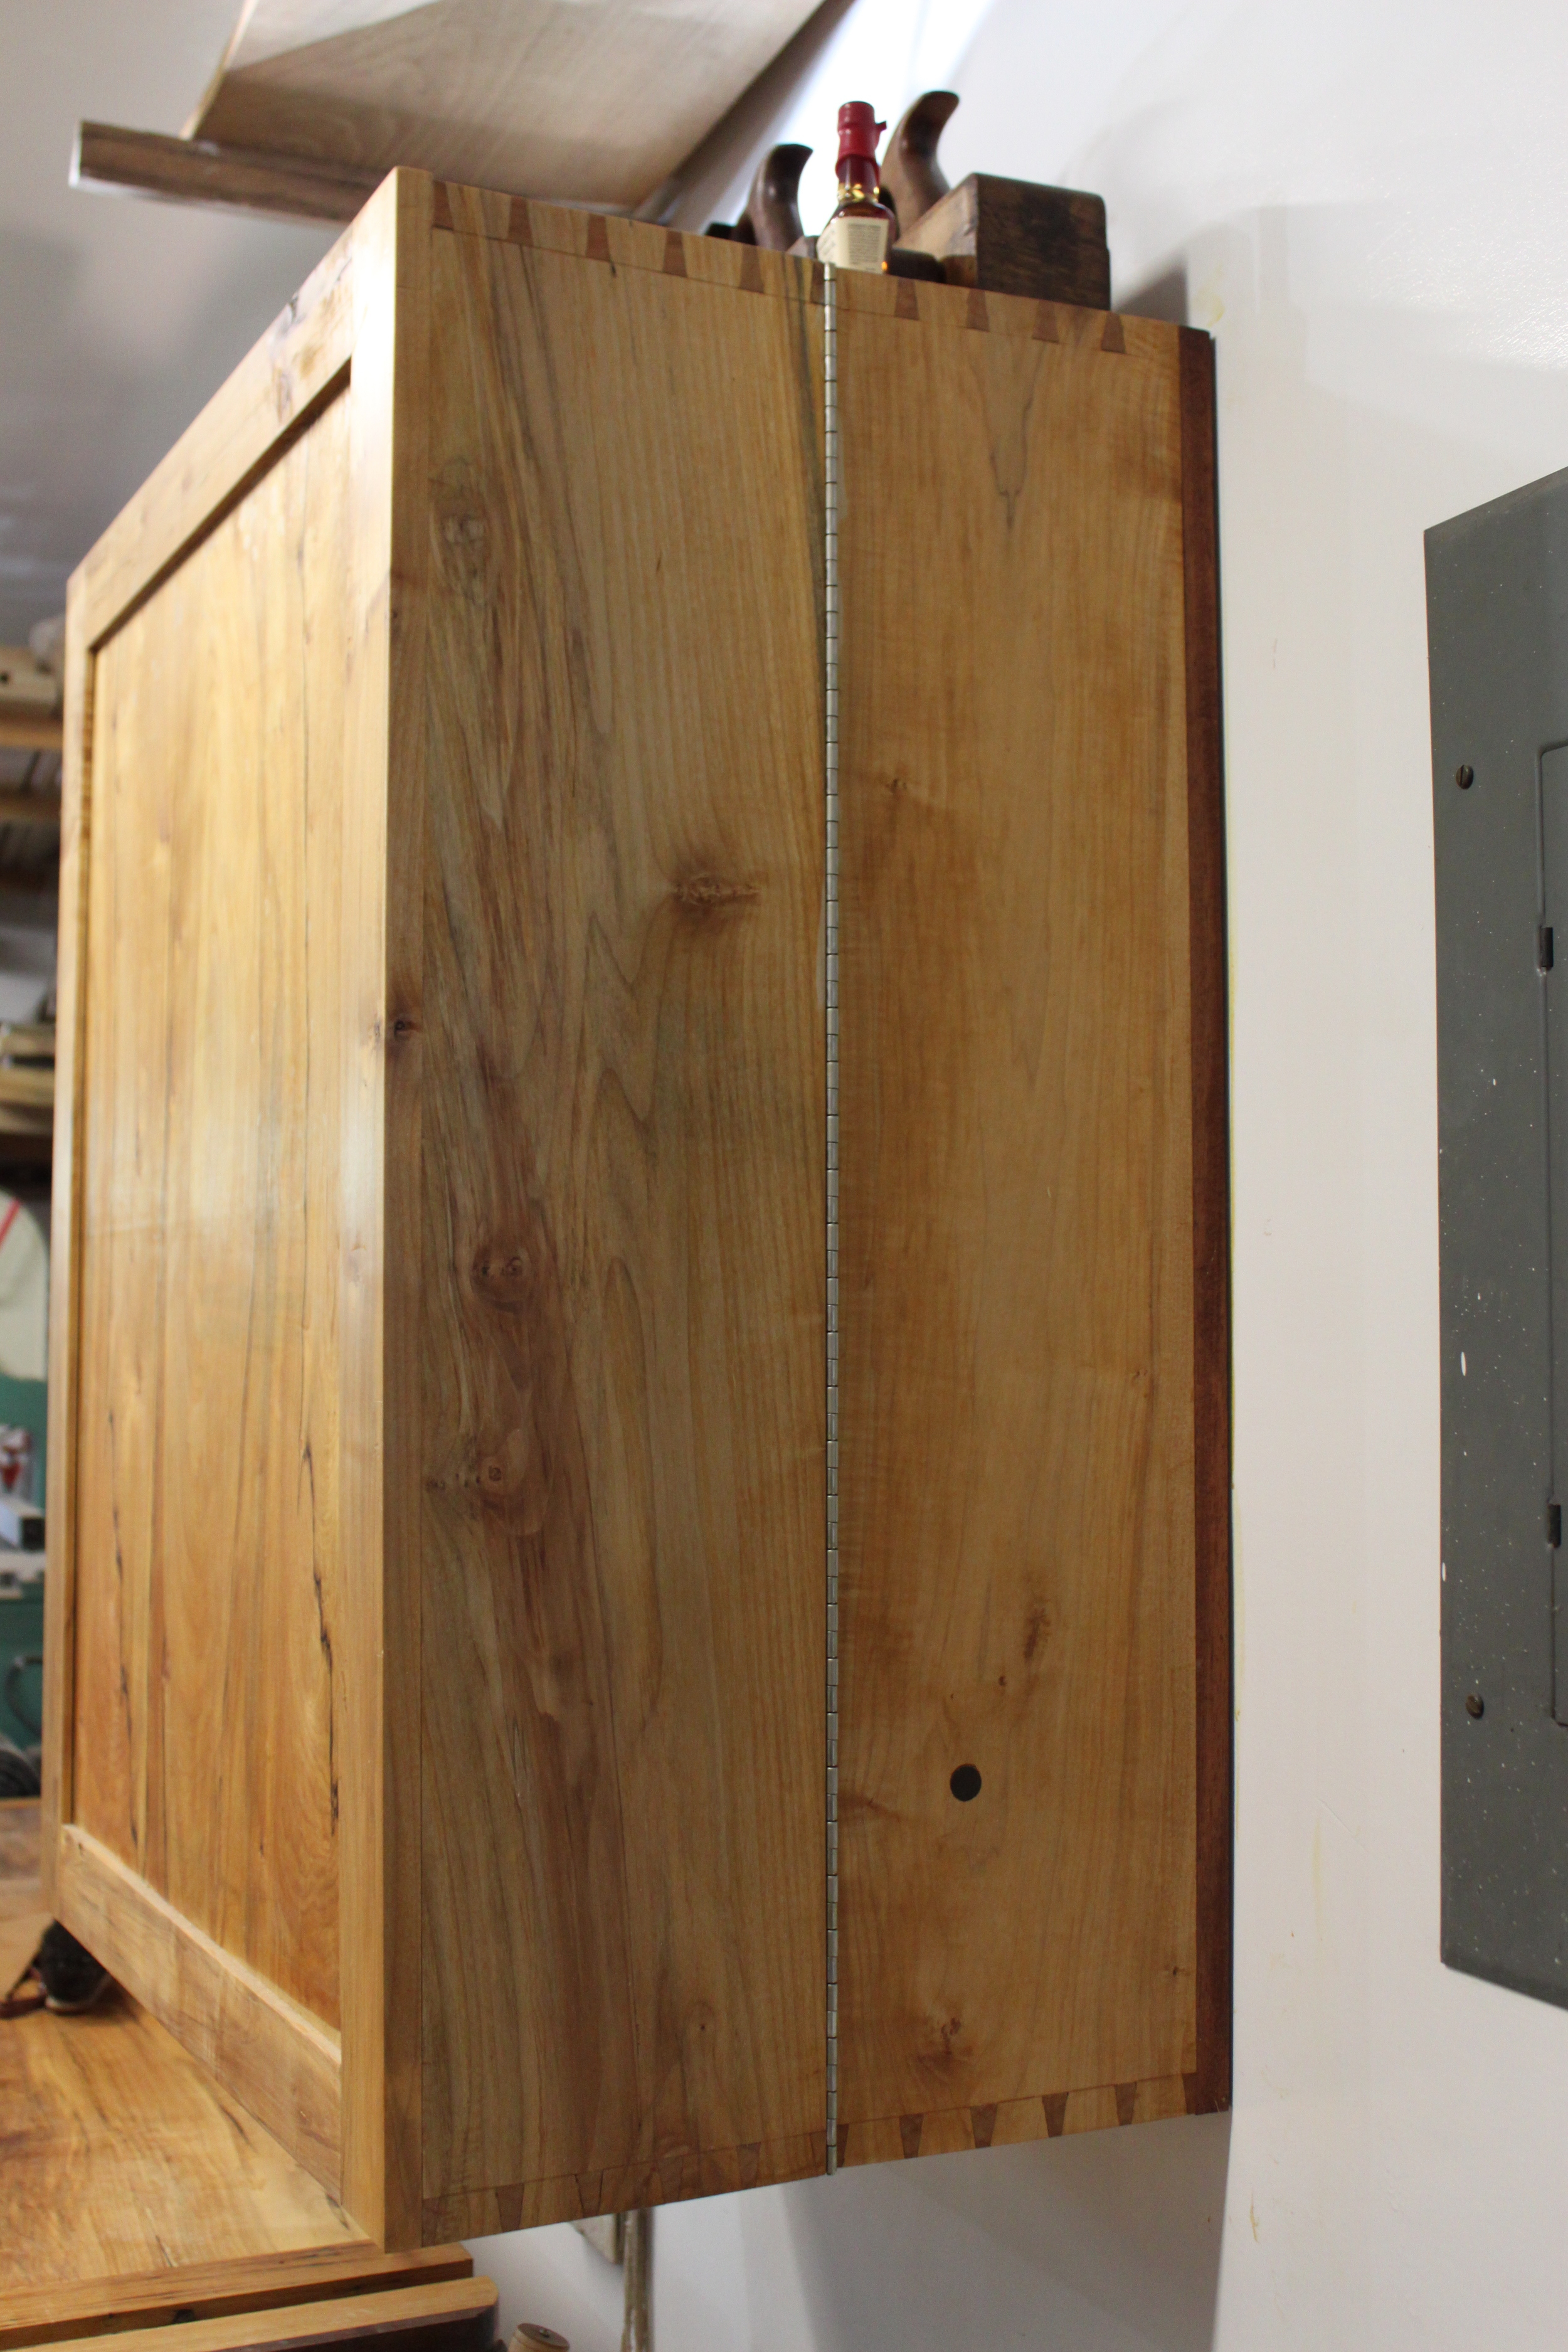
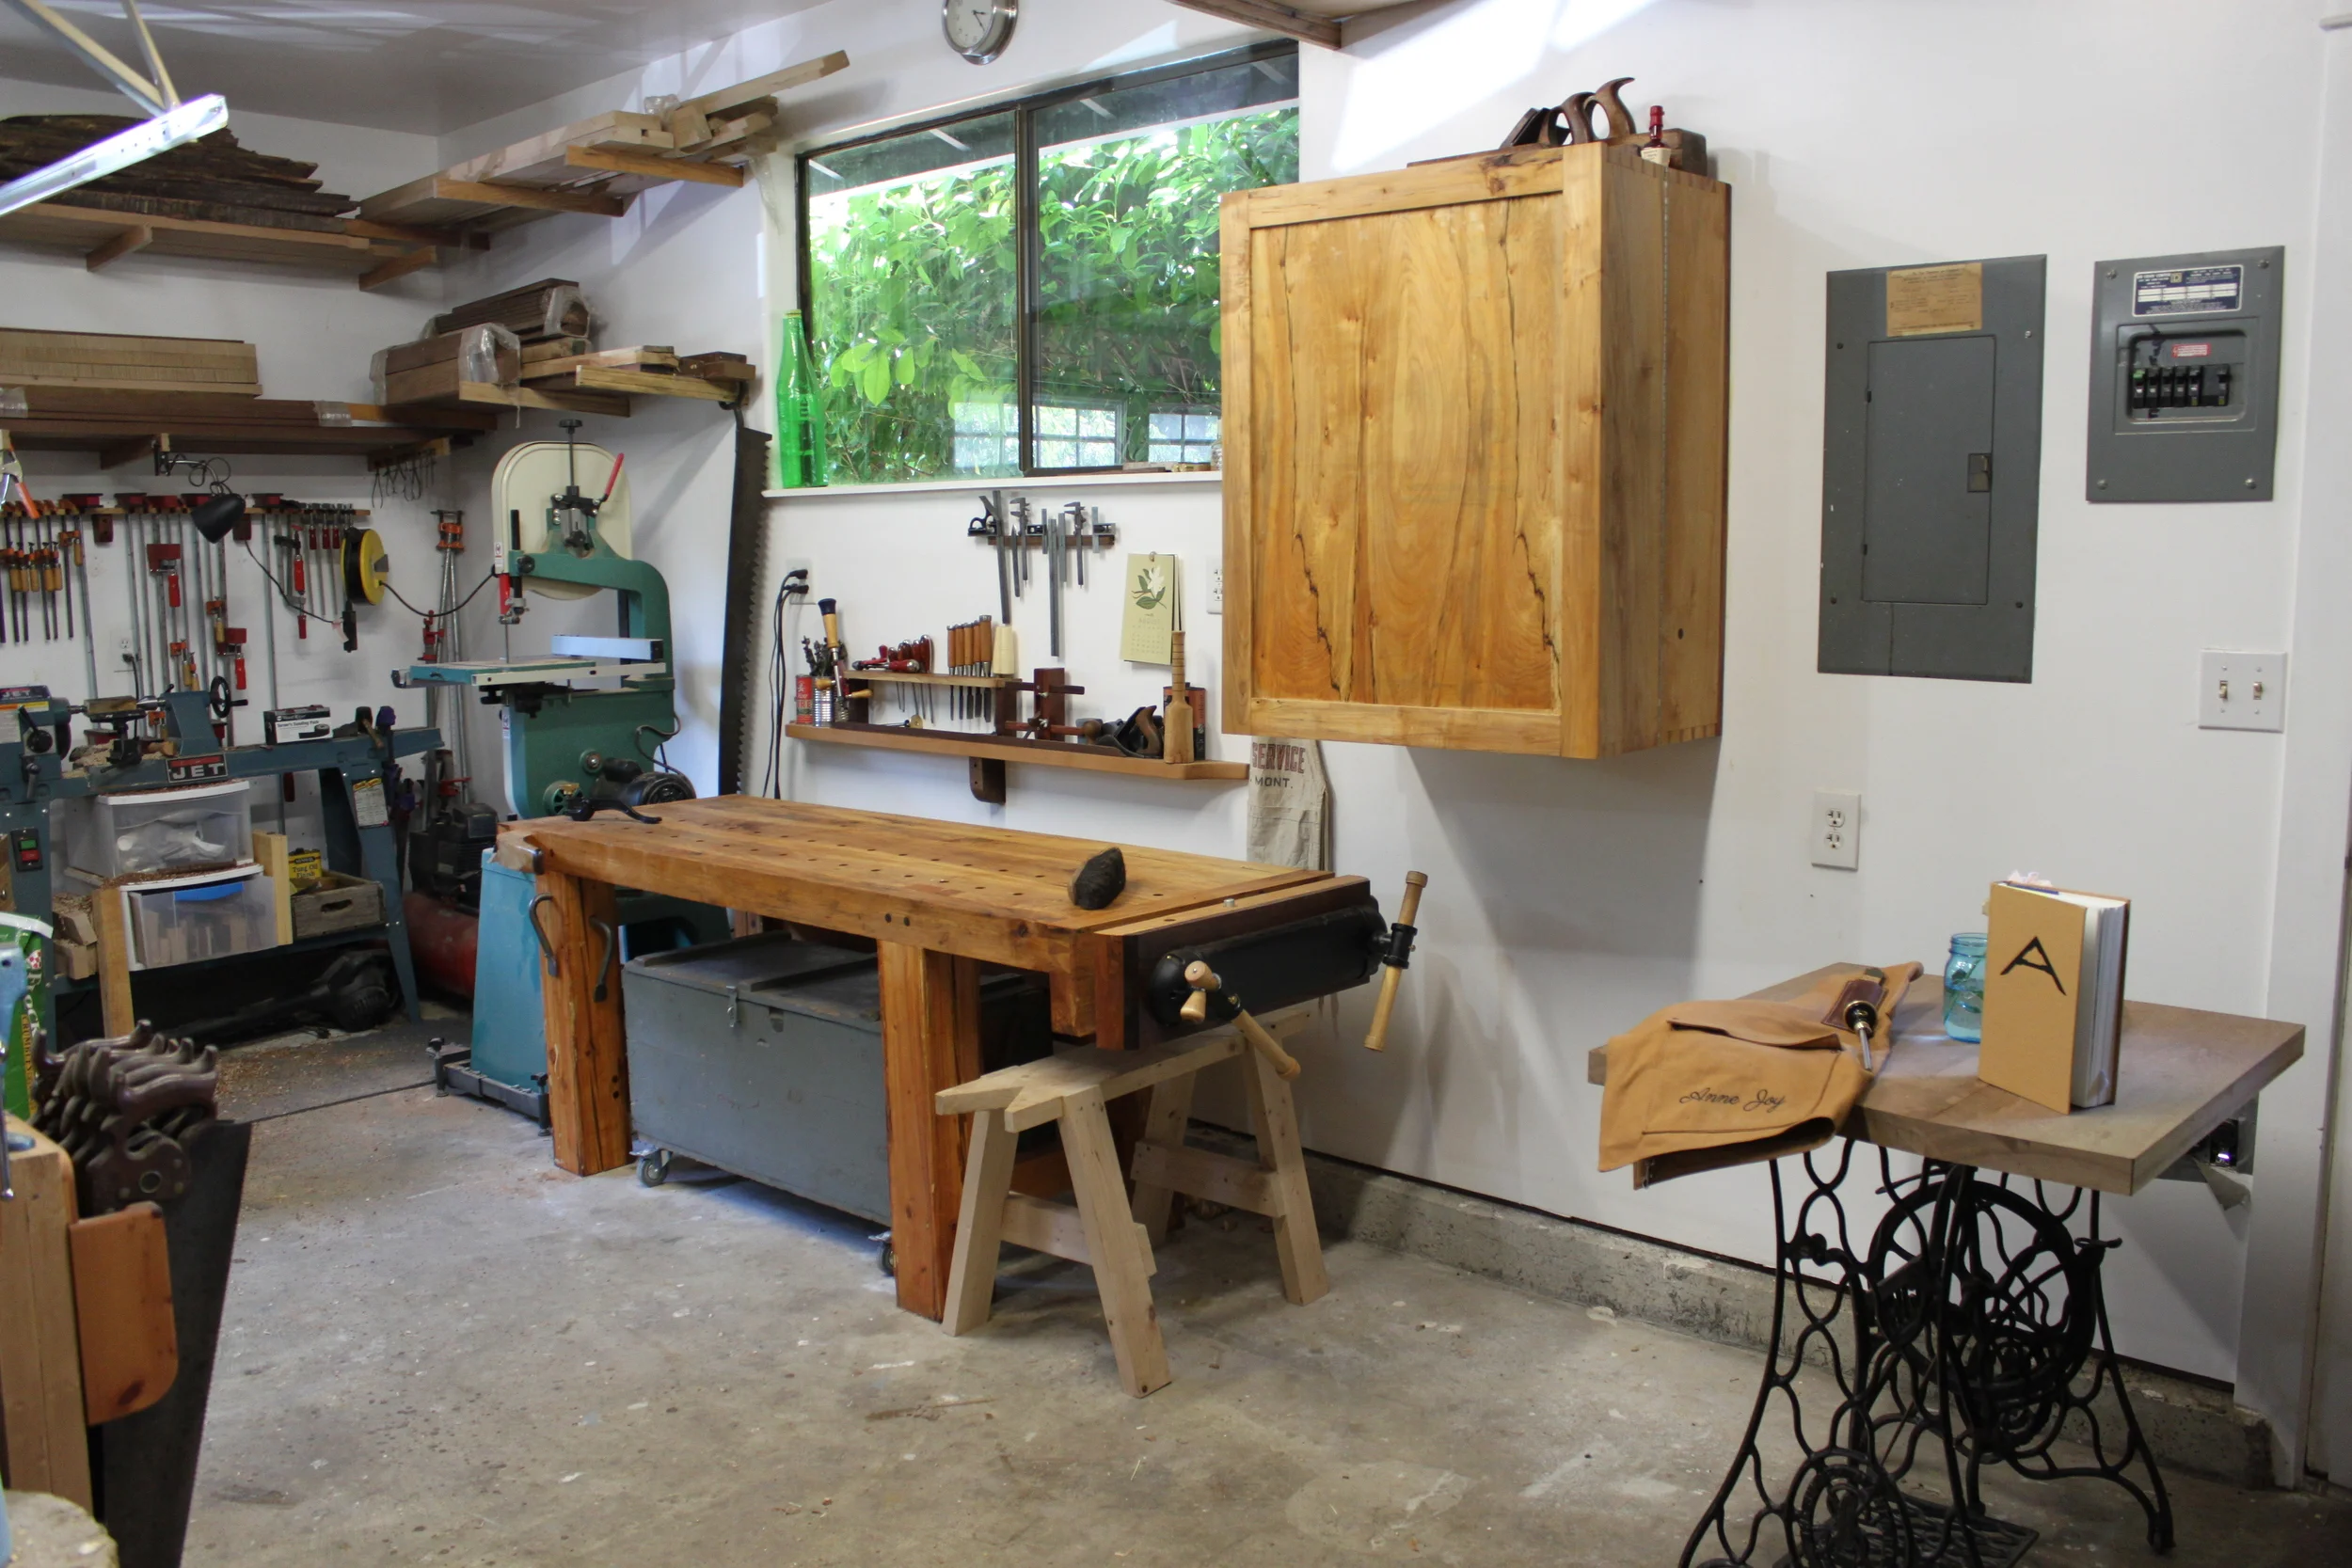
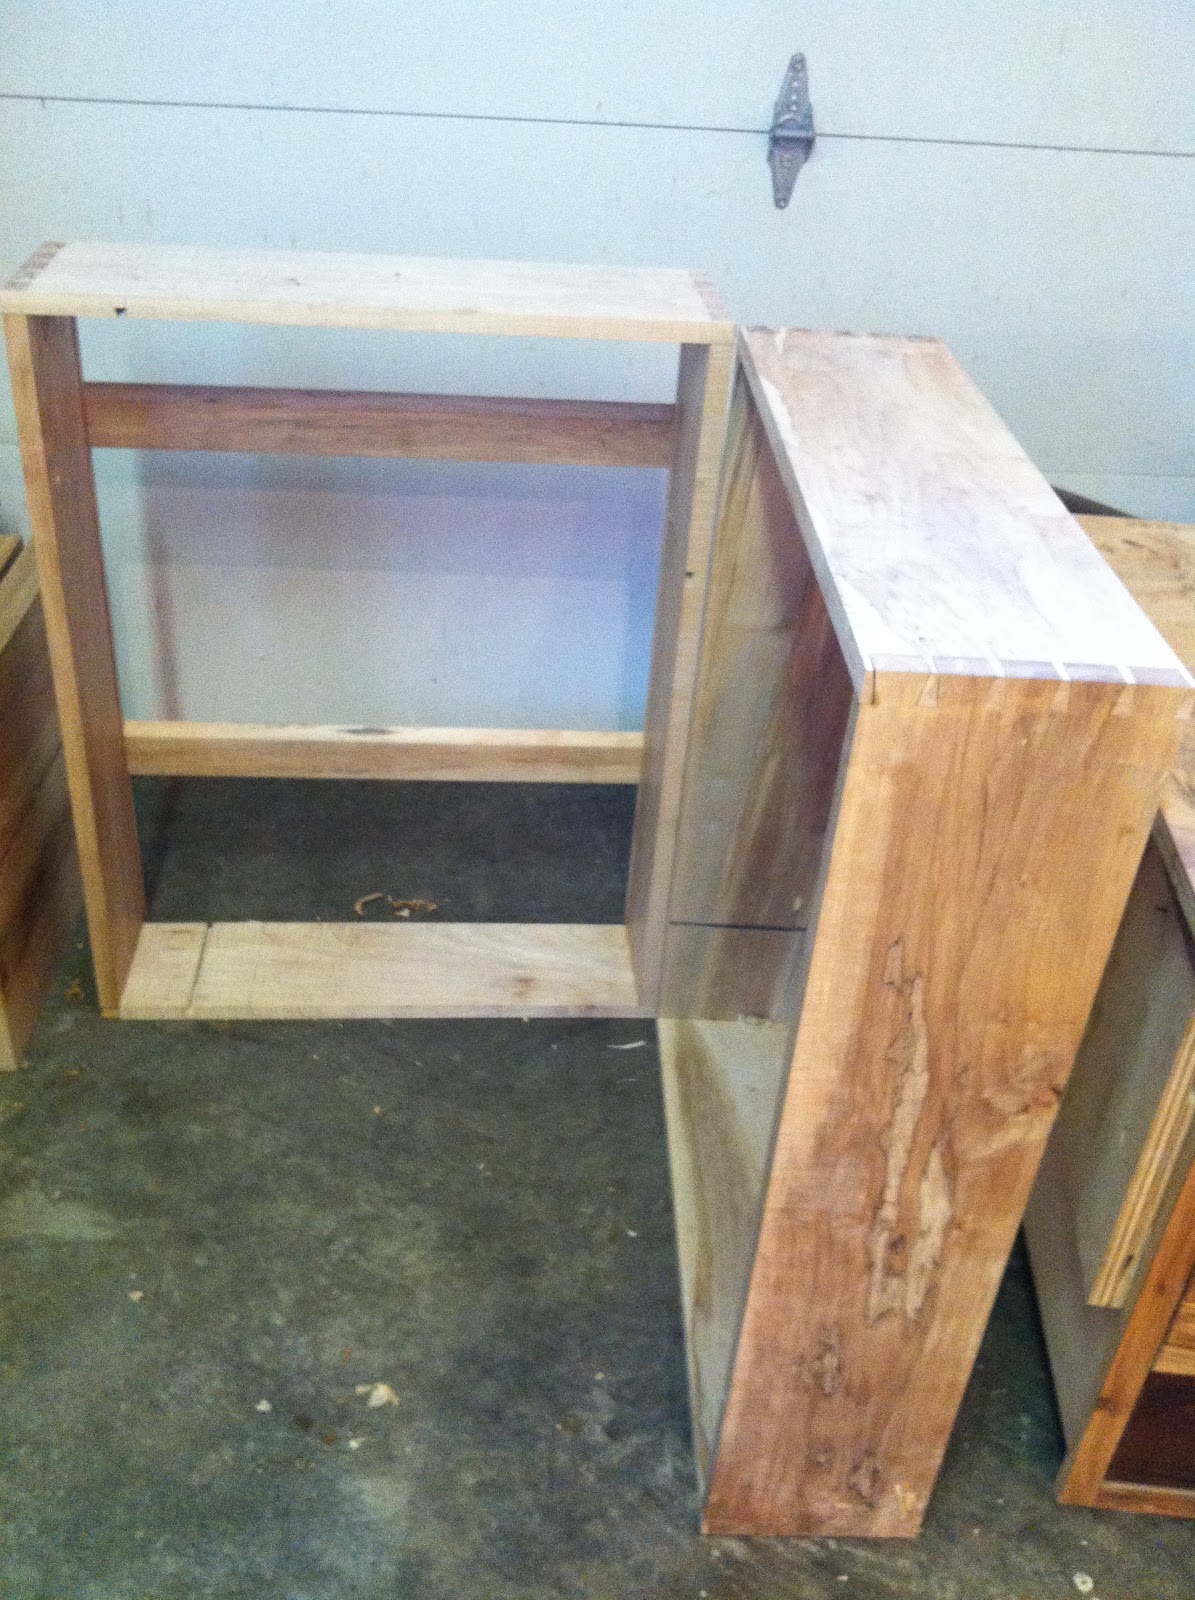
With the help and careful instruction of my sister's husband, Ryan, I built my own version of the ATC. I used many elements from the one he designed, one that would hang on the wall because when I started, my husband still hadn't given up his parking space in the garage, and floor space was at a premium. I still think of my tool chest as the crowning achievement of my woodworking endeavors thus far- though as my tool collection and my shop space has expanded, I am very tempted to build the real ATC someday soon.
Ryan taught me to approach woodworking by designing furniture using wood and tools already on hand rather than buying dimensioned stock and working from plans. It is both cheaper and less wasteful. He taught me to look at other people's work, read all available materials on the subject, measure the materials I have on hand, then shut all books and draw a basic design that takes all those things into account.
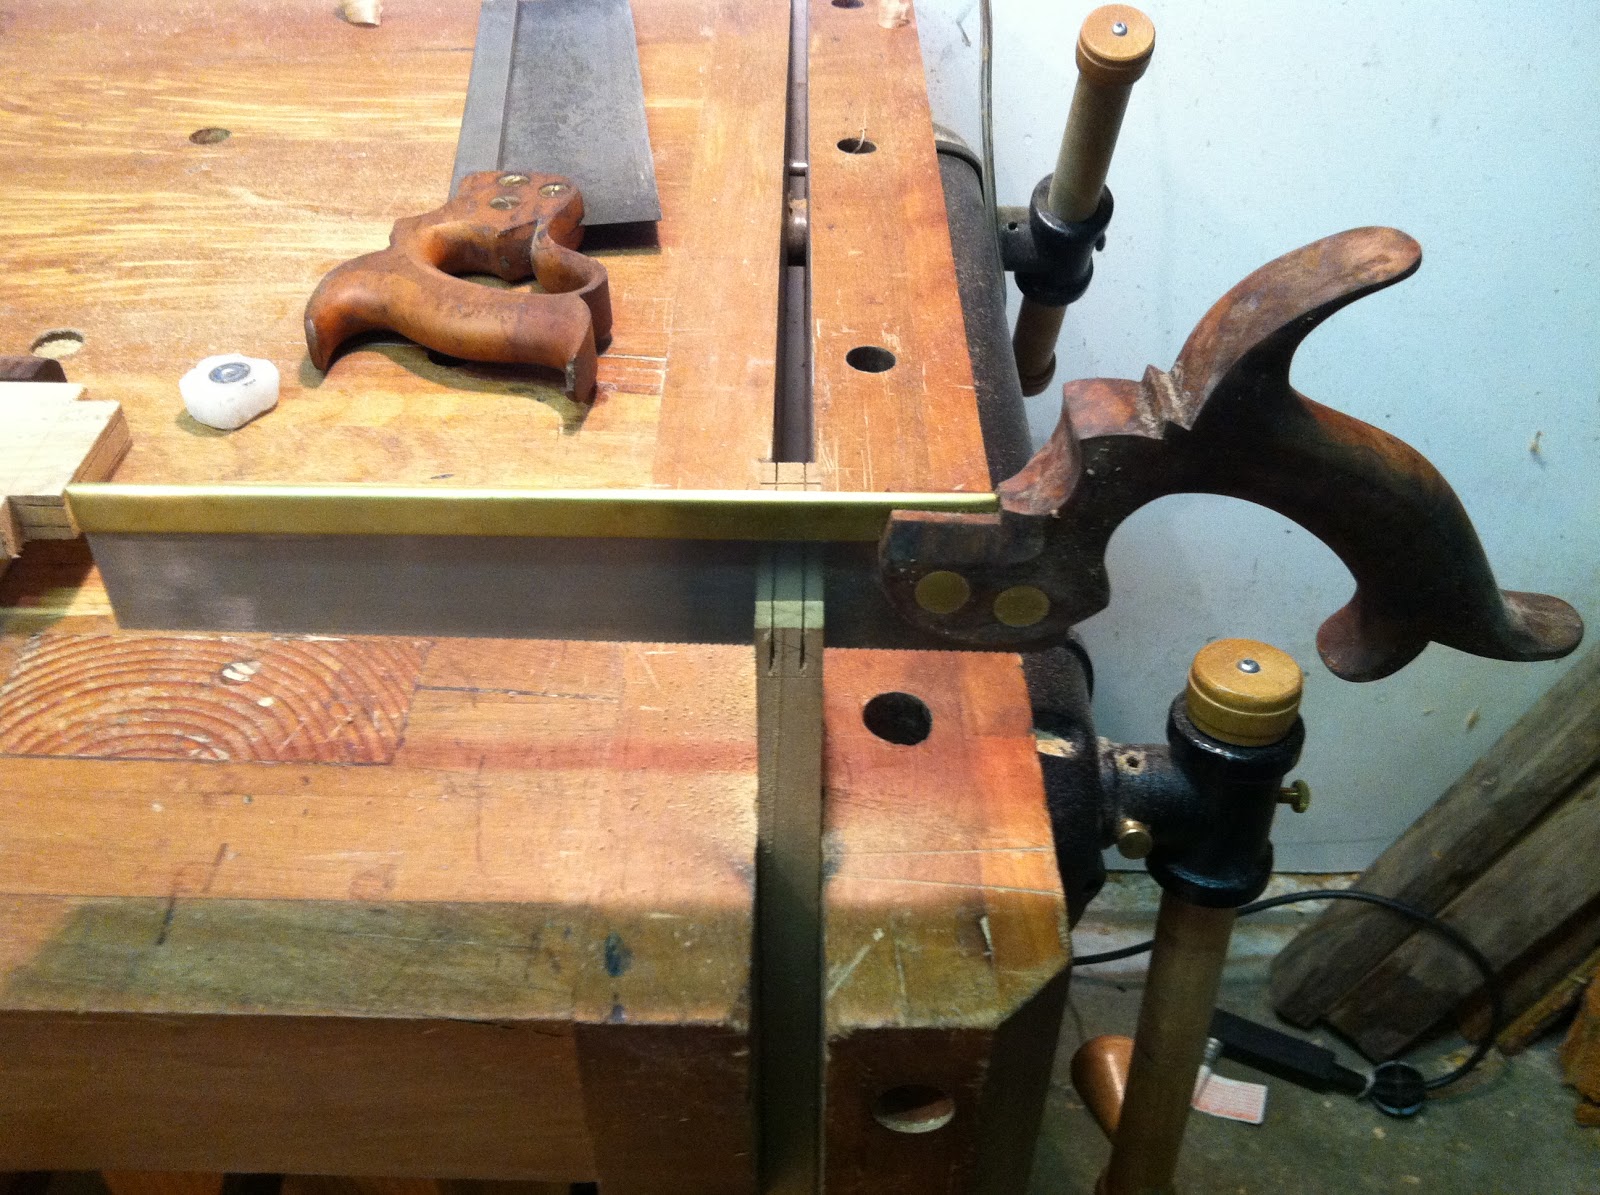
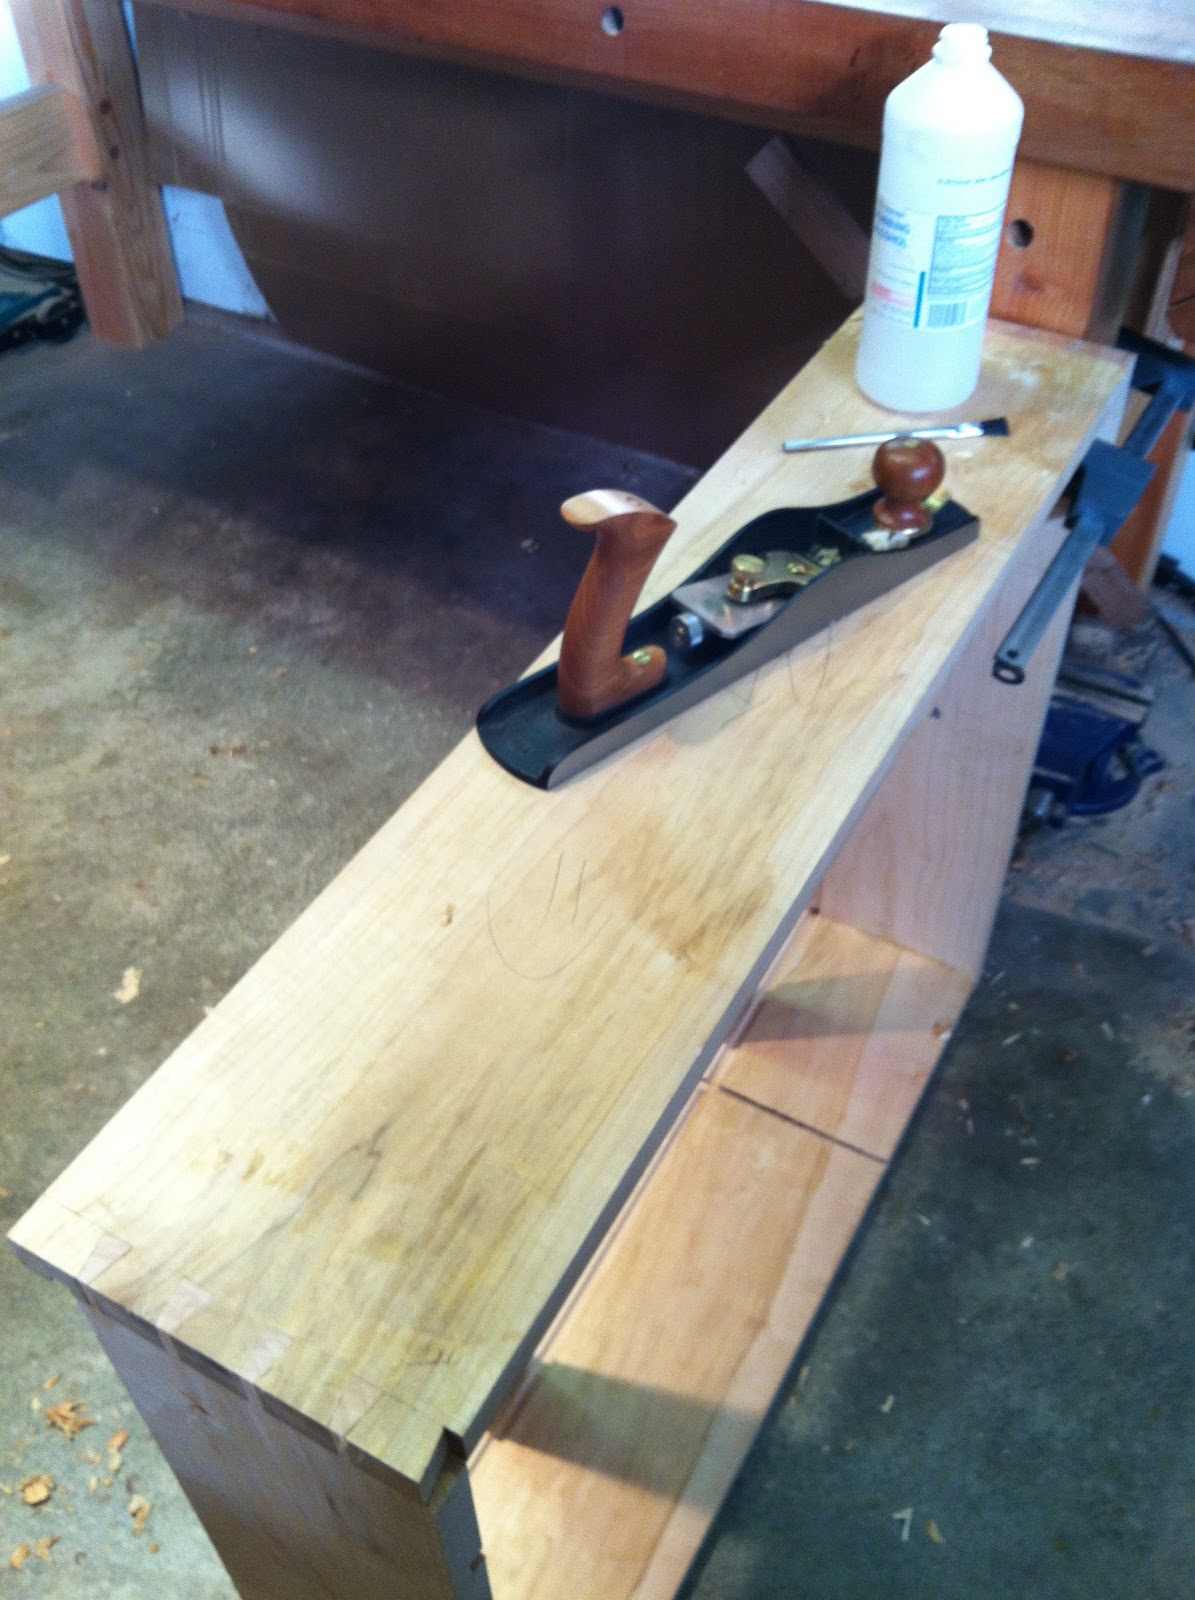
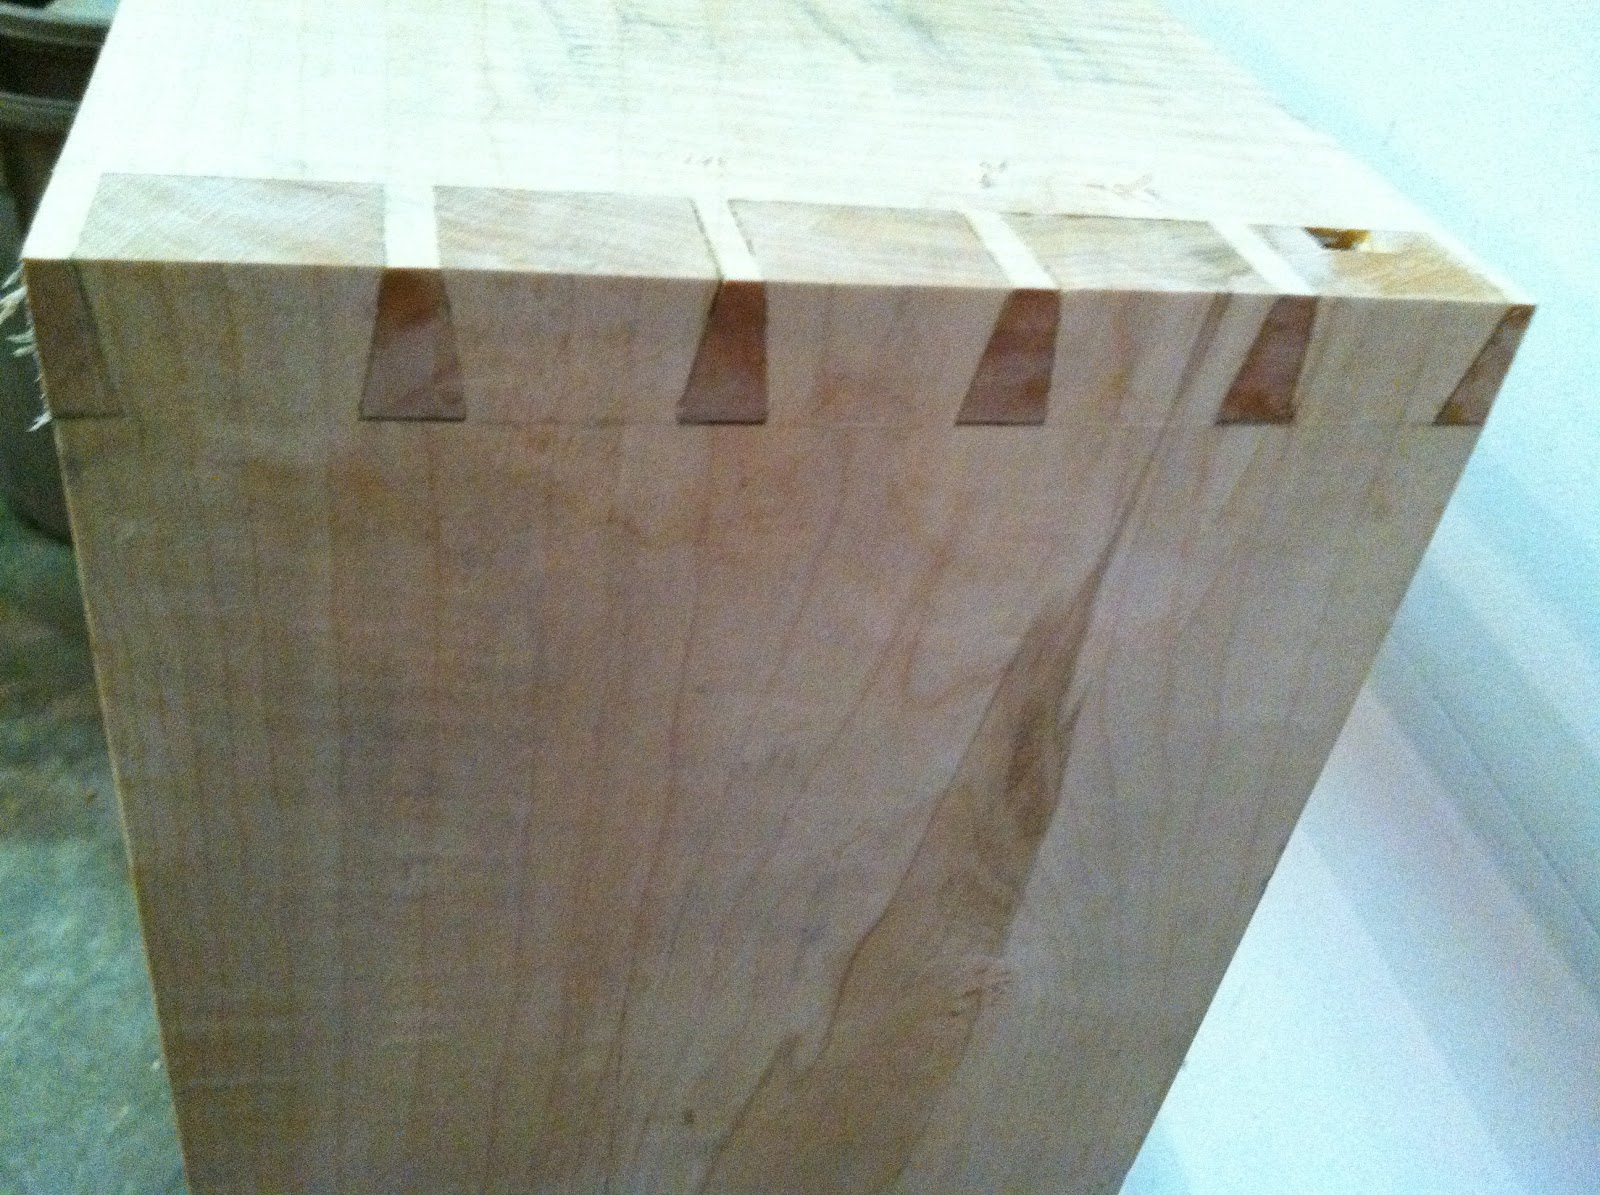
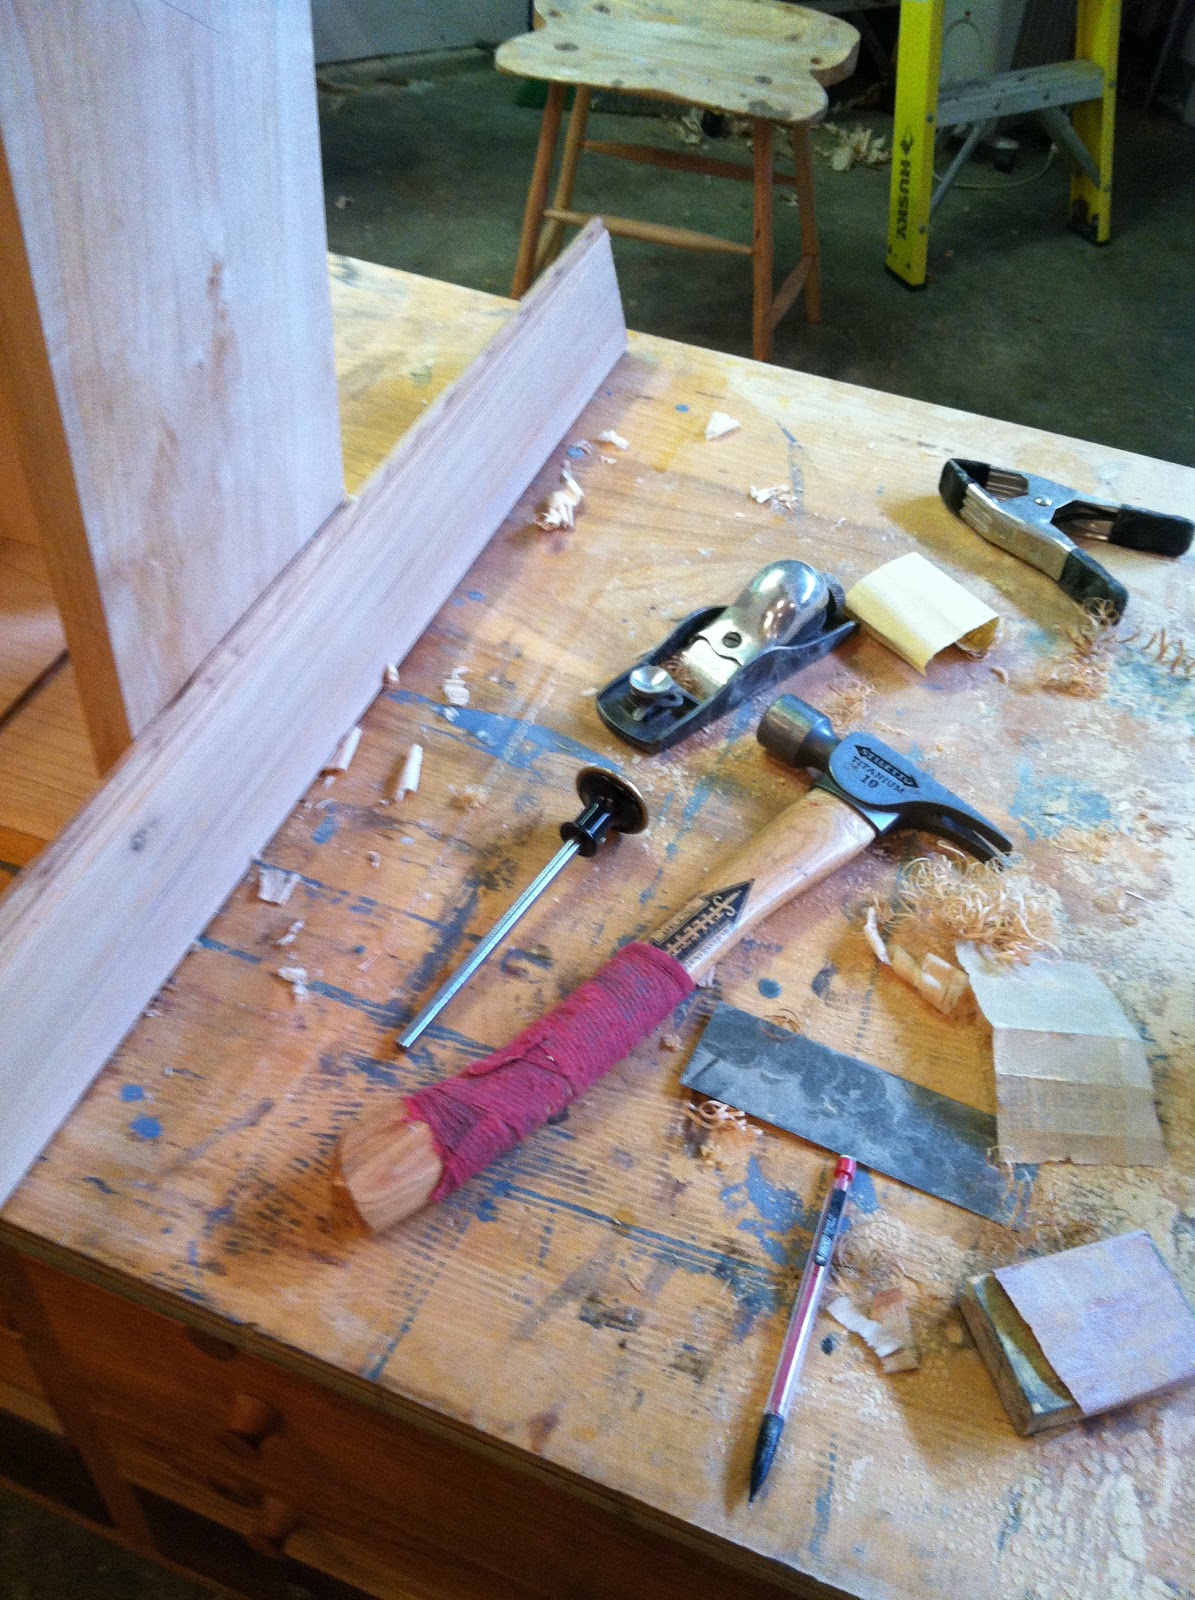
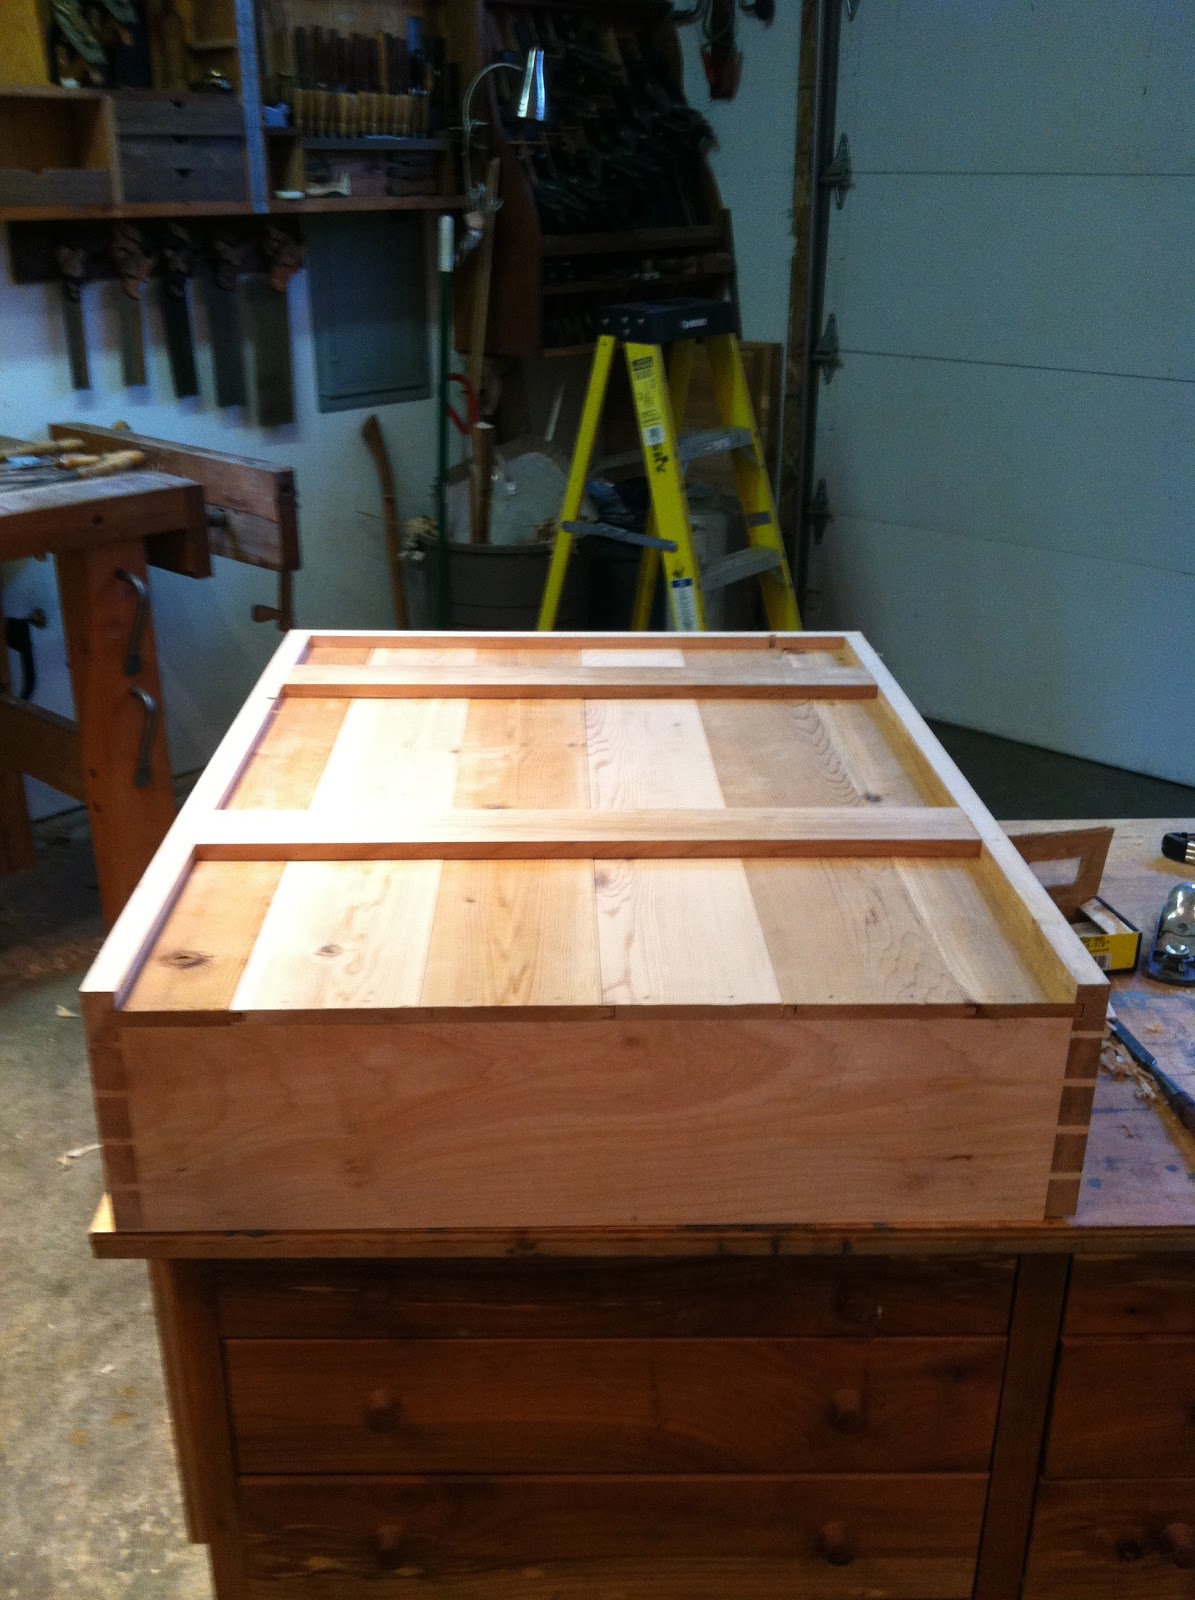
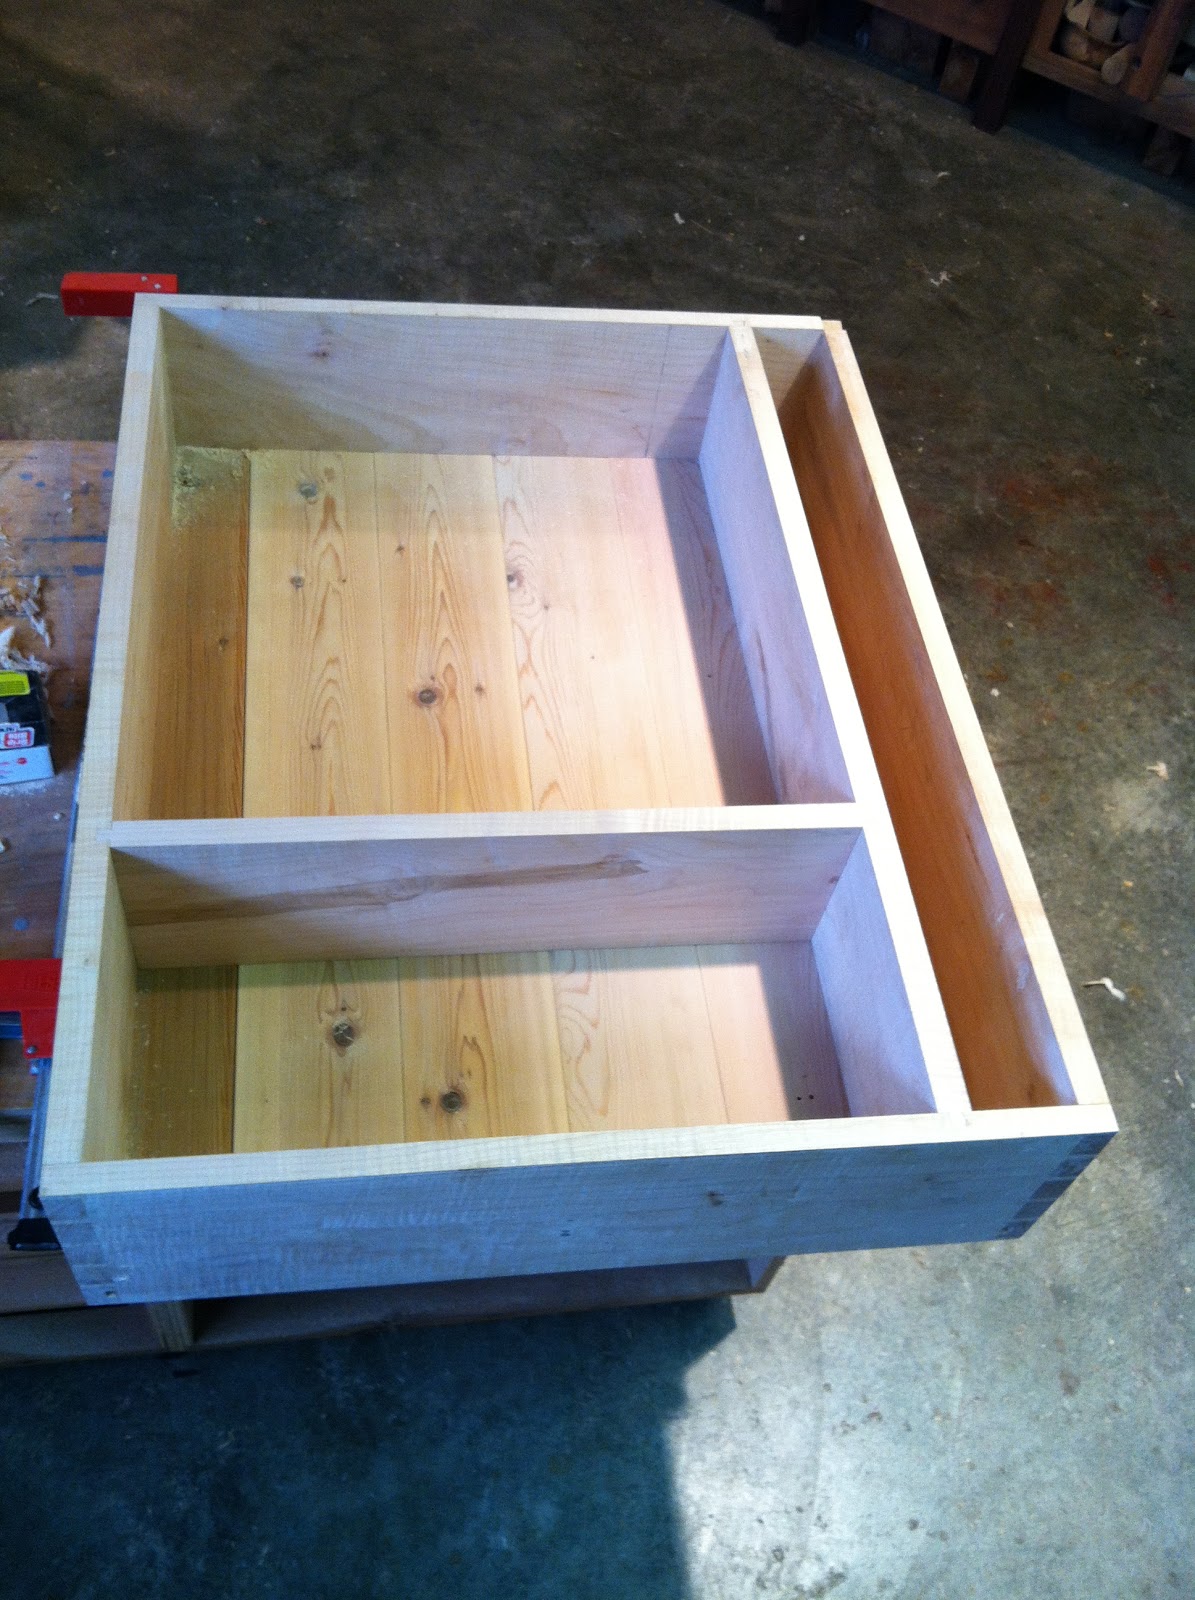
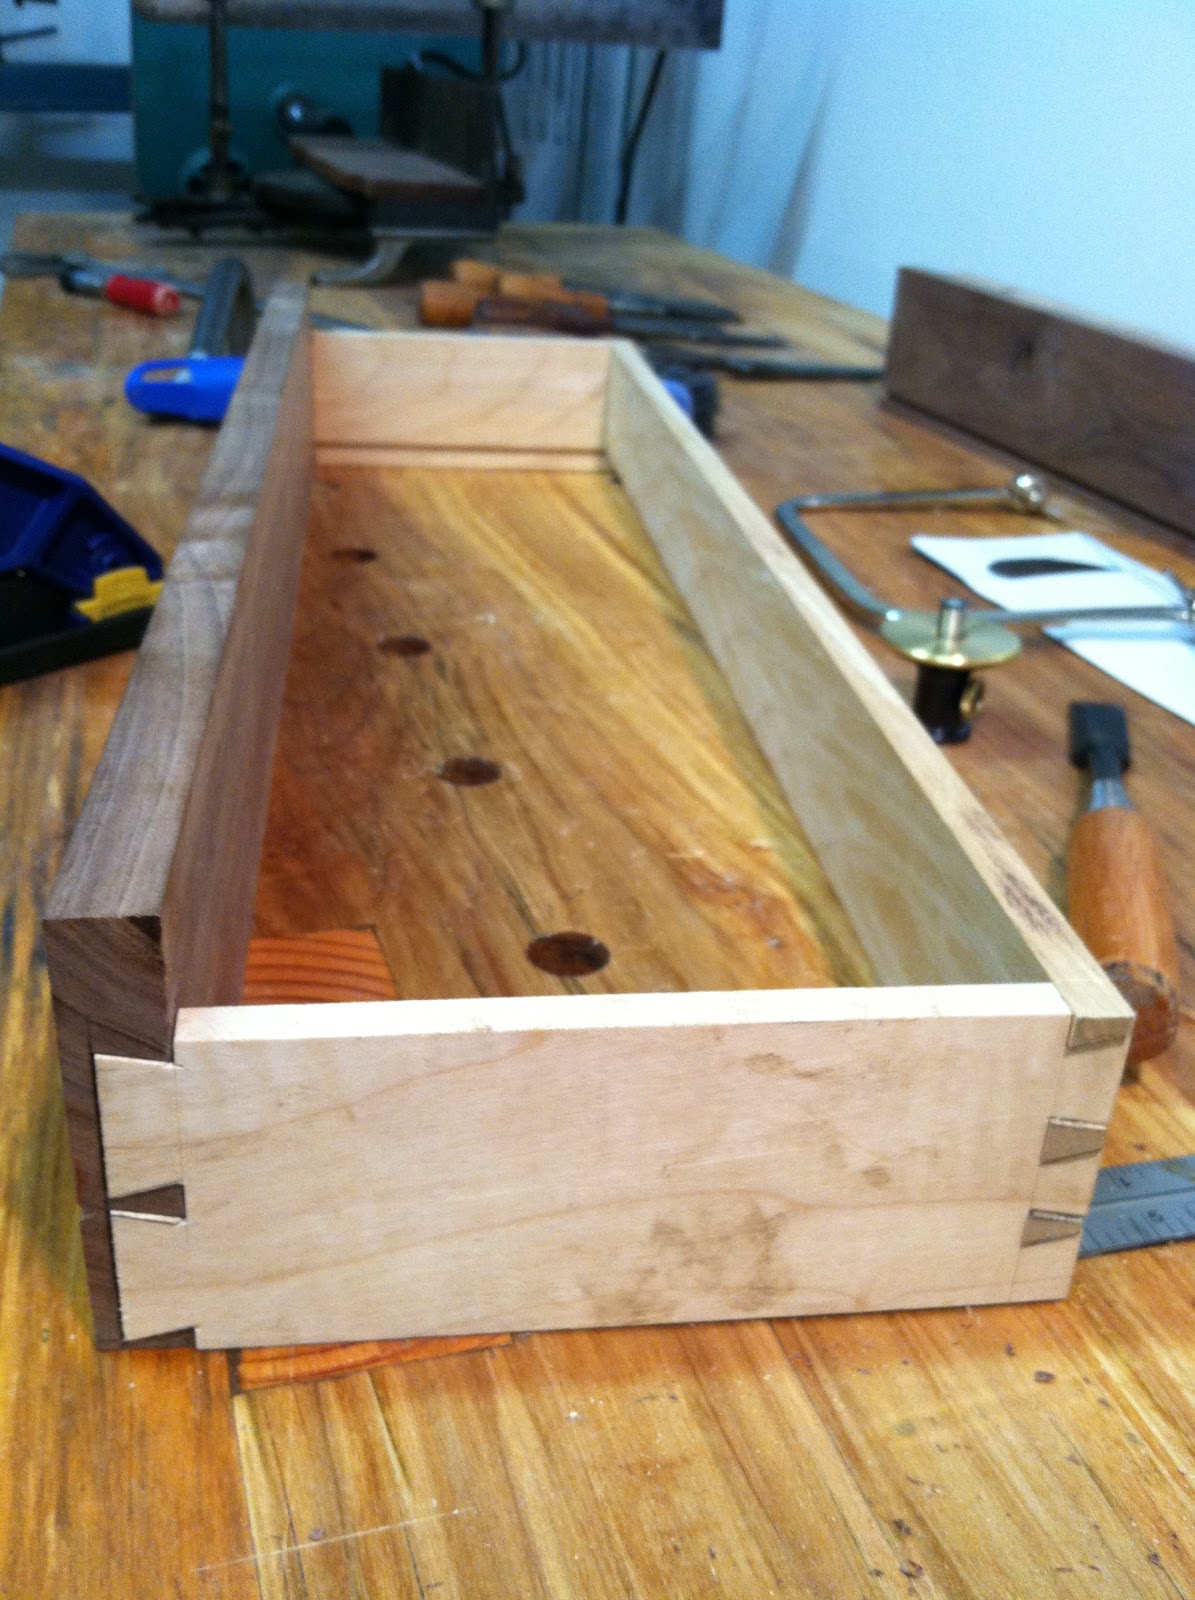
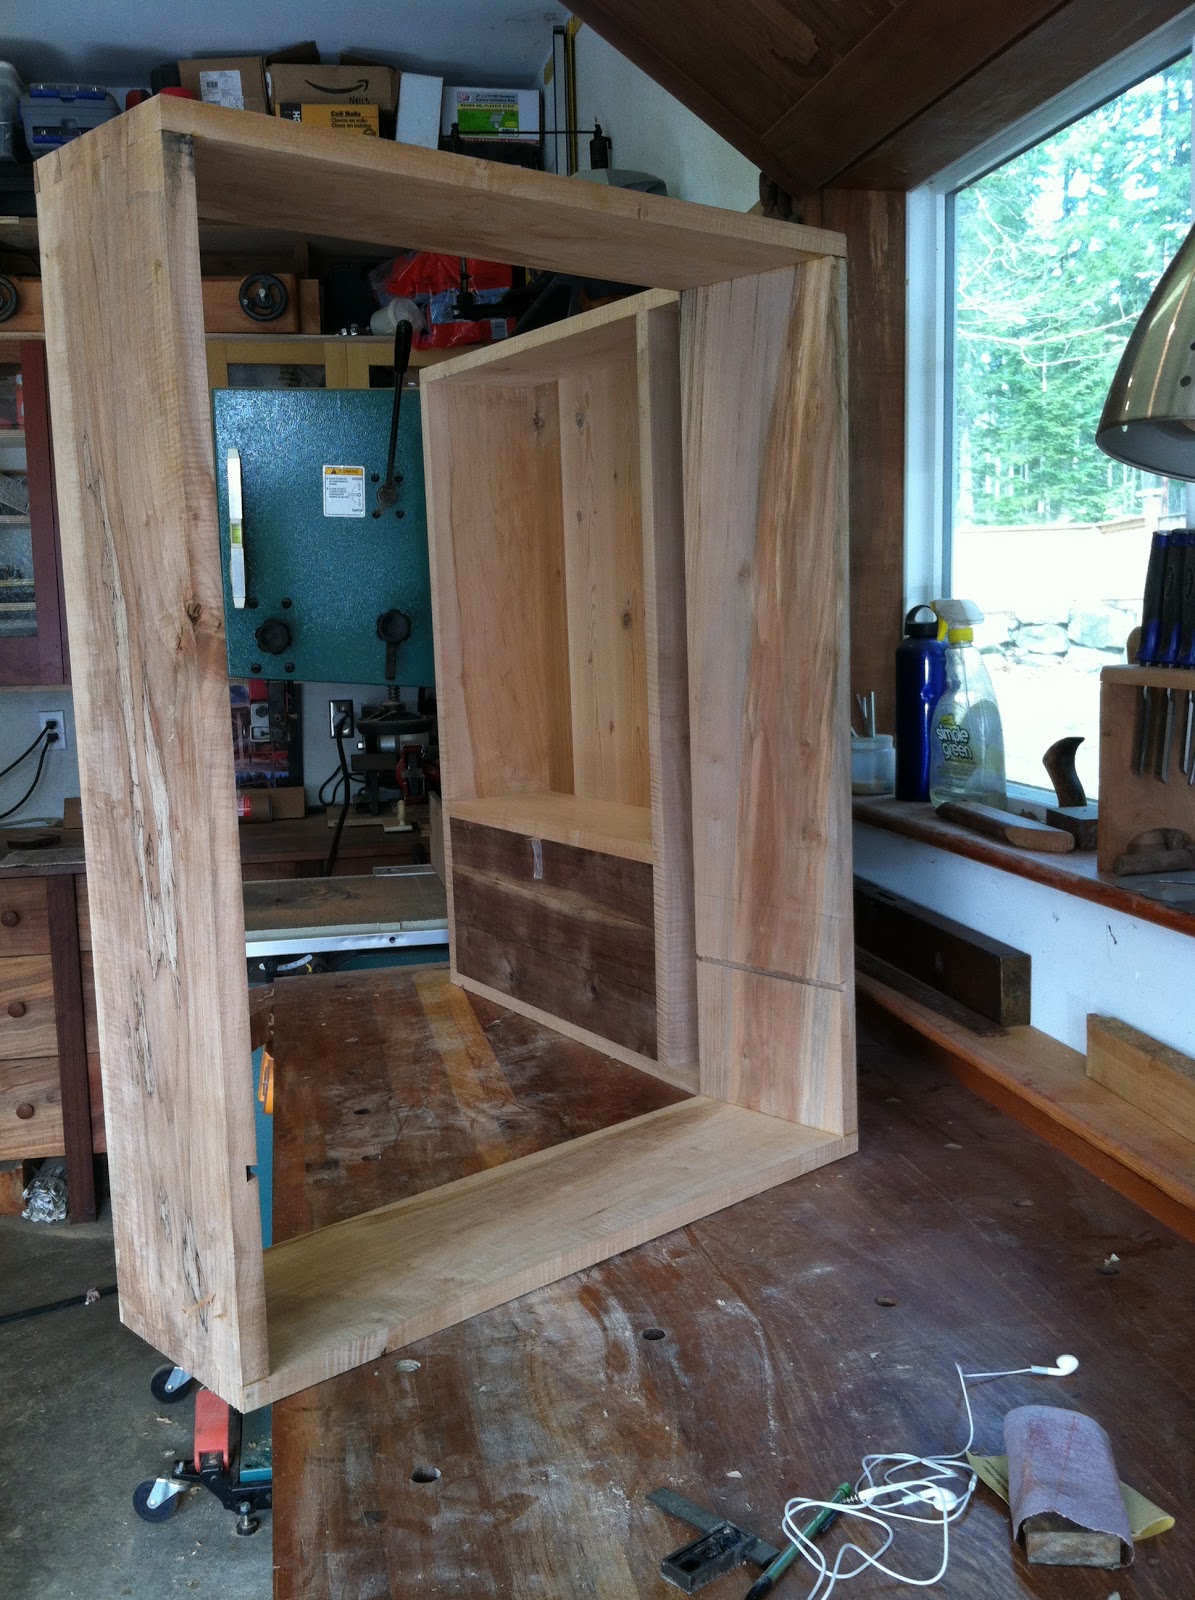
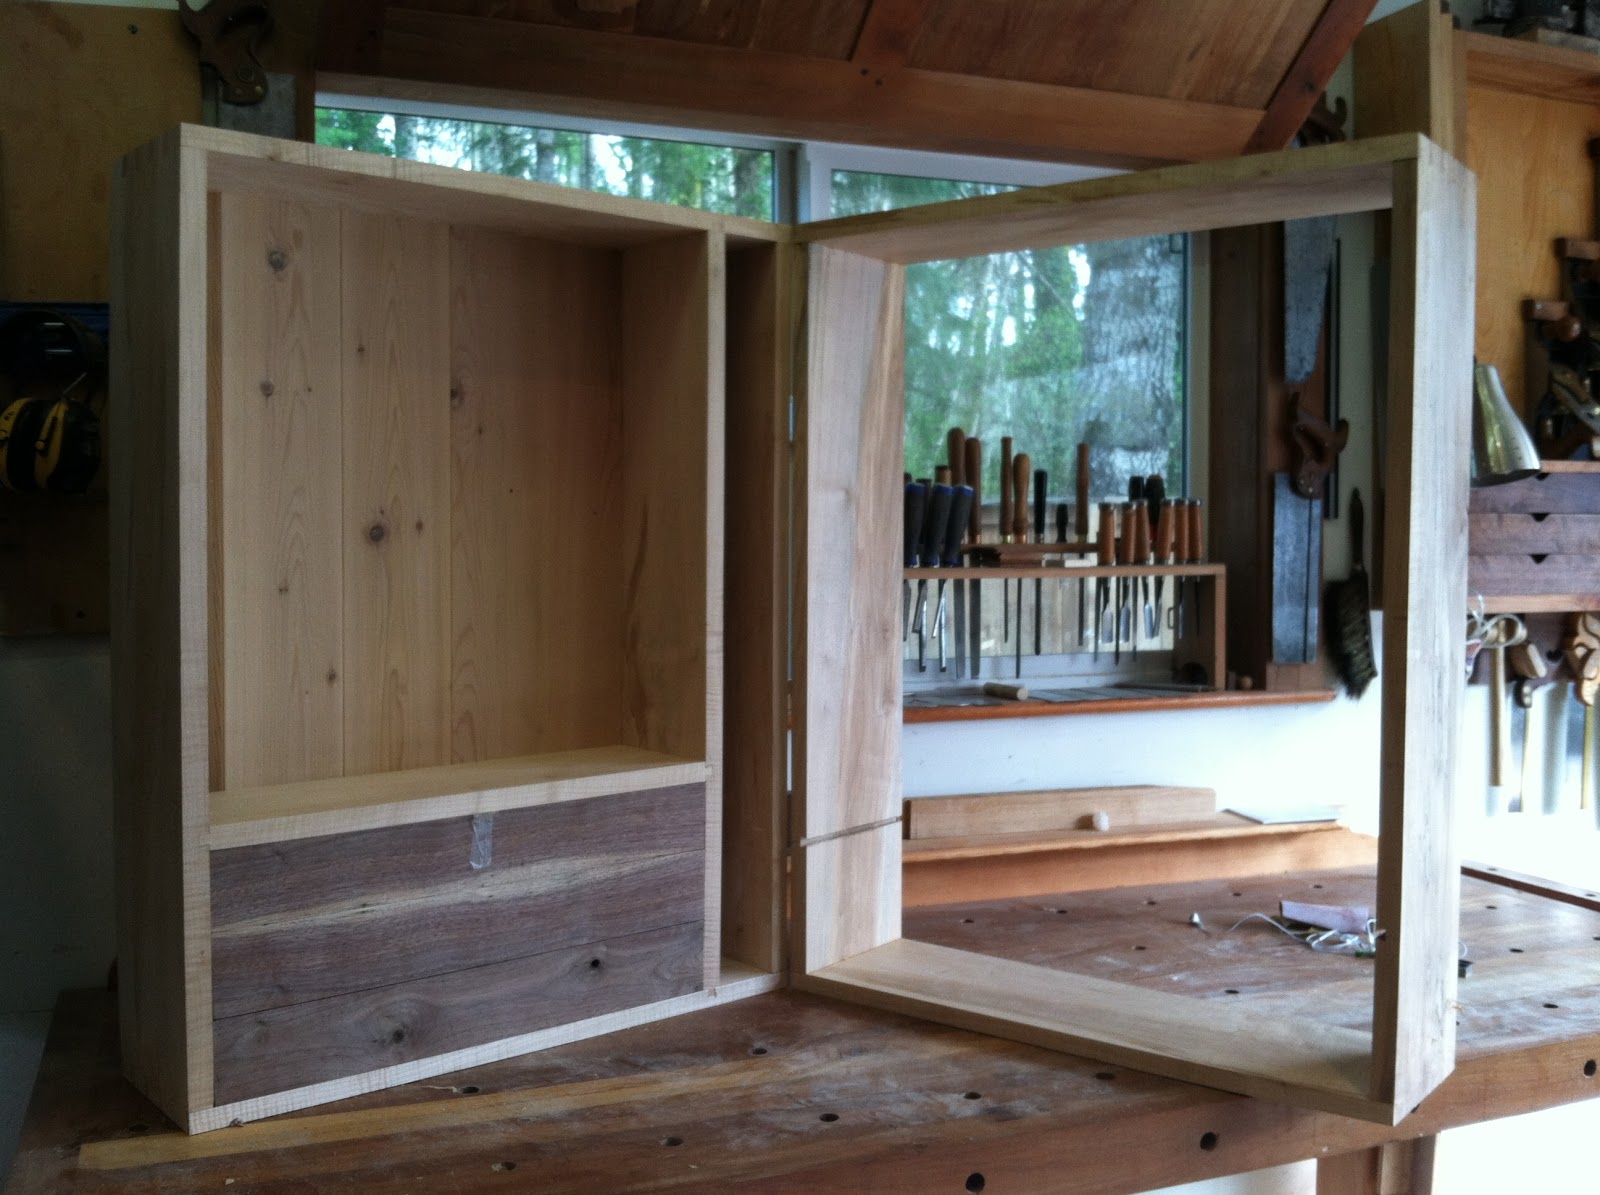
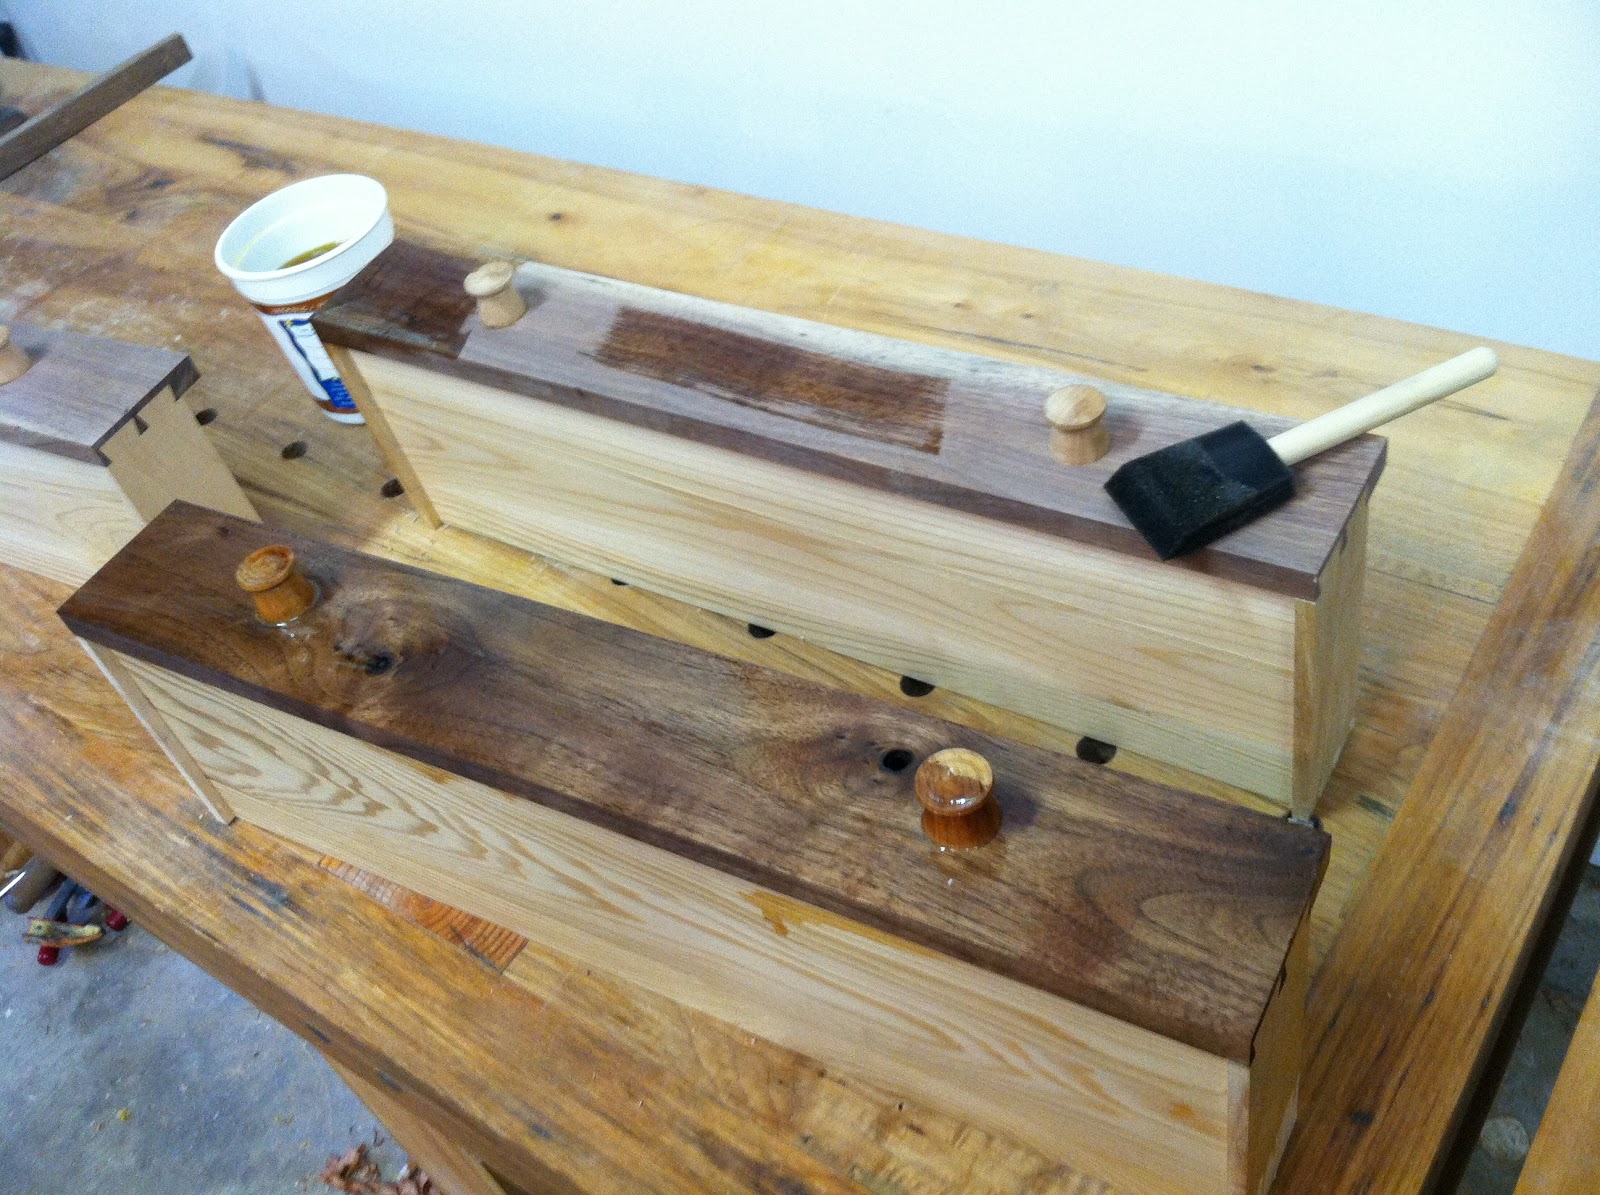
The working plans I used to build the chest were written on a single sheet of paper and only contained rough measurements. From there I used a story pole (a stick with the measurements specific to this project on it like a not-so-fancy ruler) and transferred measurements from one piece to another with marking gauges and adjustable squares to minimize math mistakes (which would run rampant in my work if I was ever forced to use math, which I suck at).
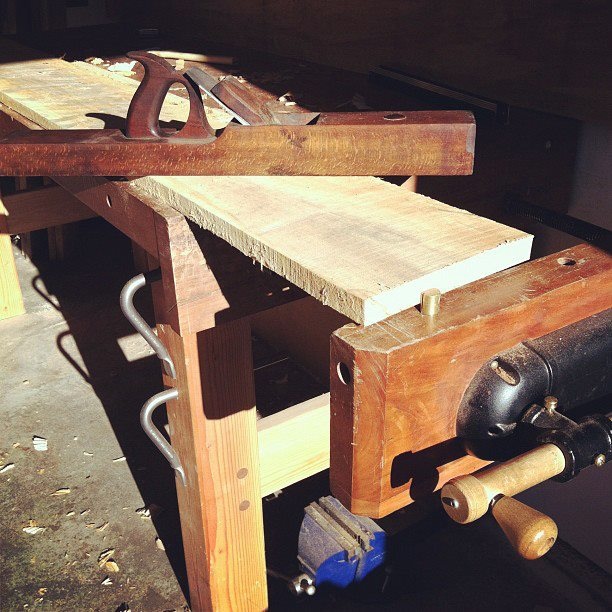
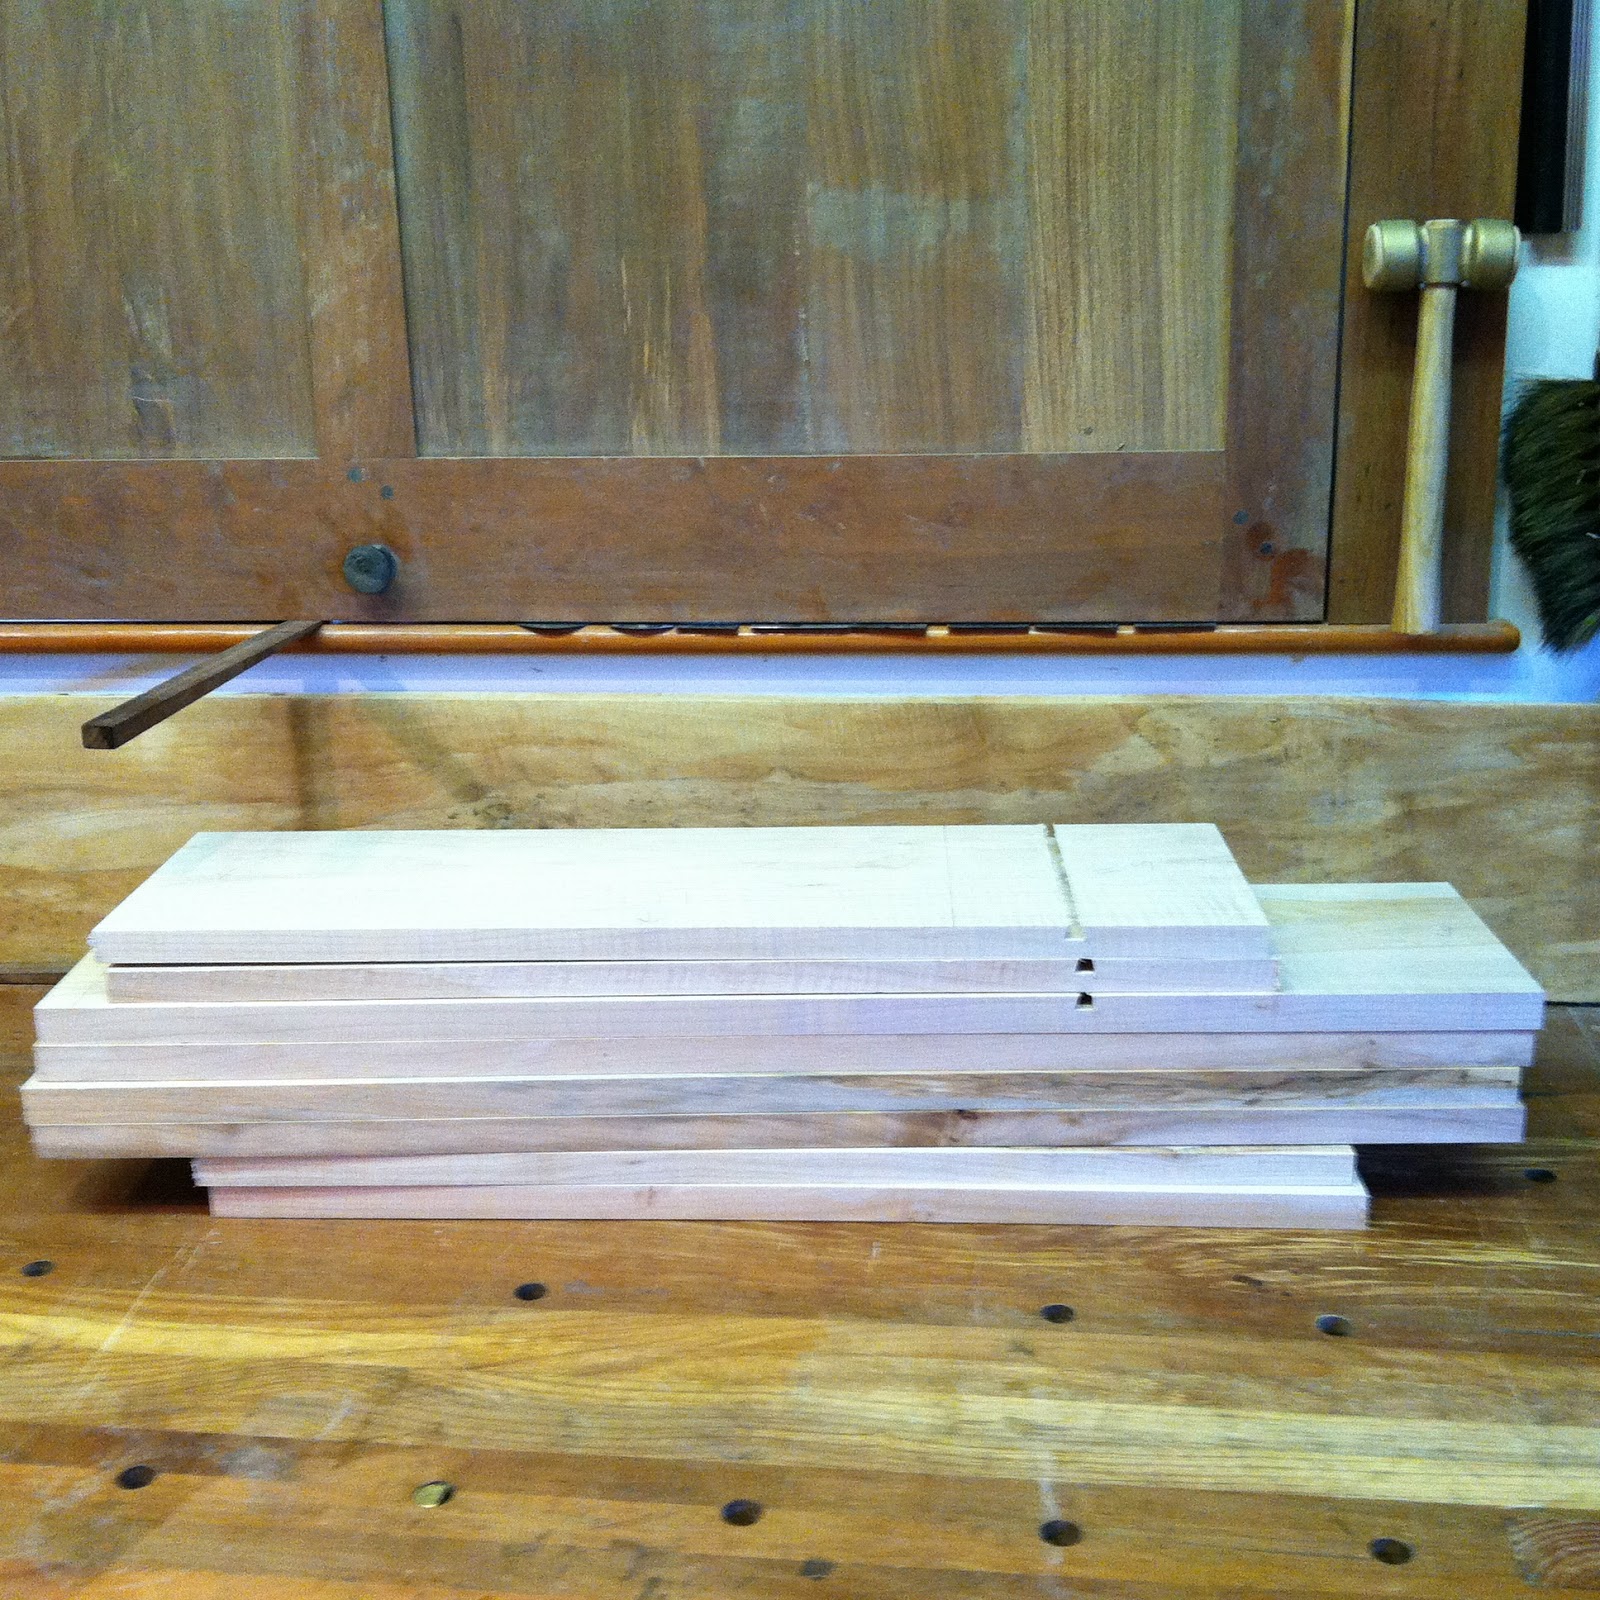
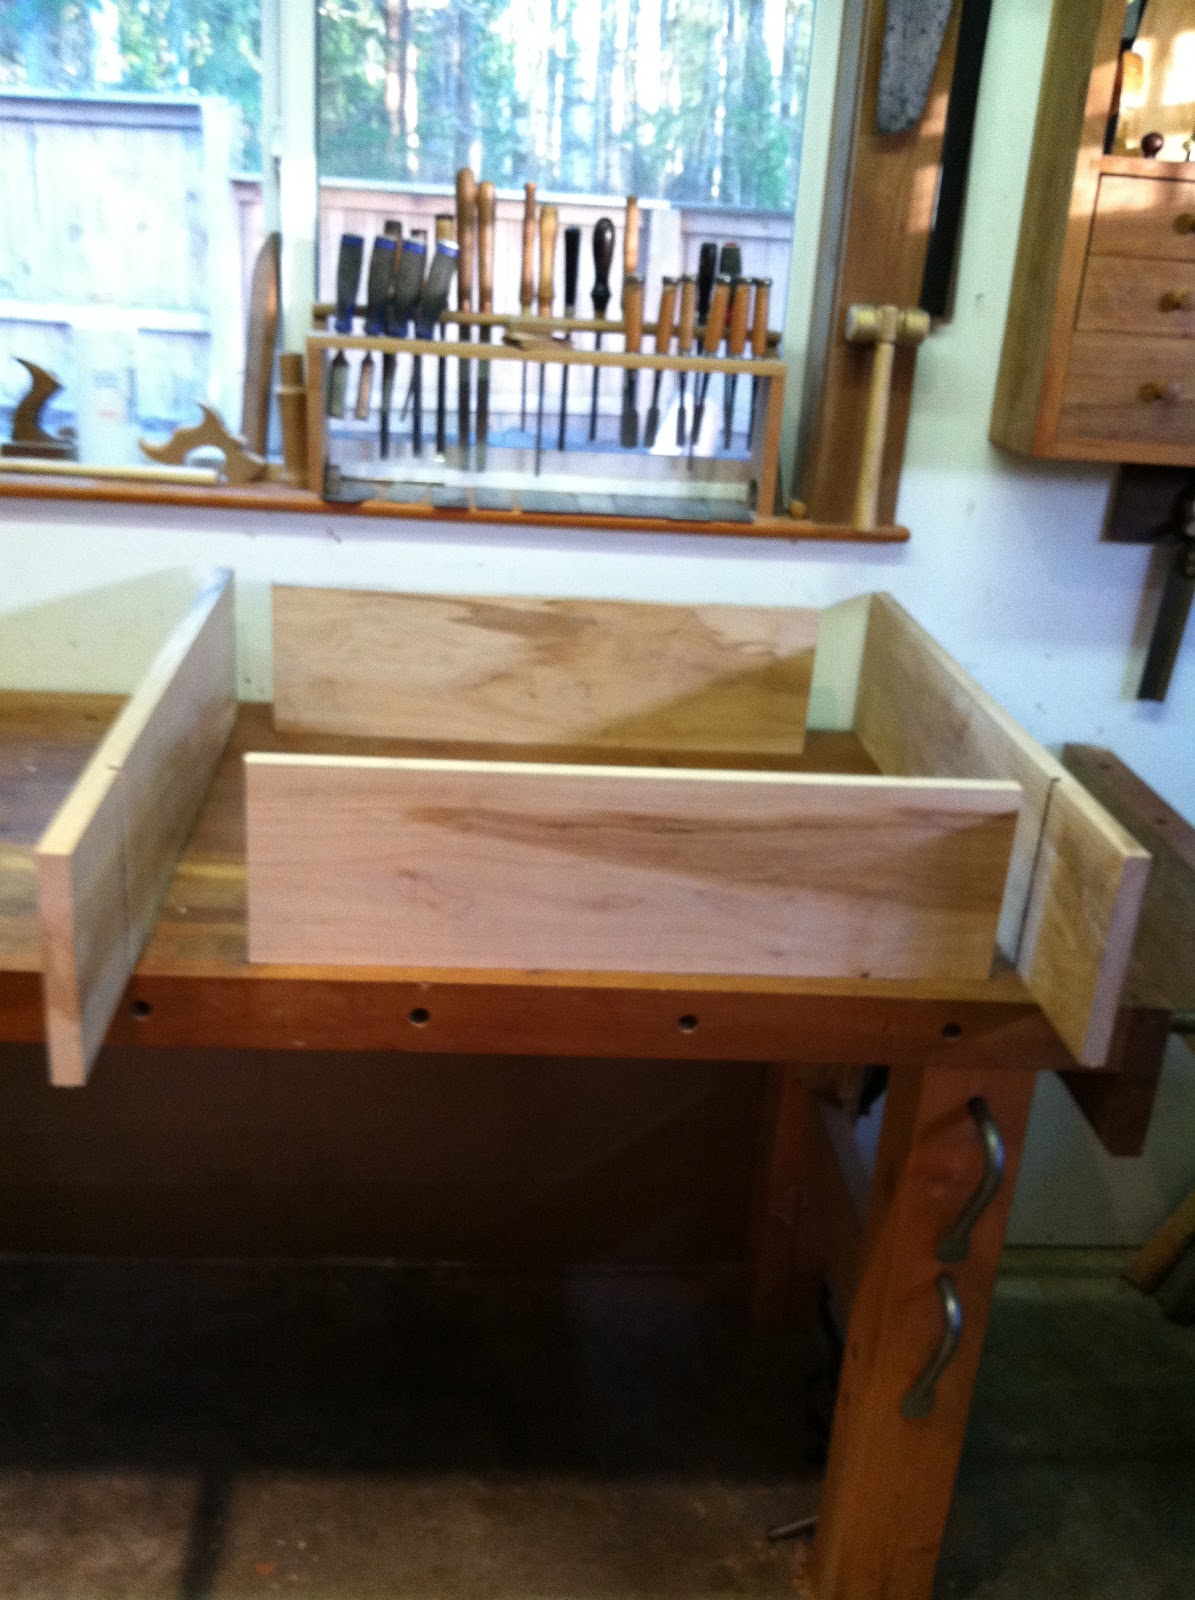
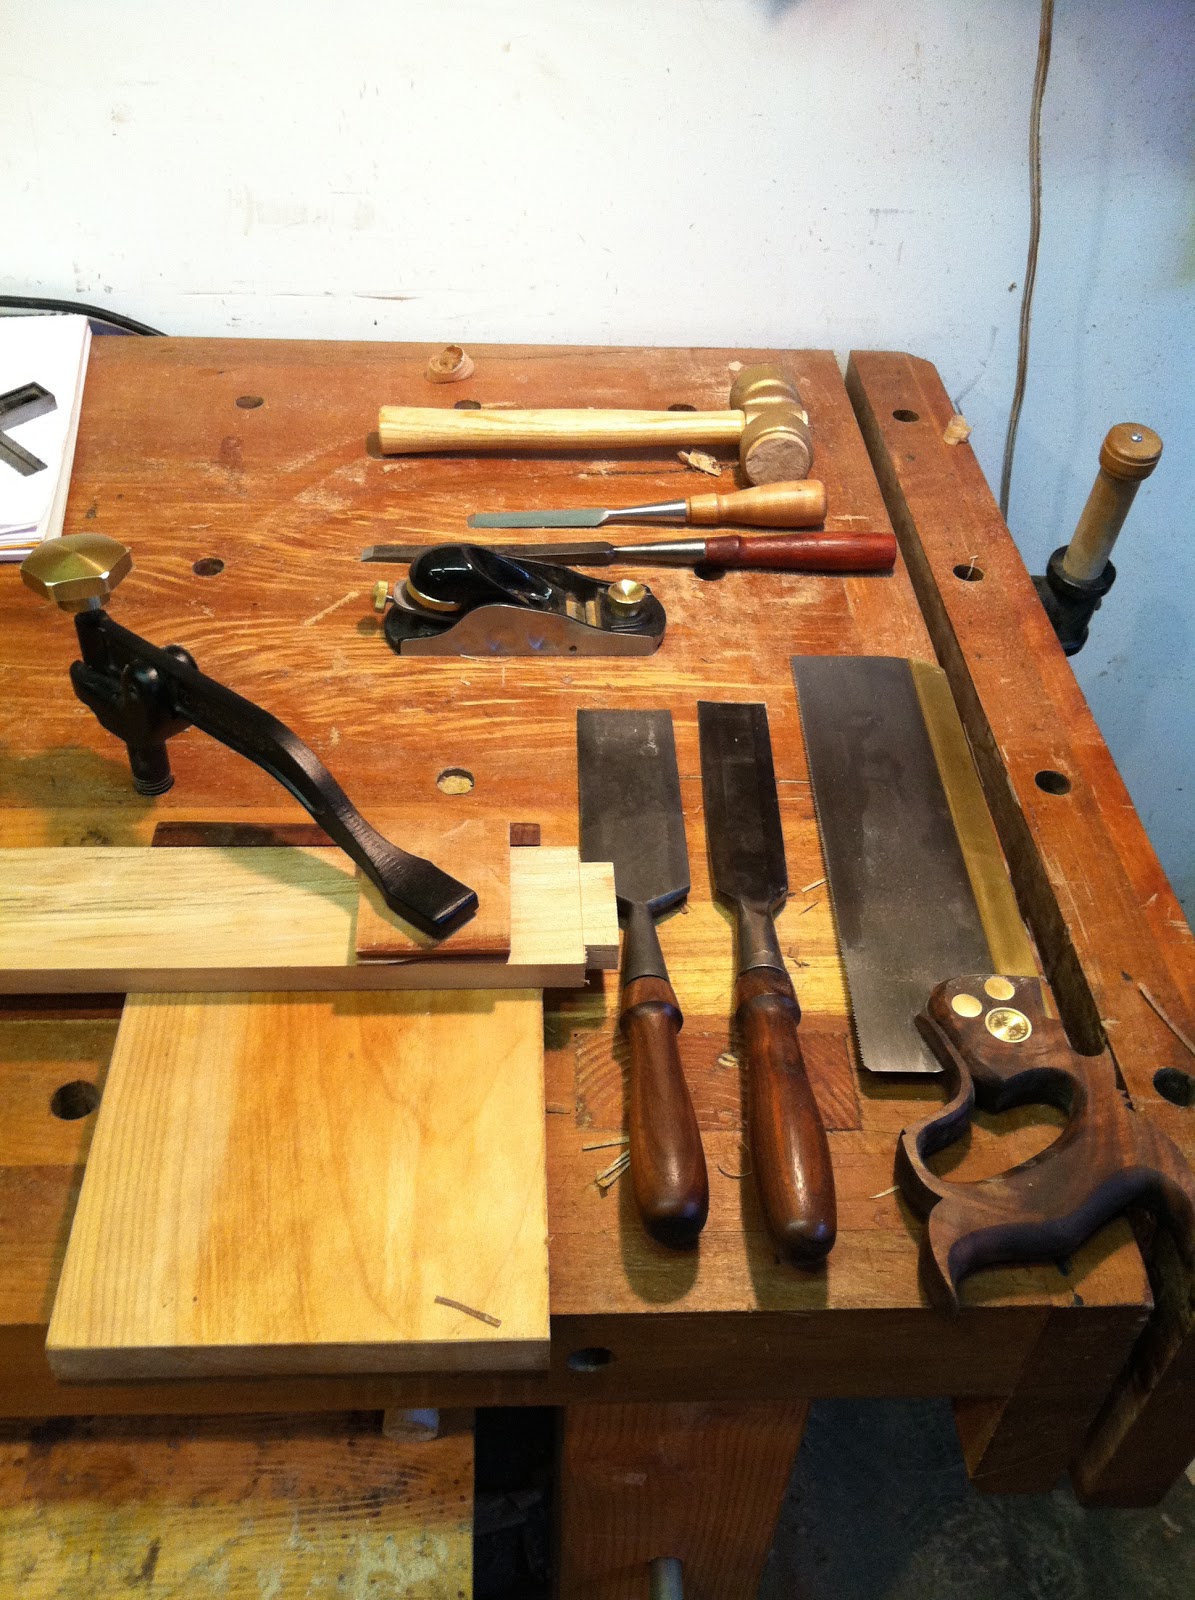
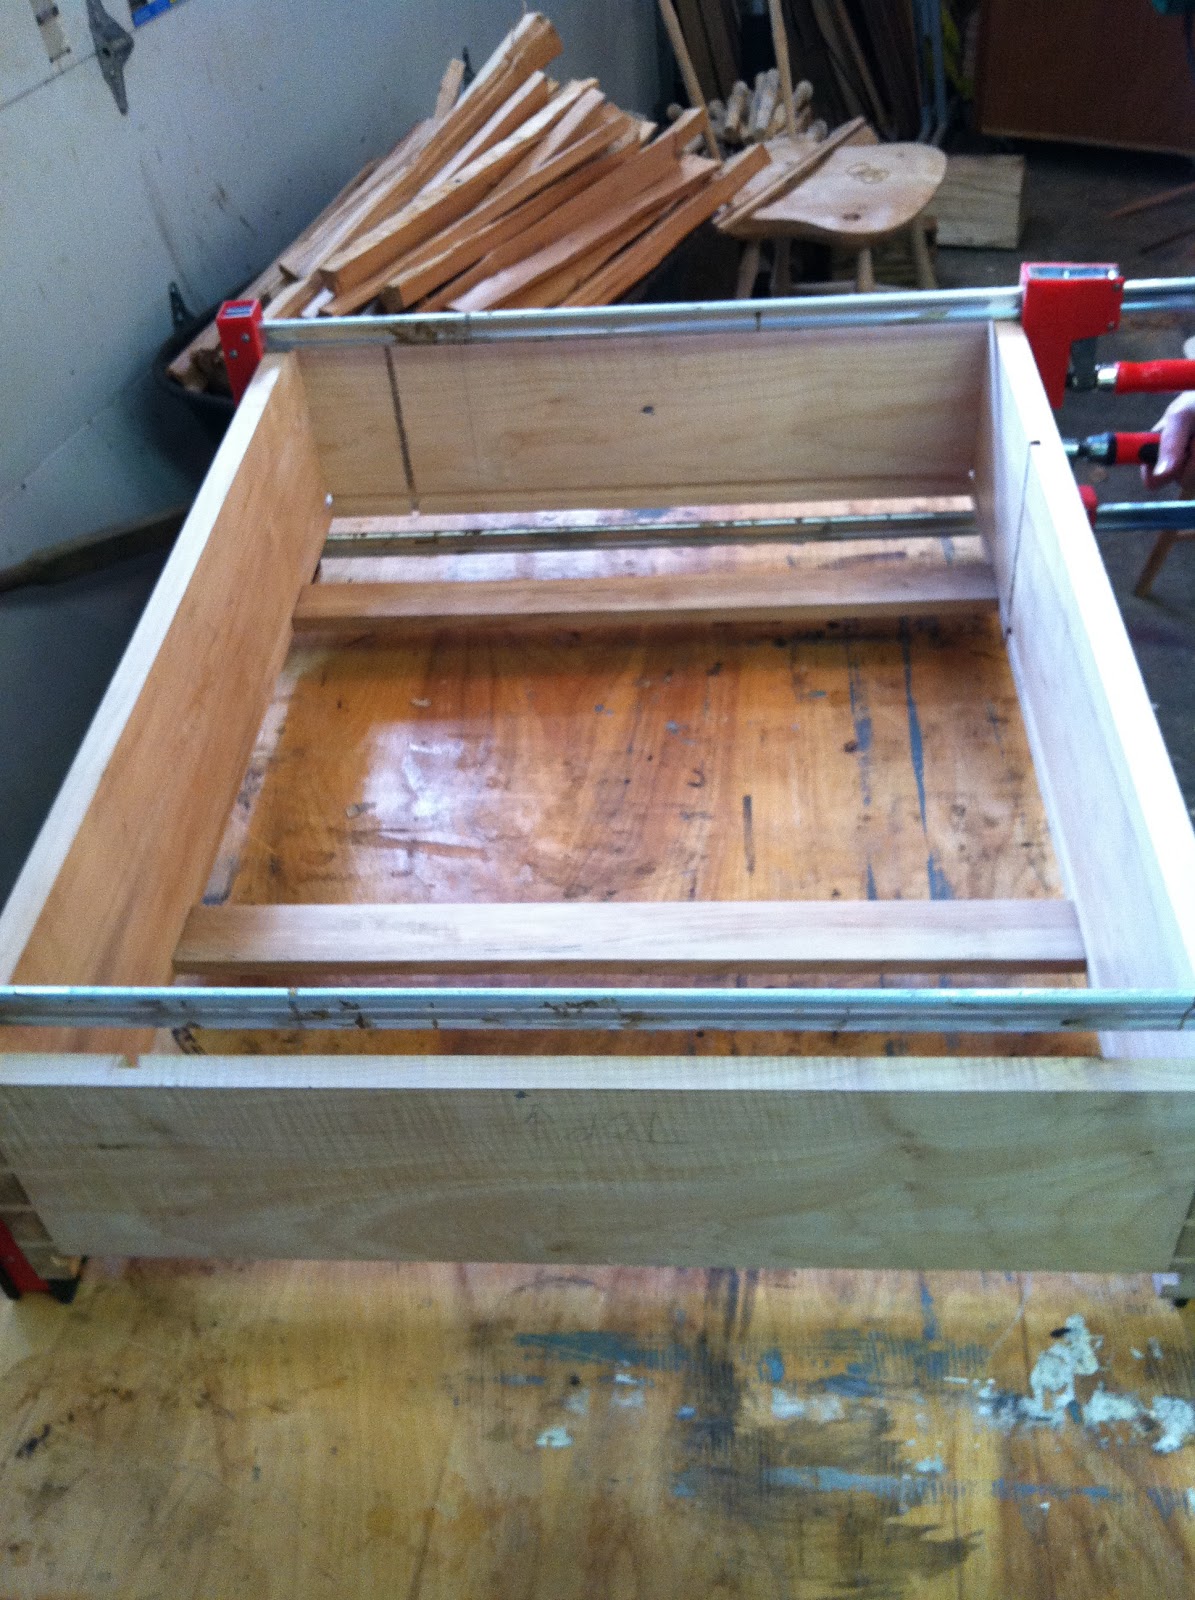
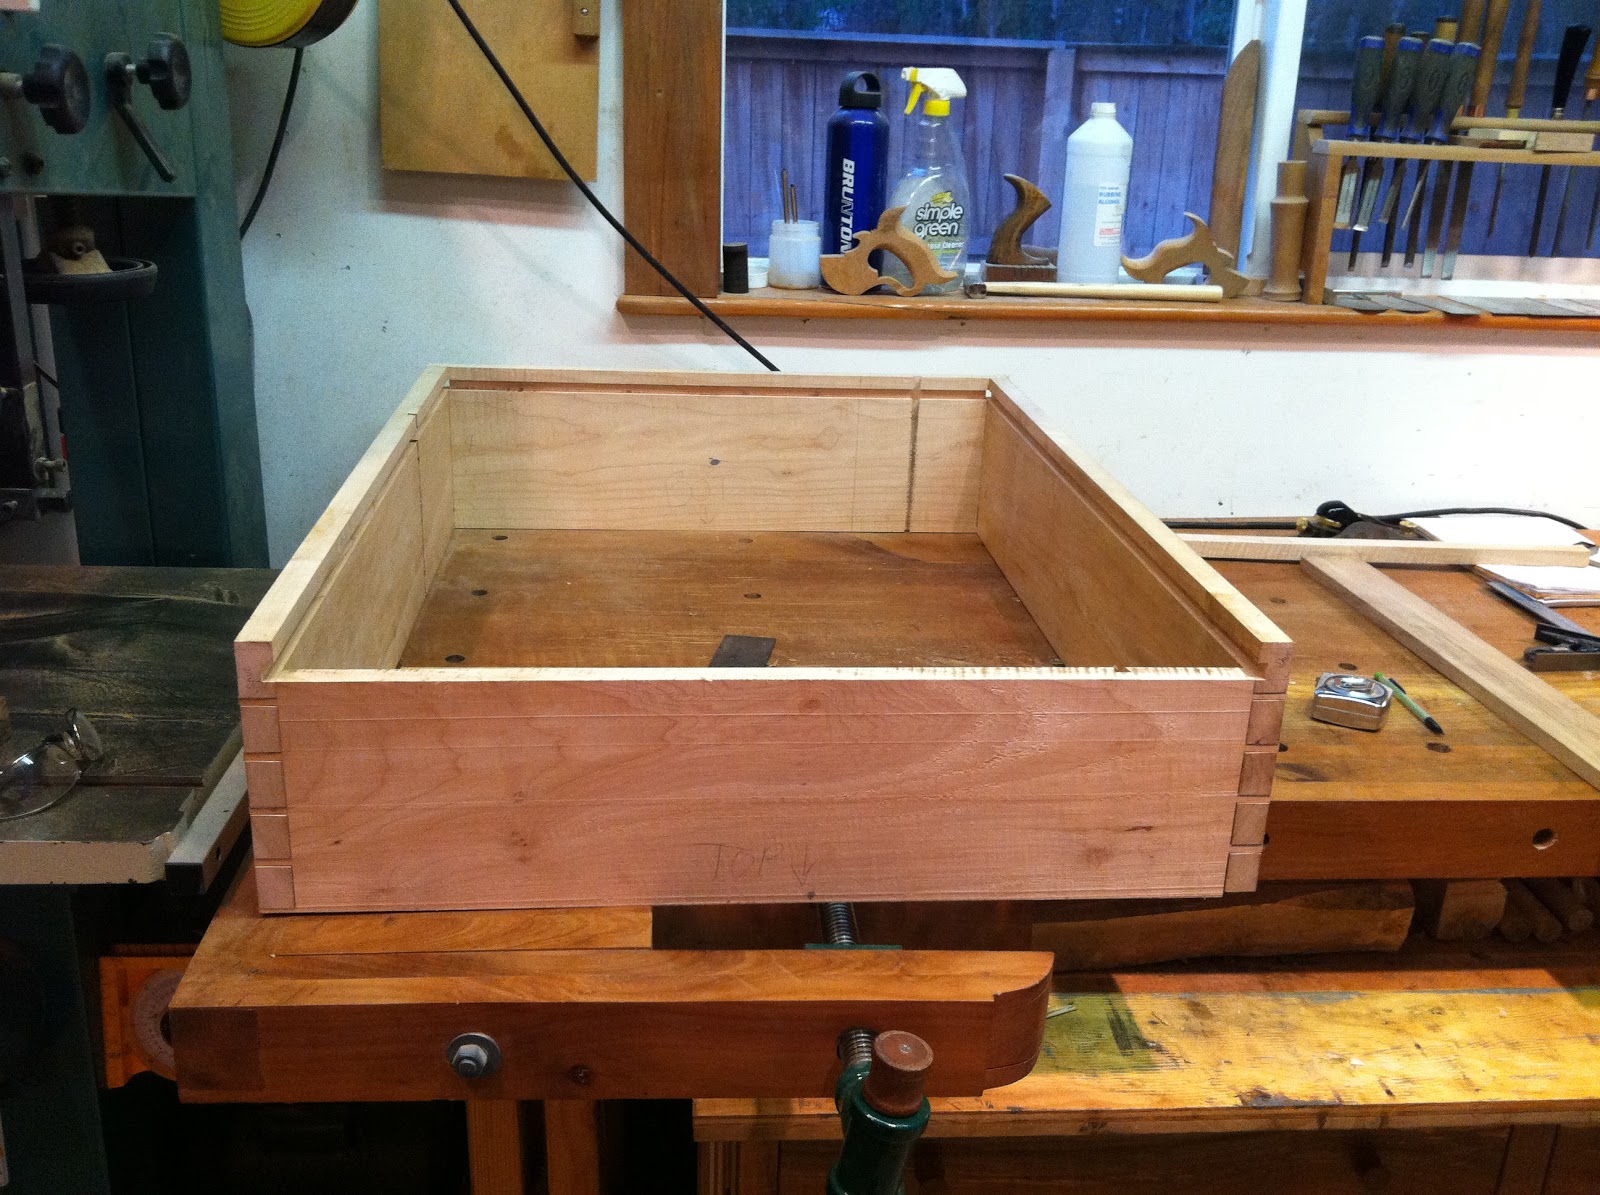
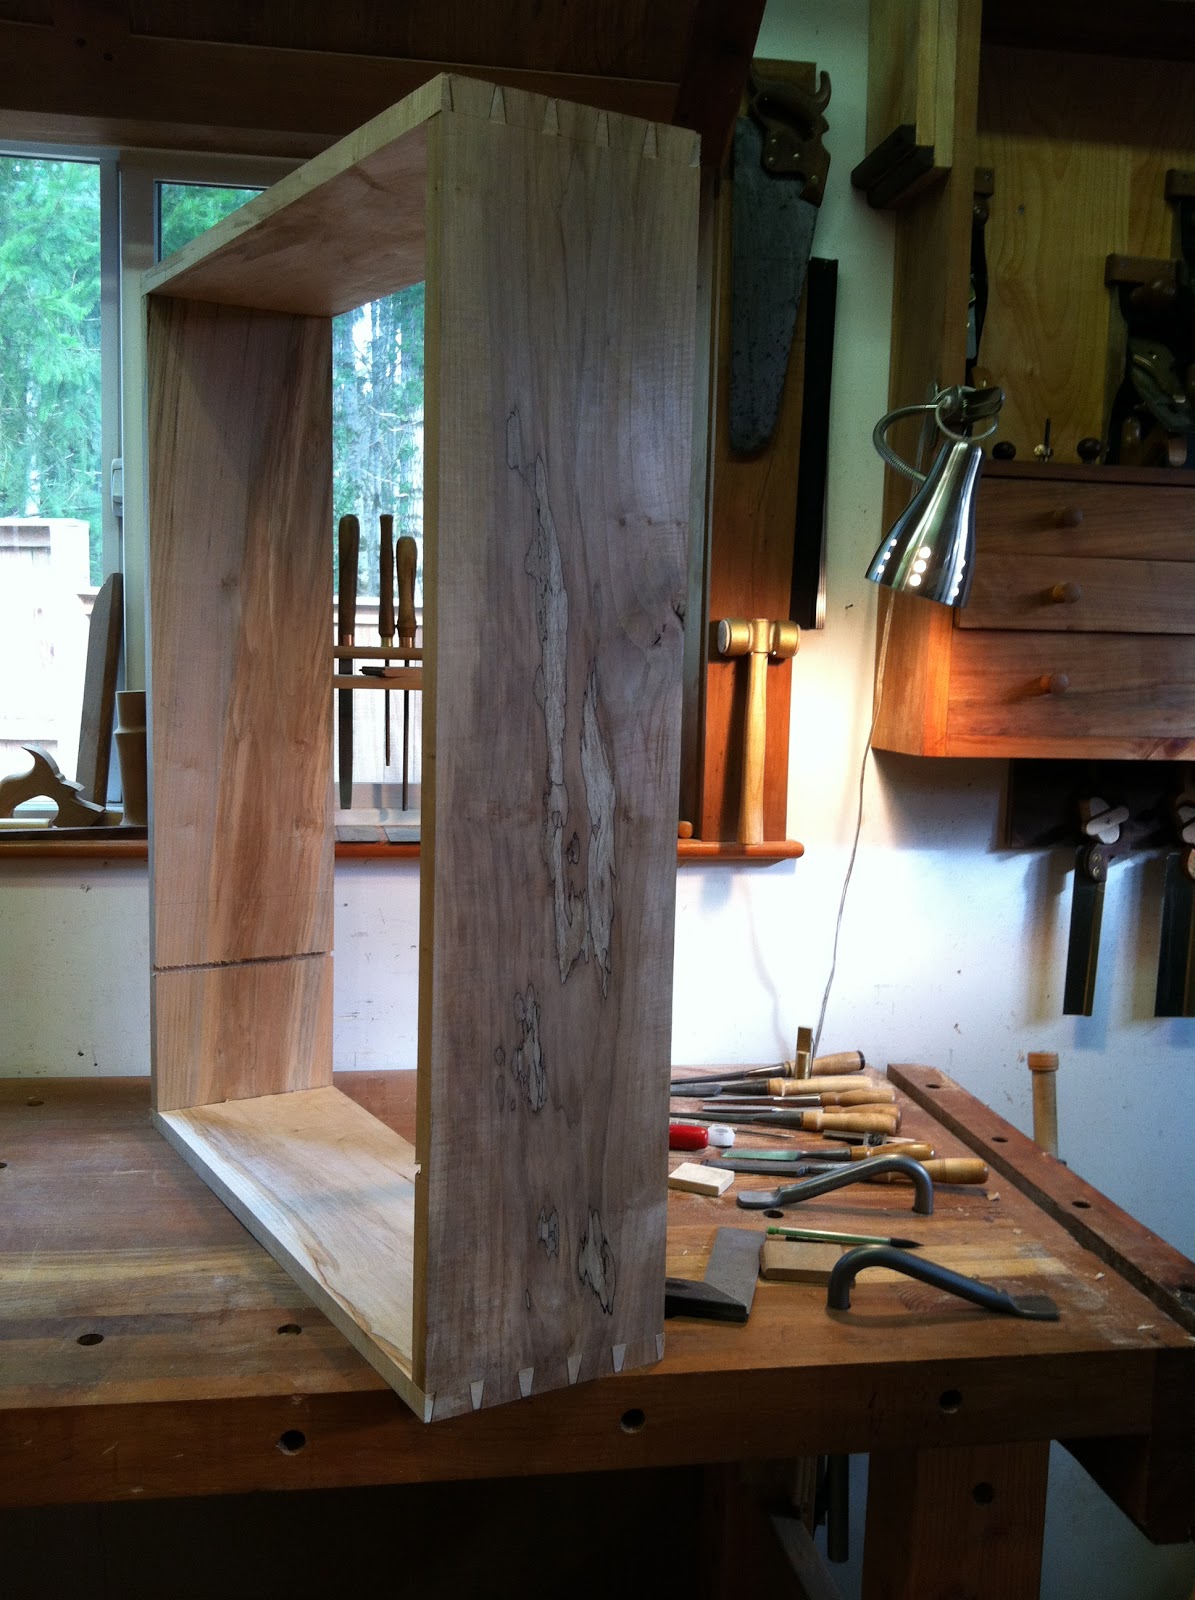
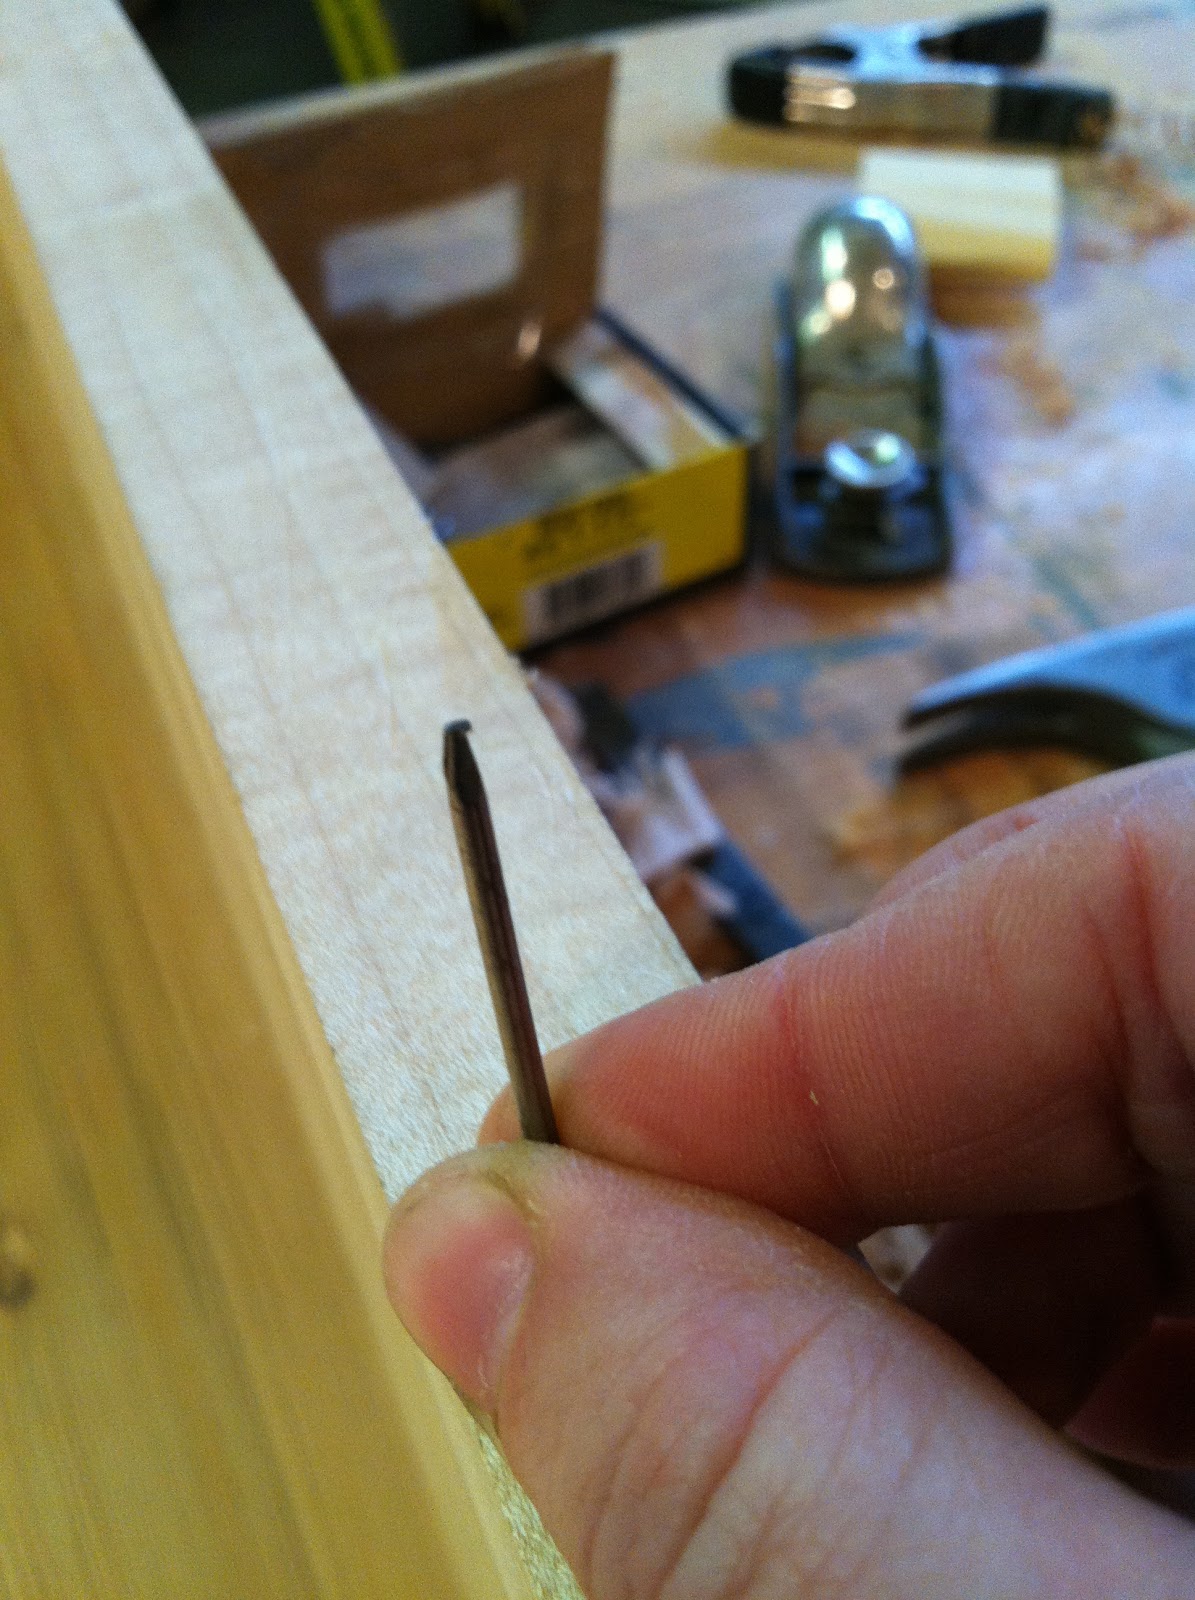
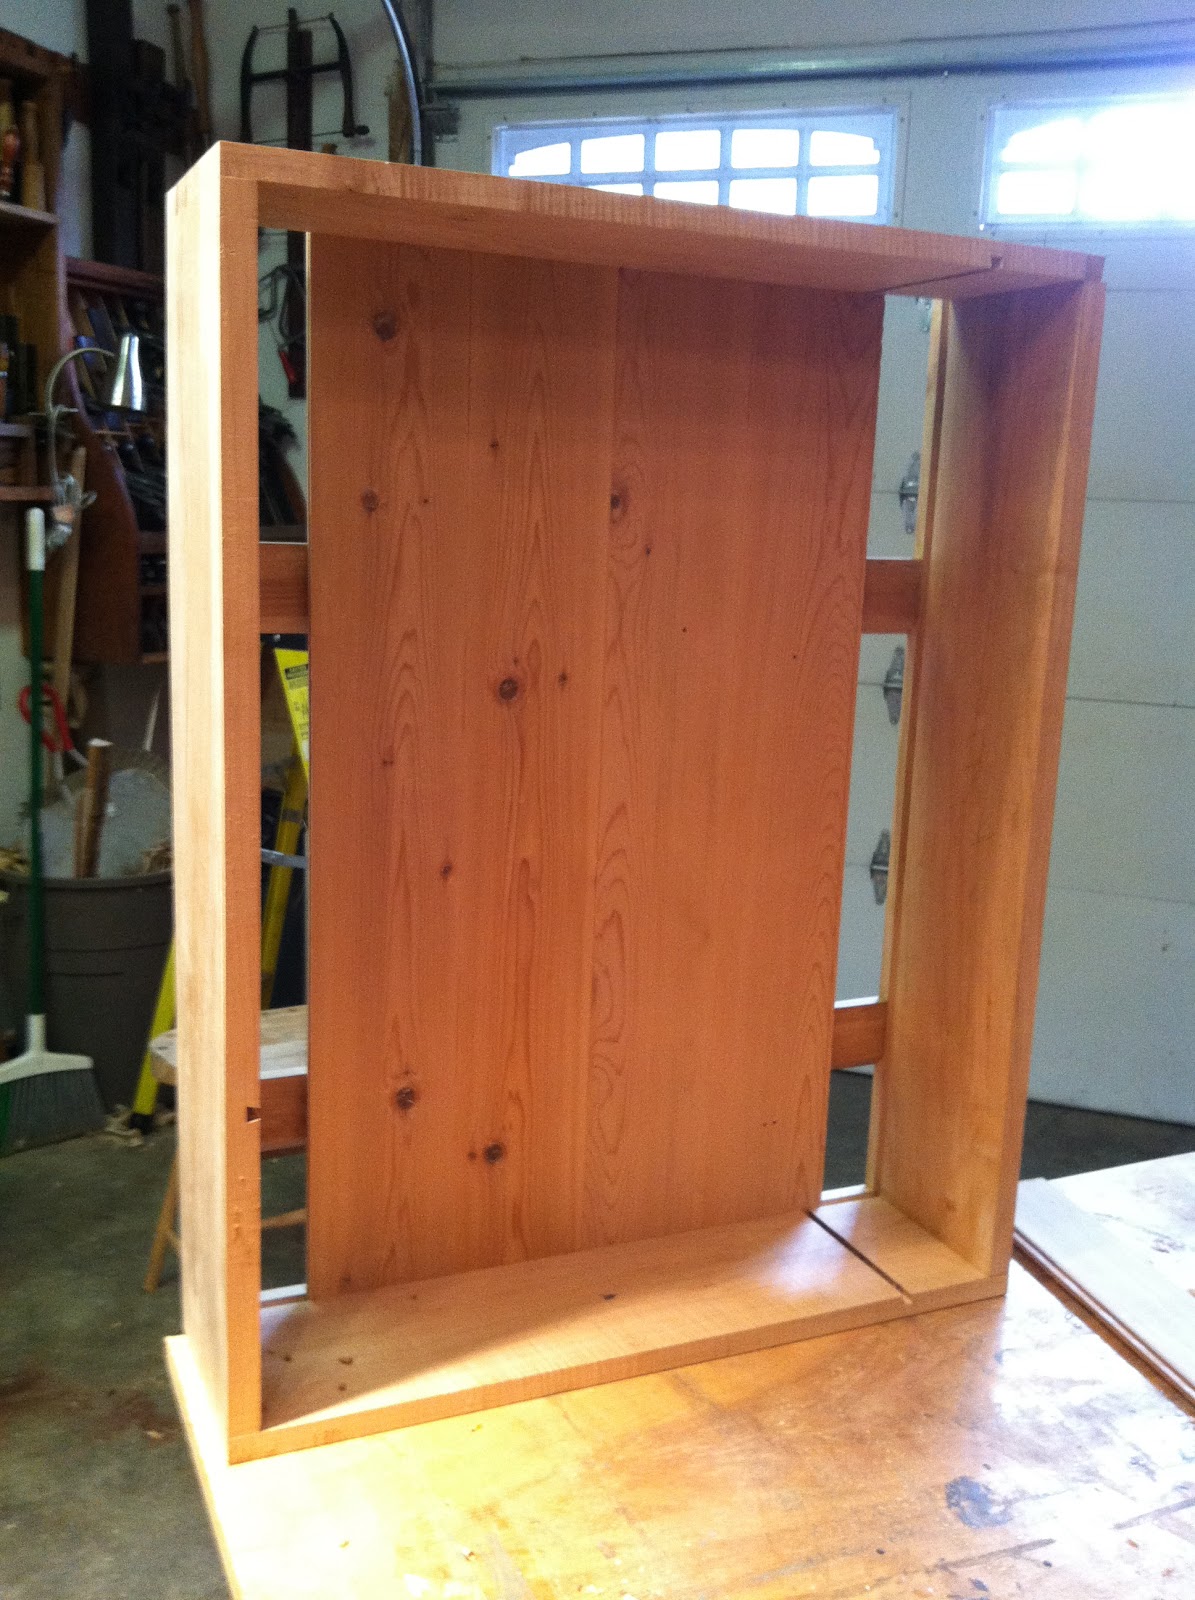
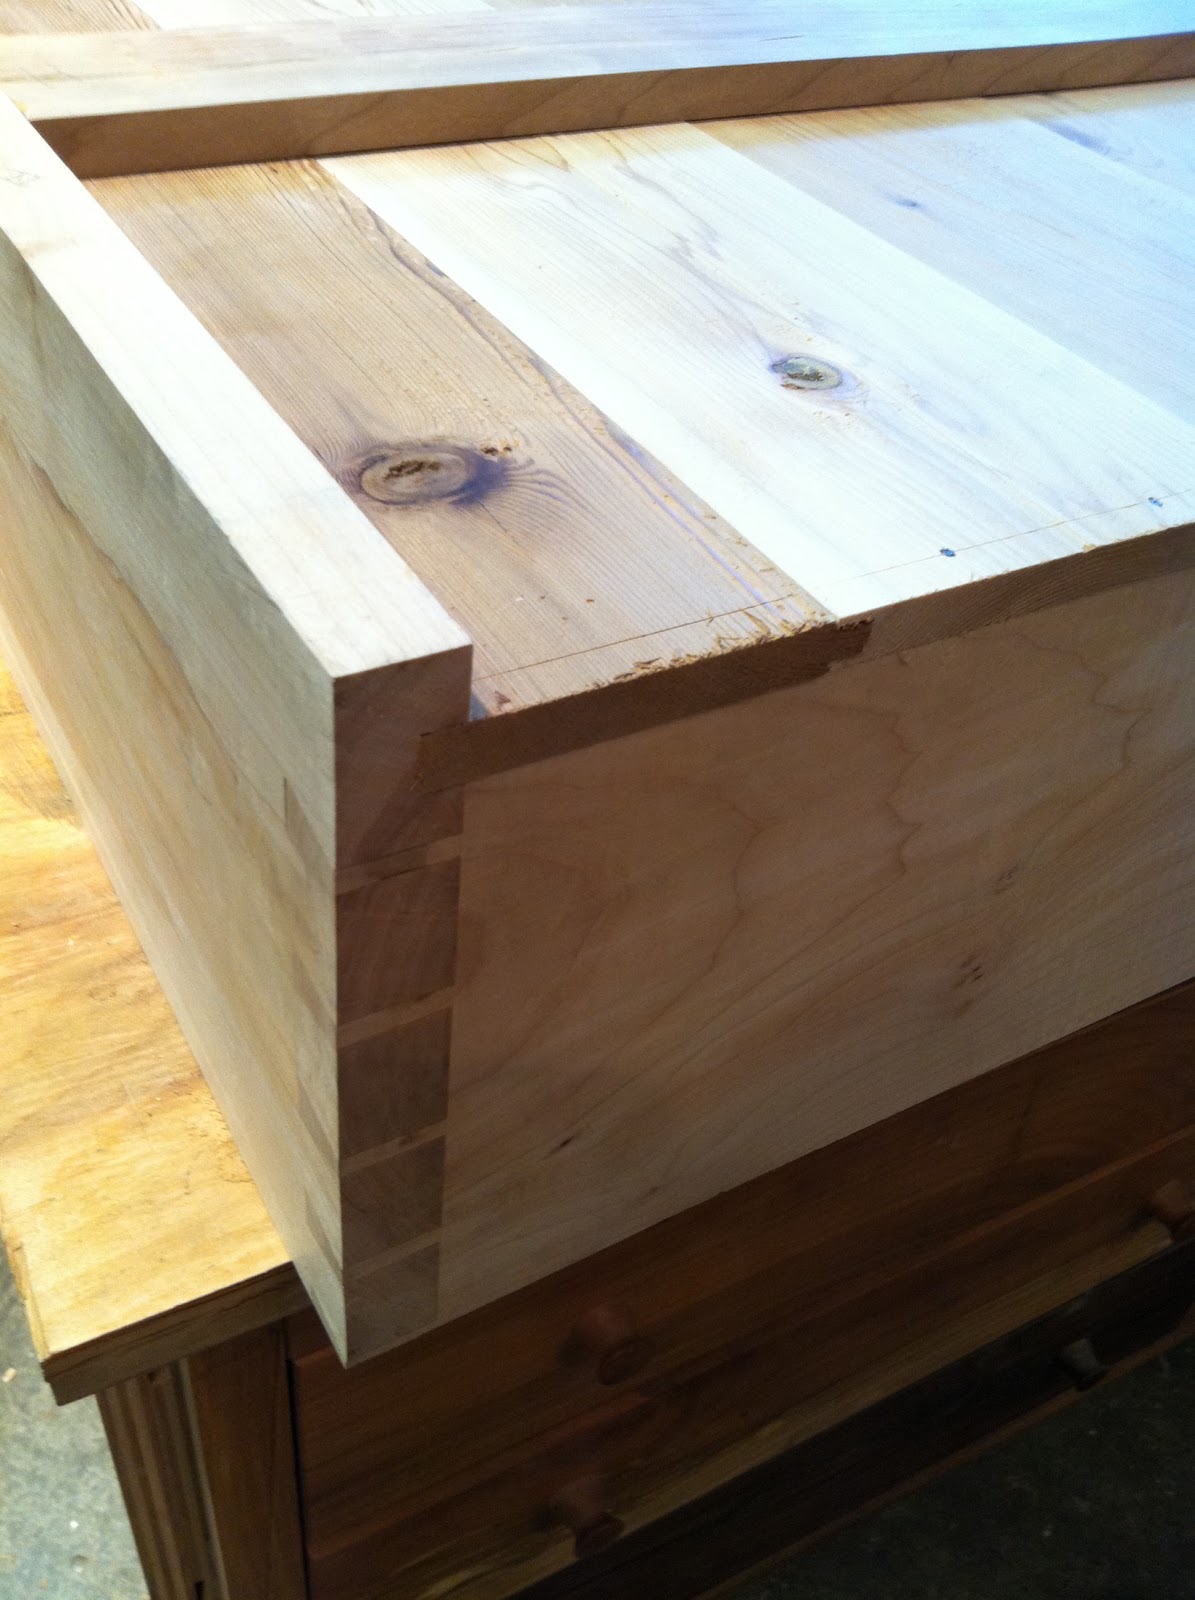
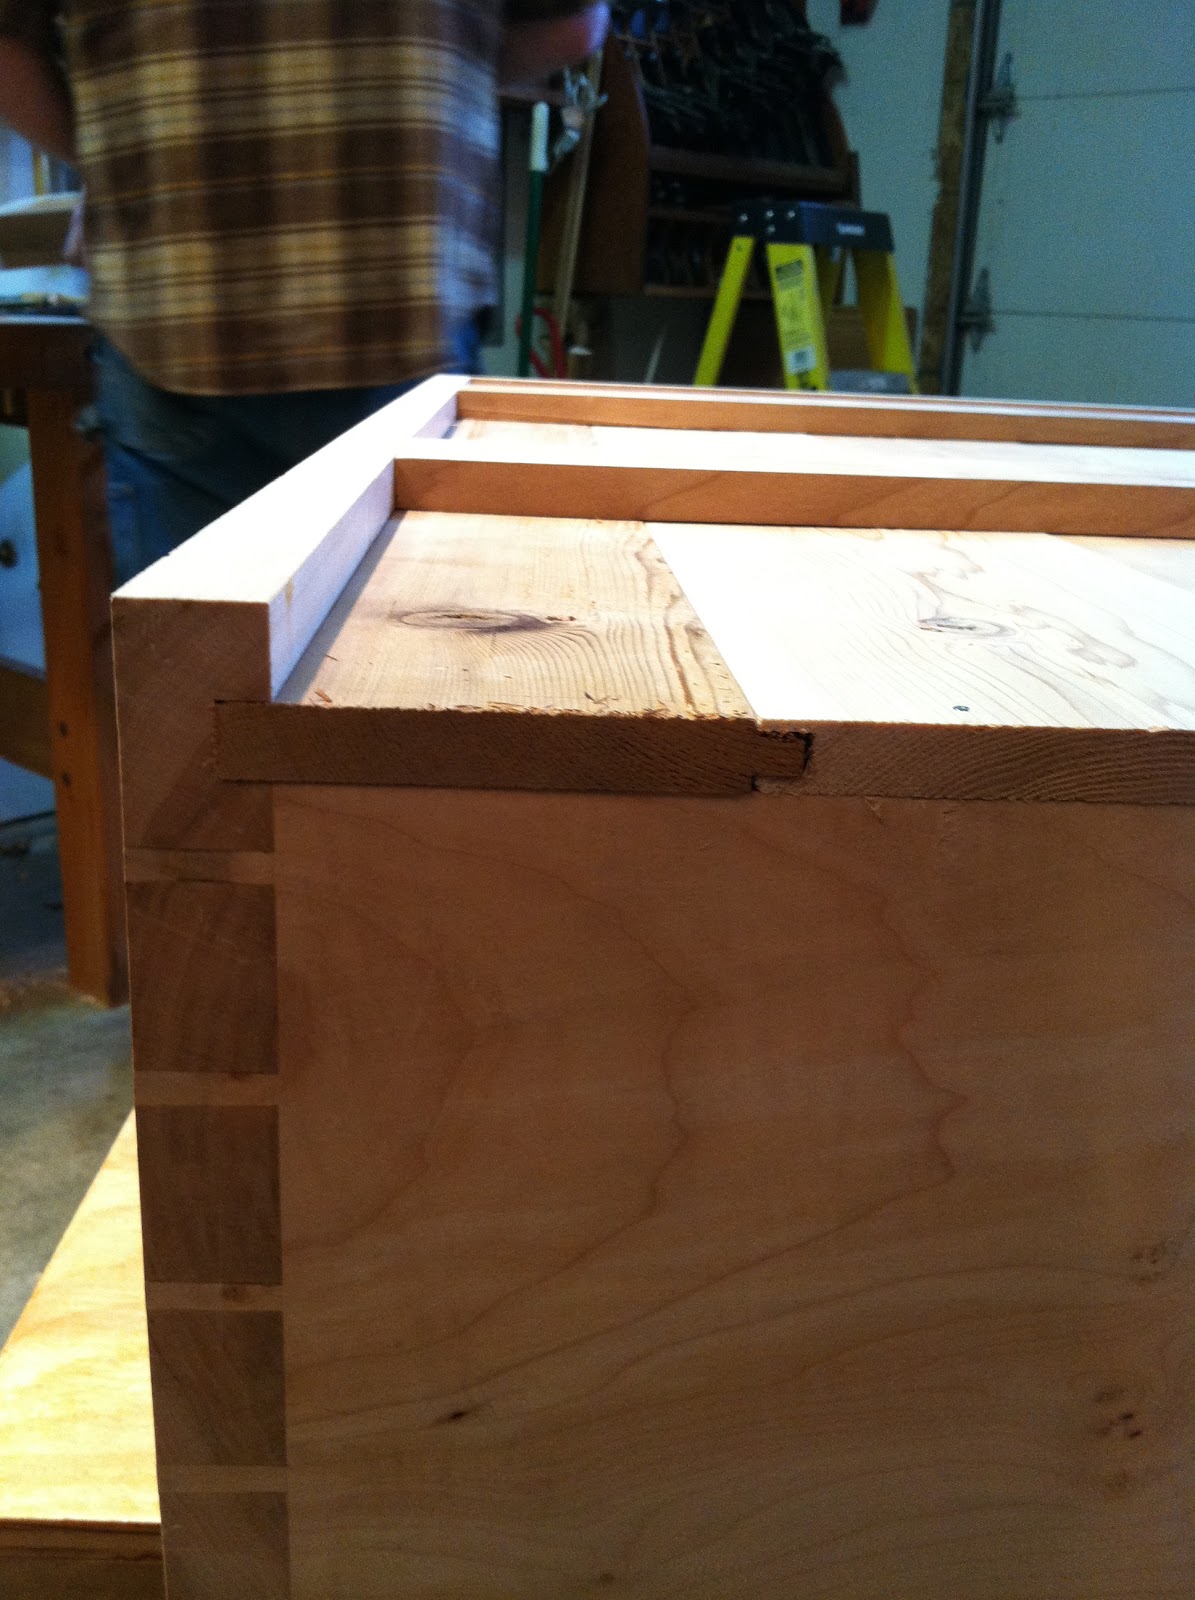
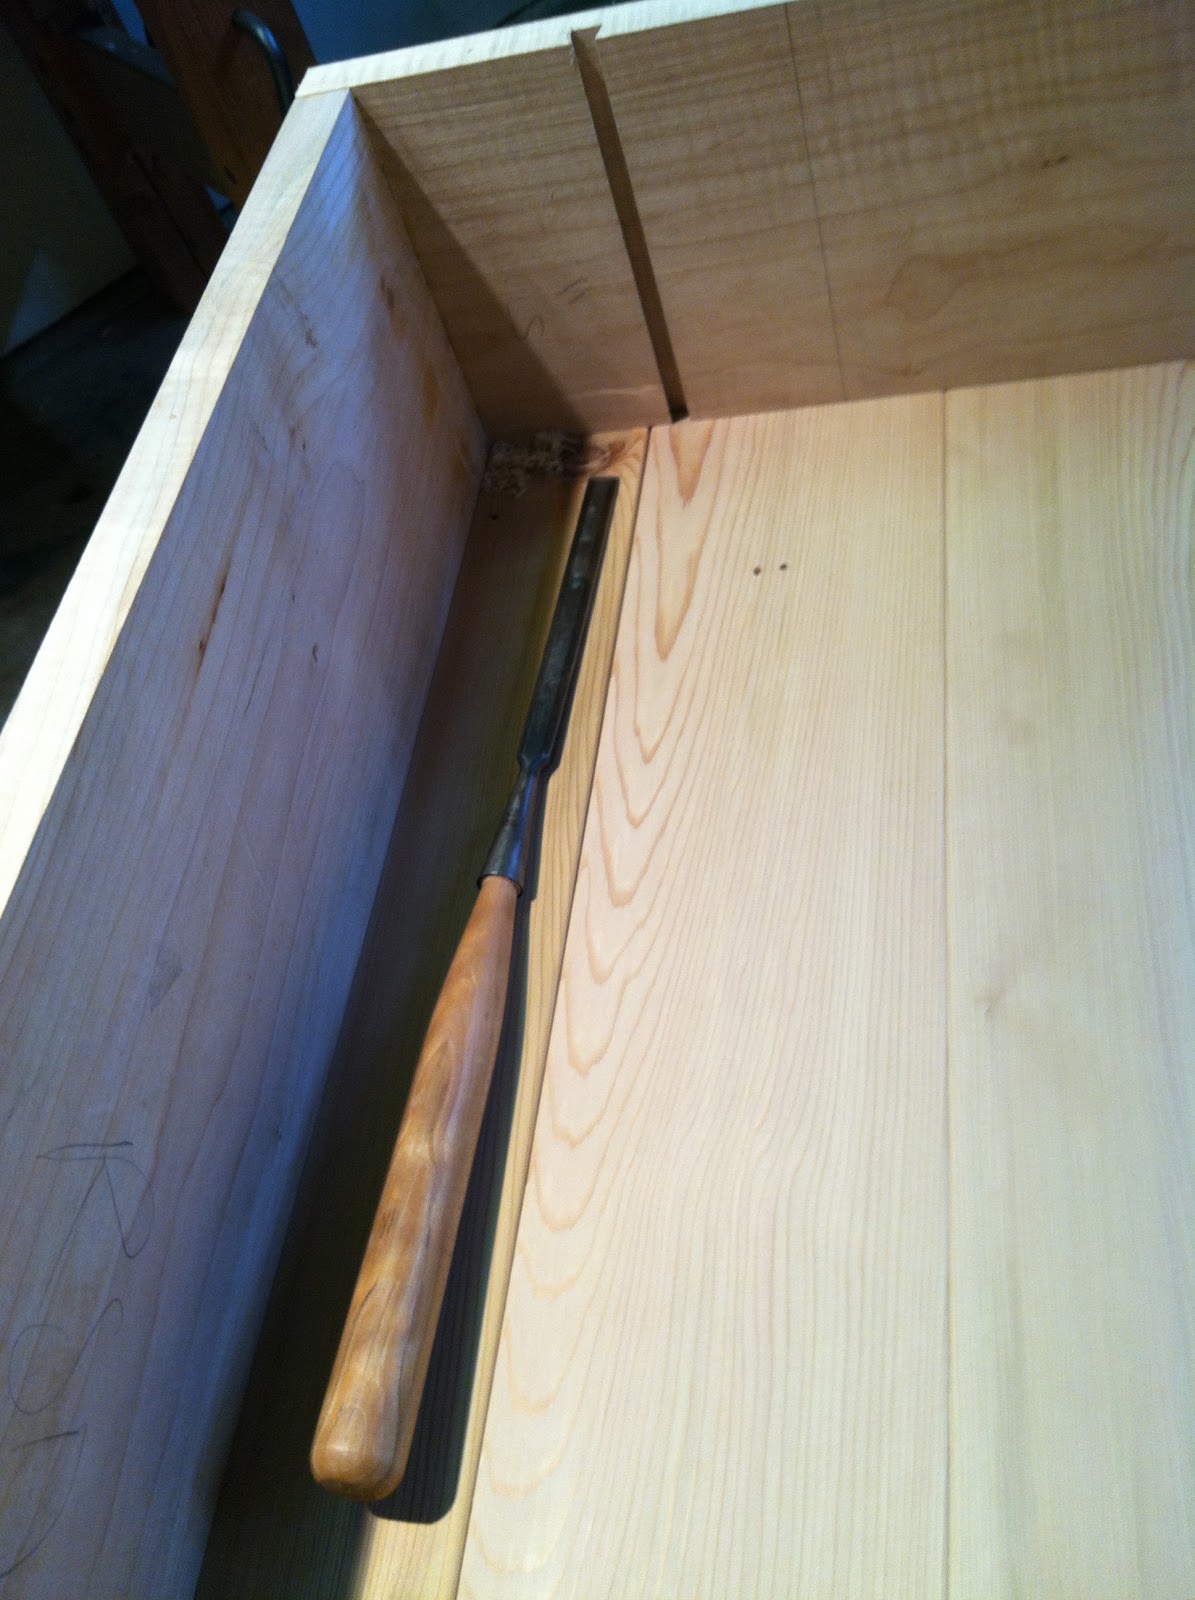
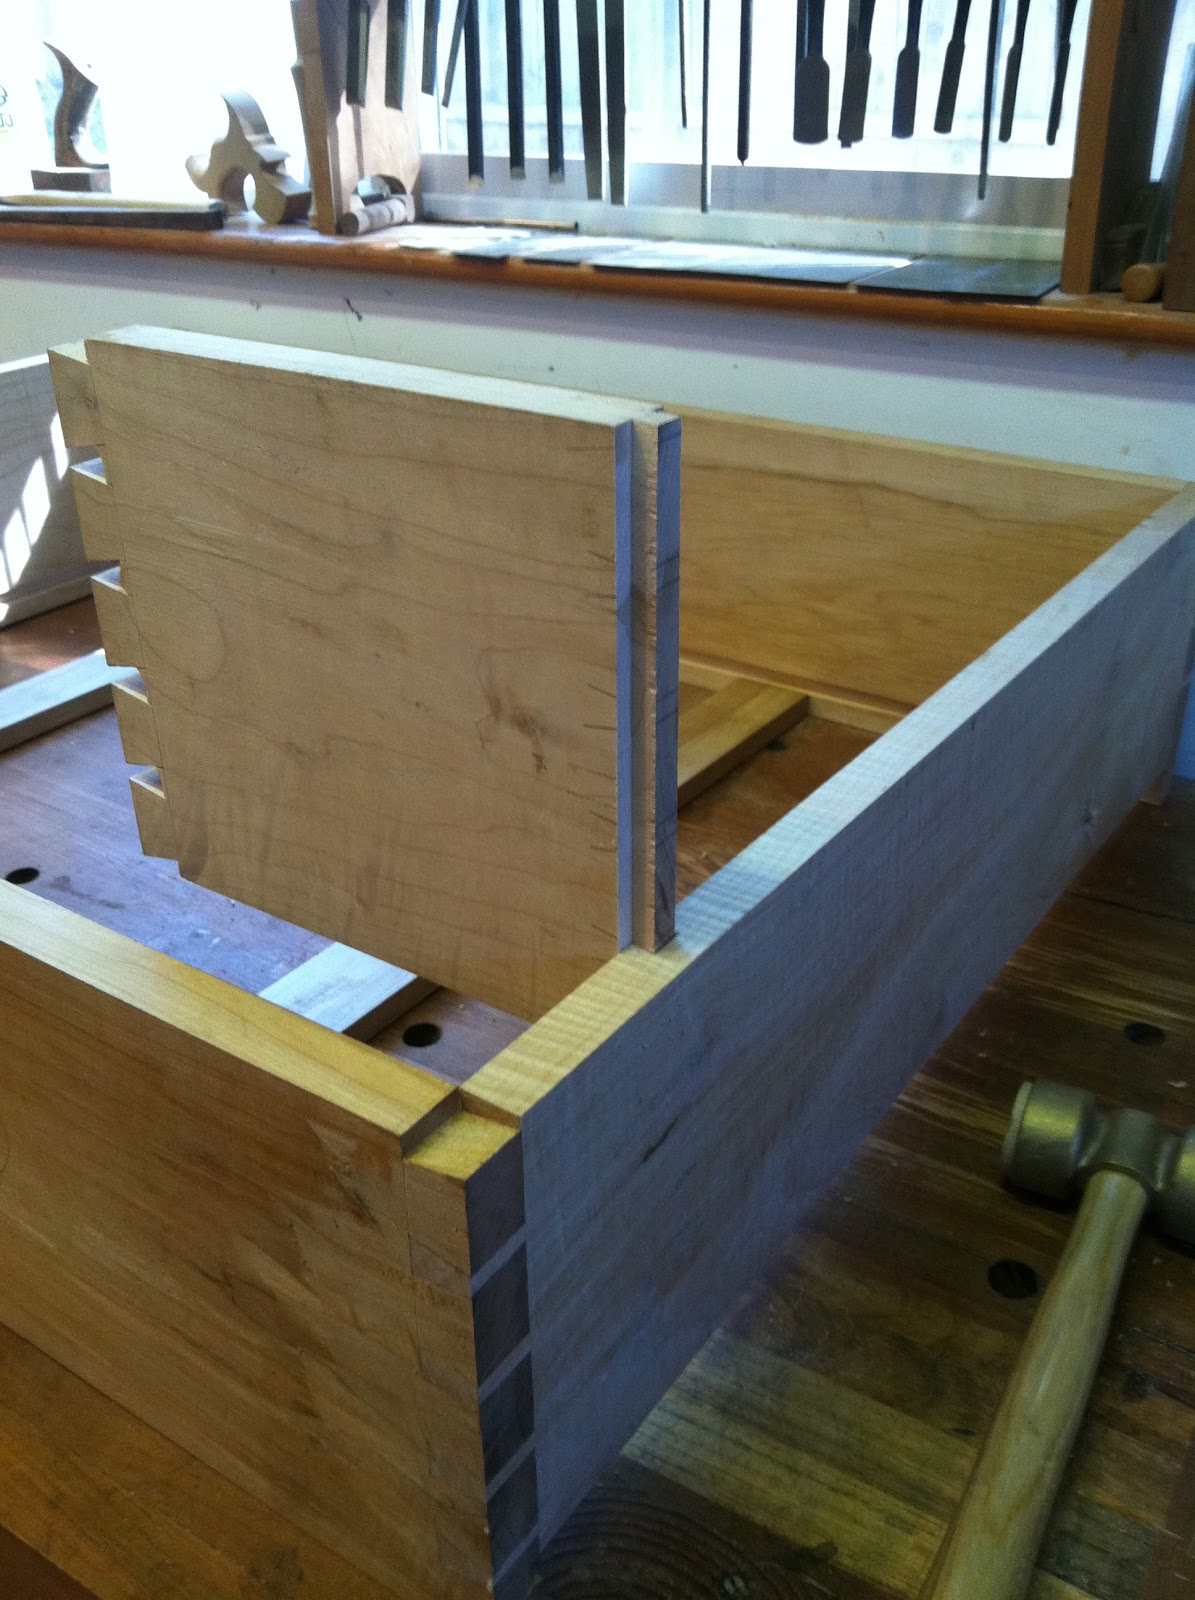
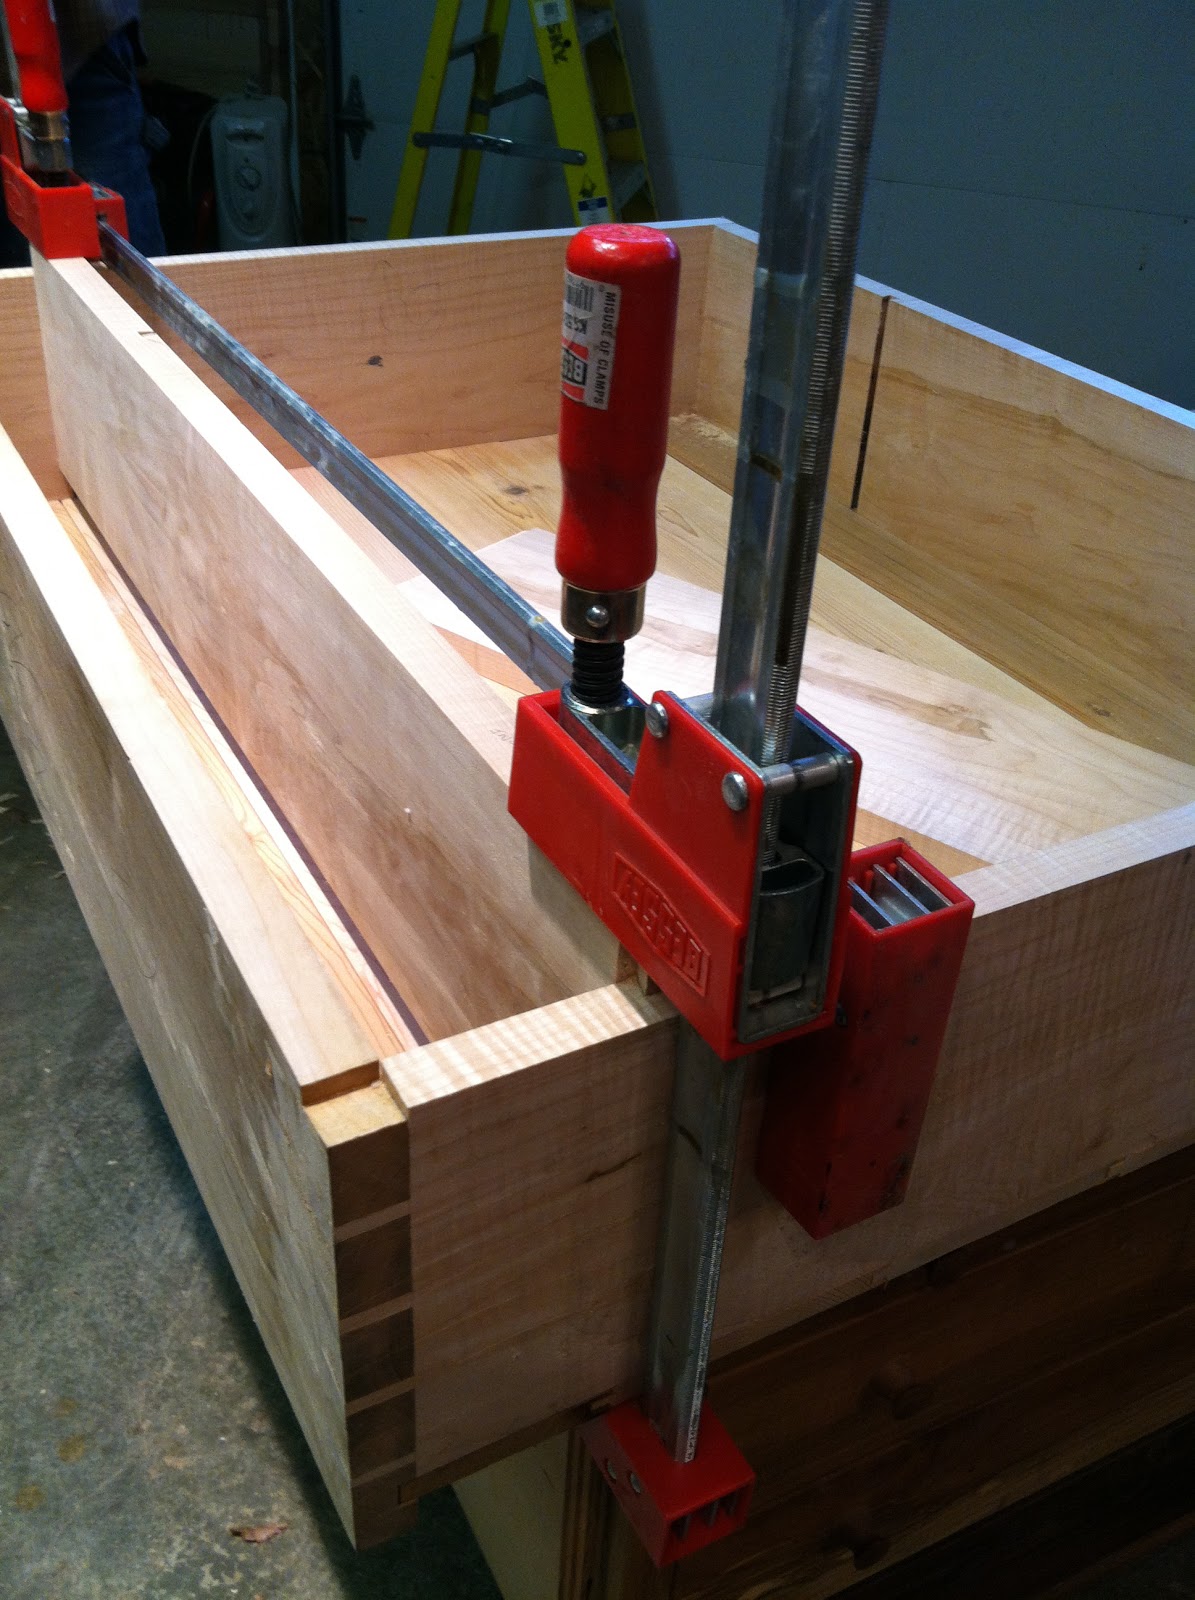
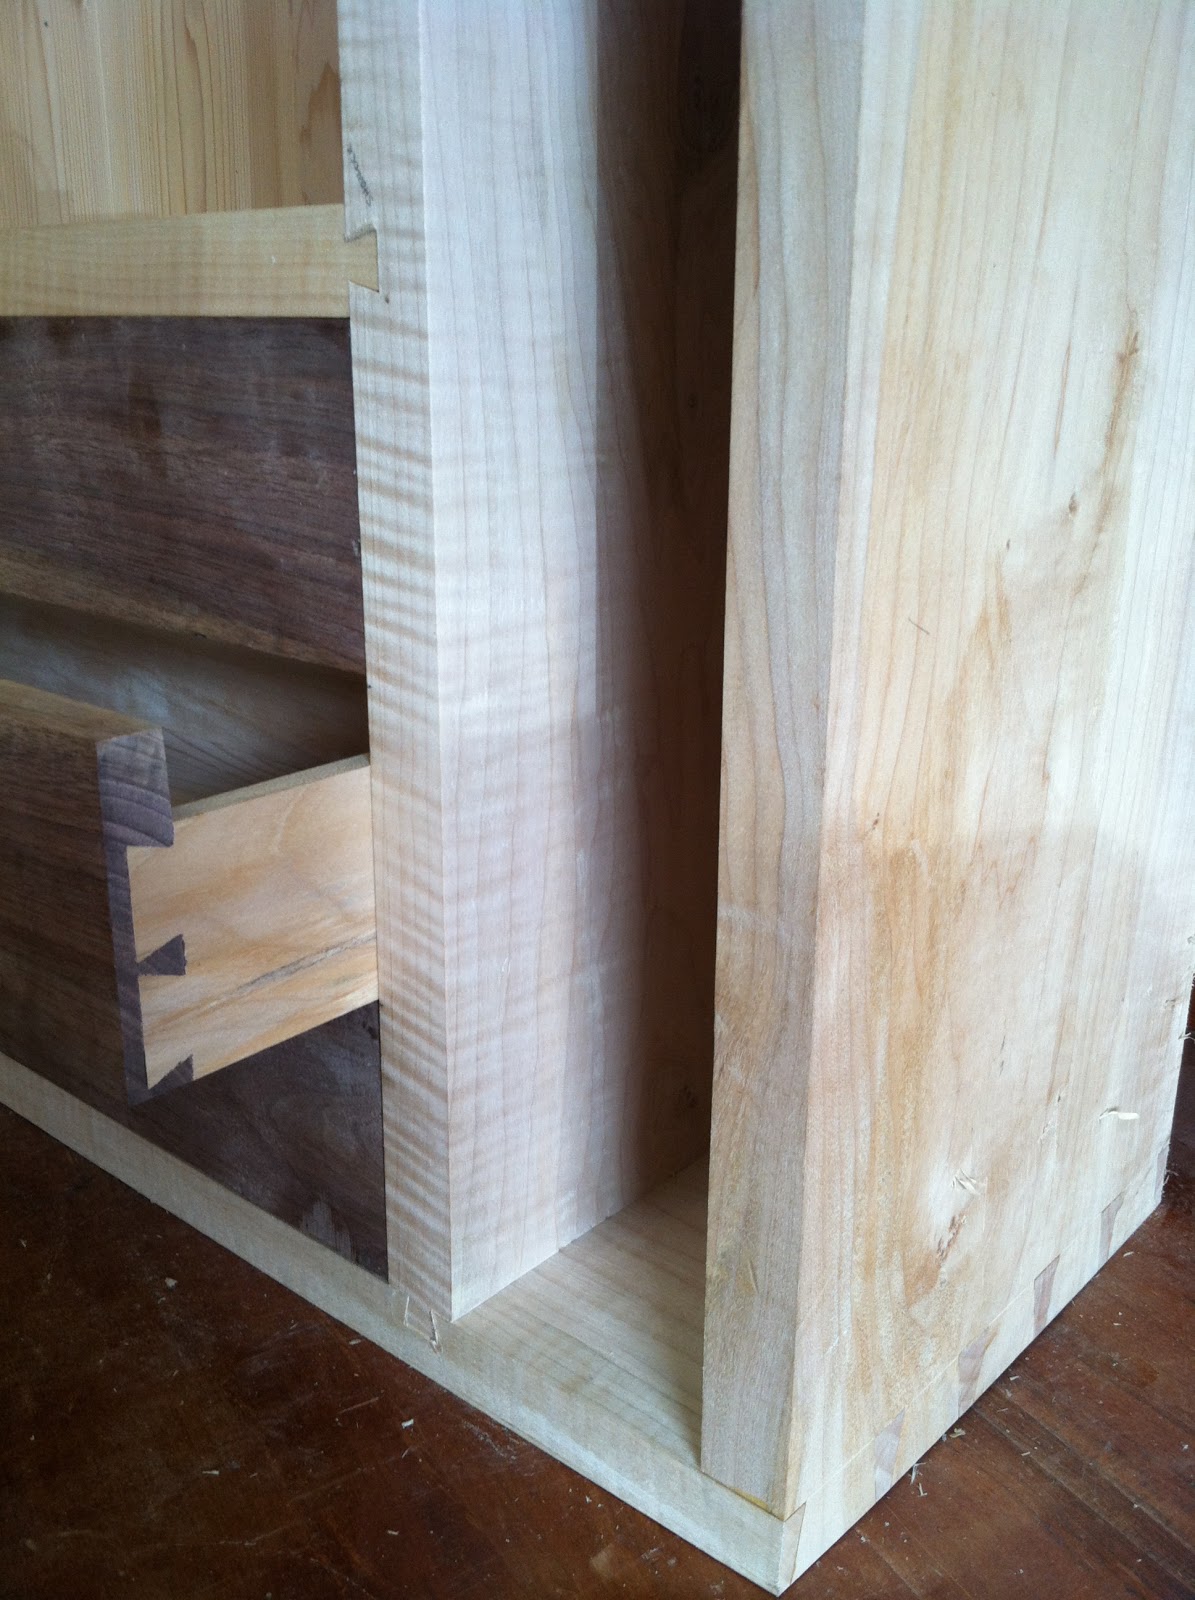
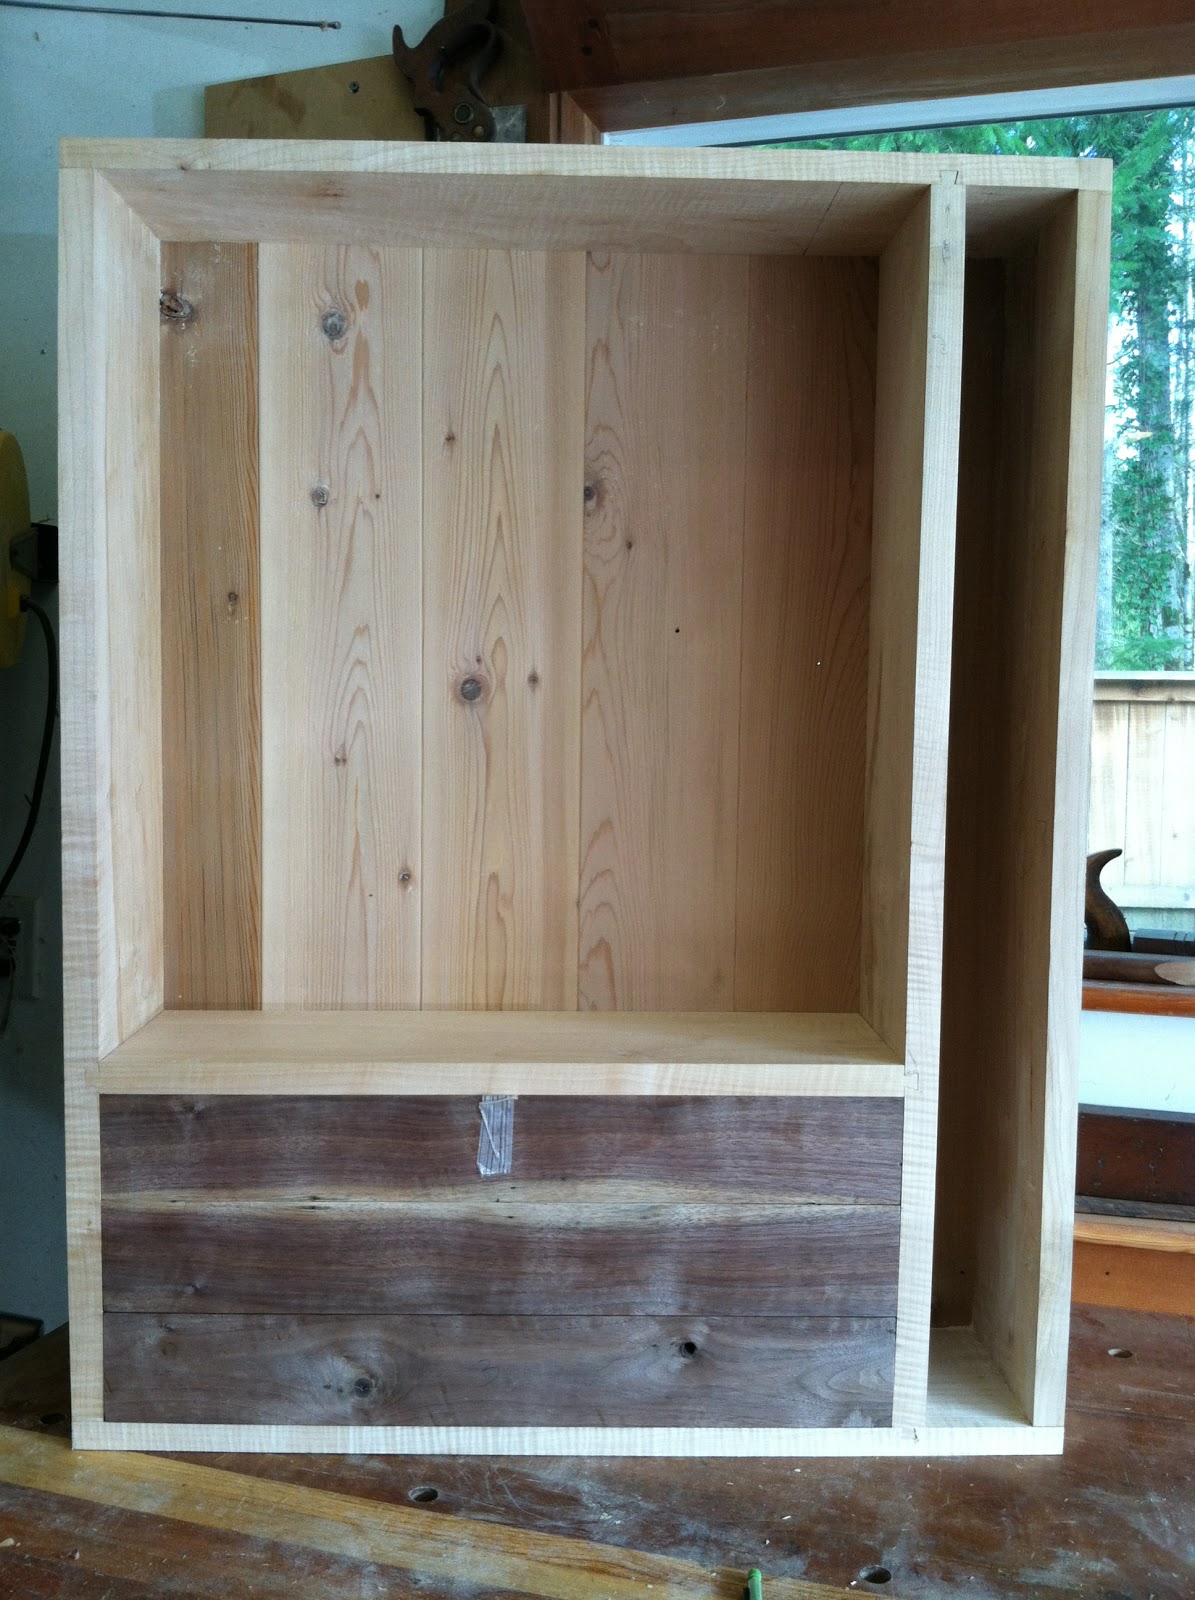
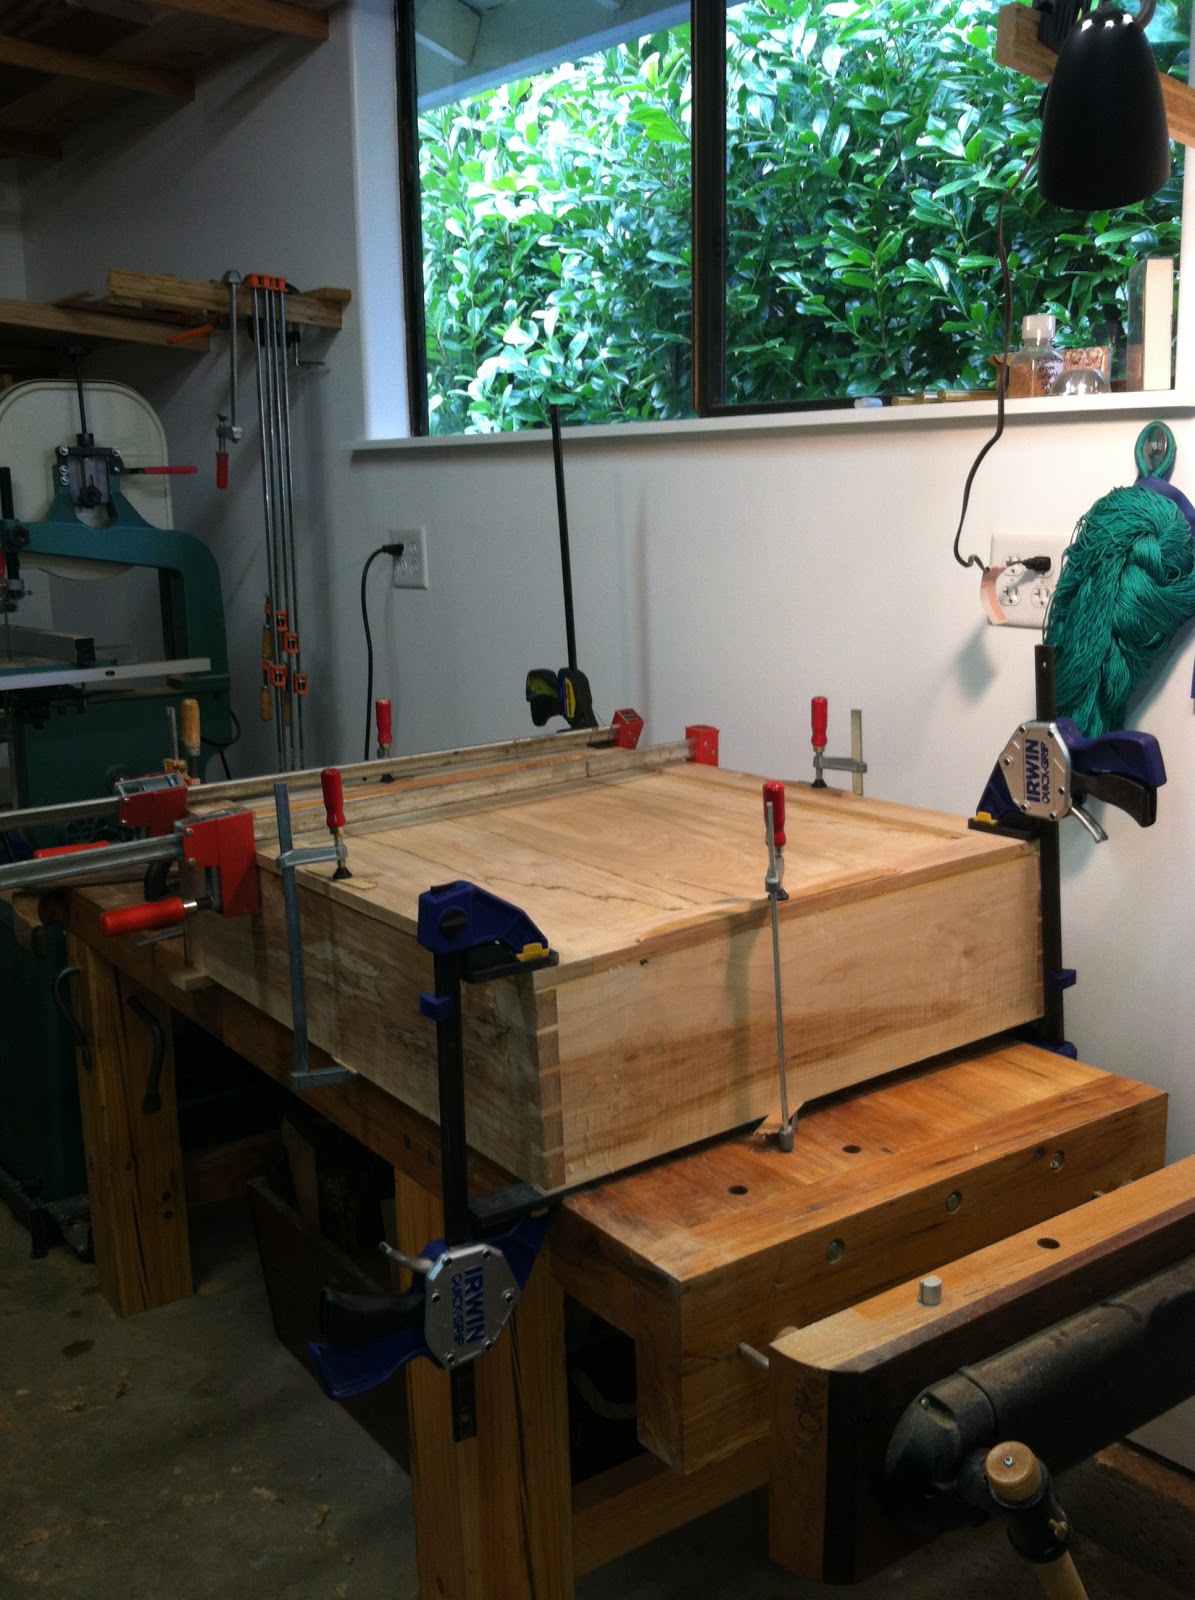
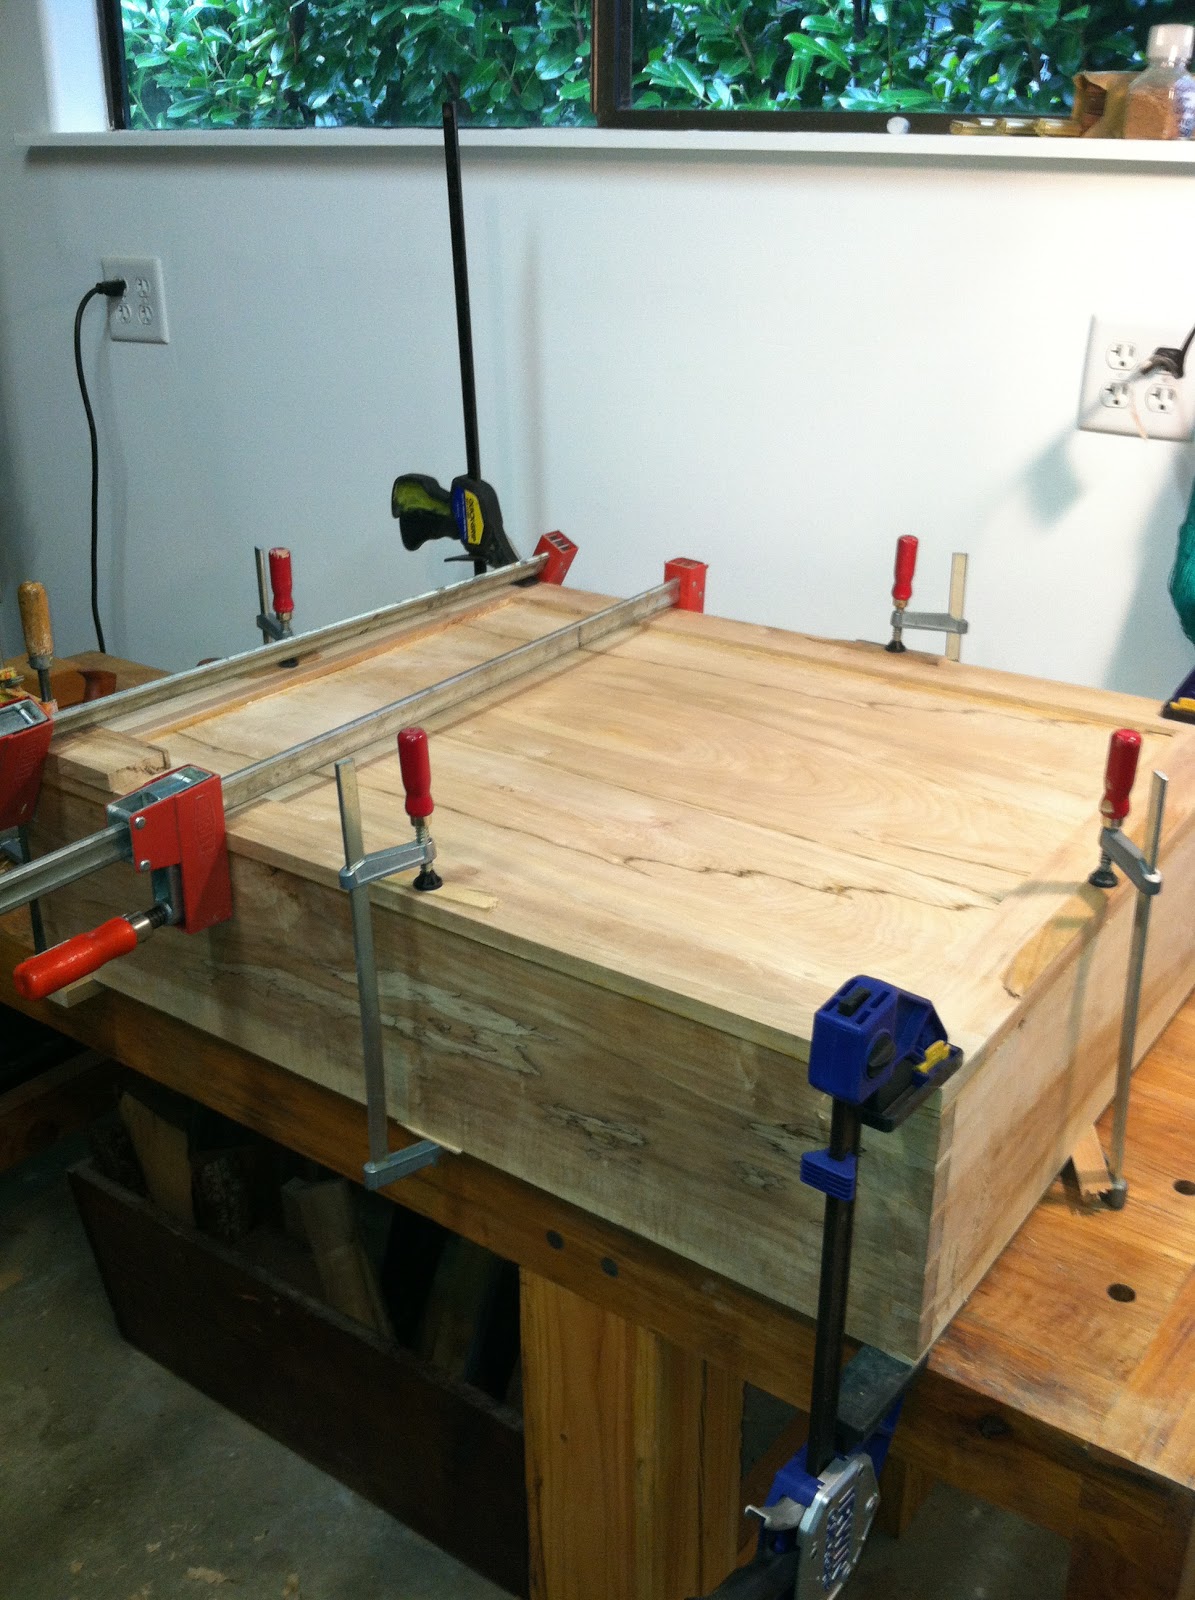
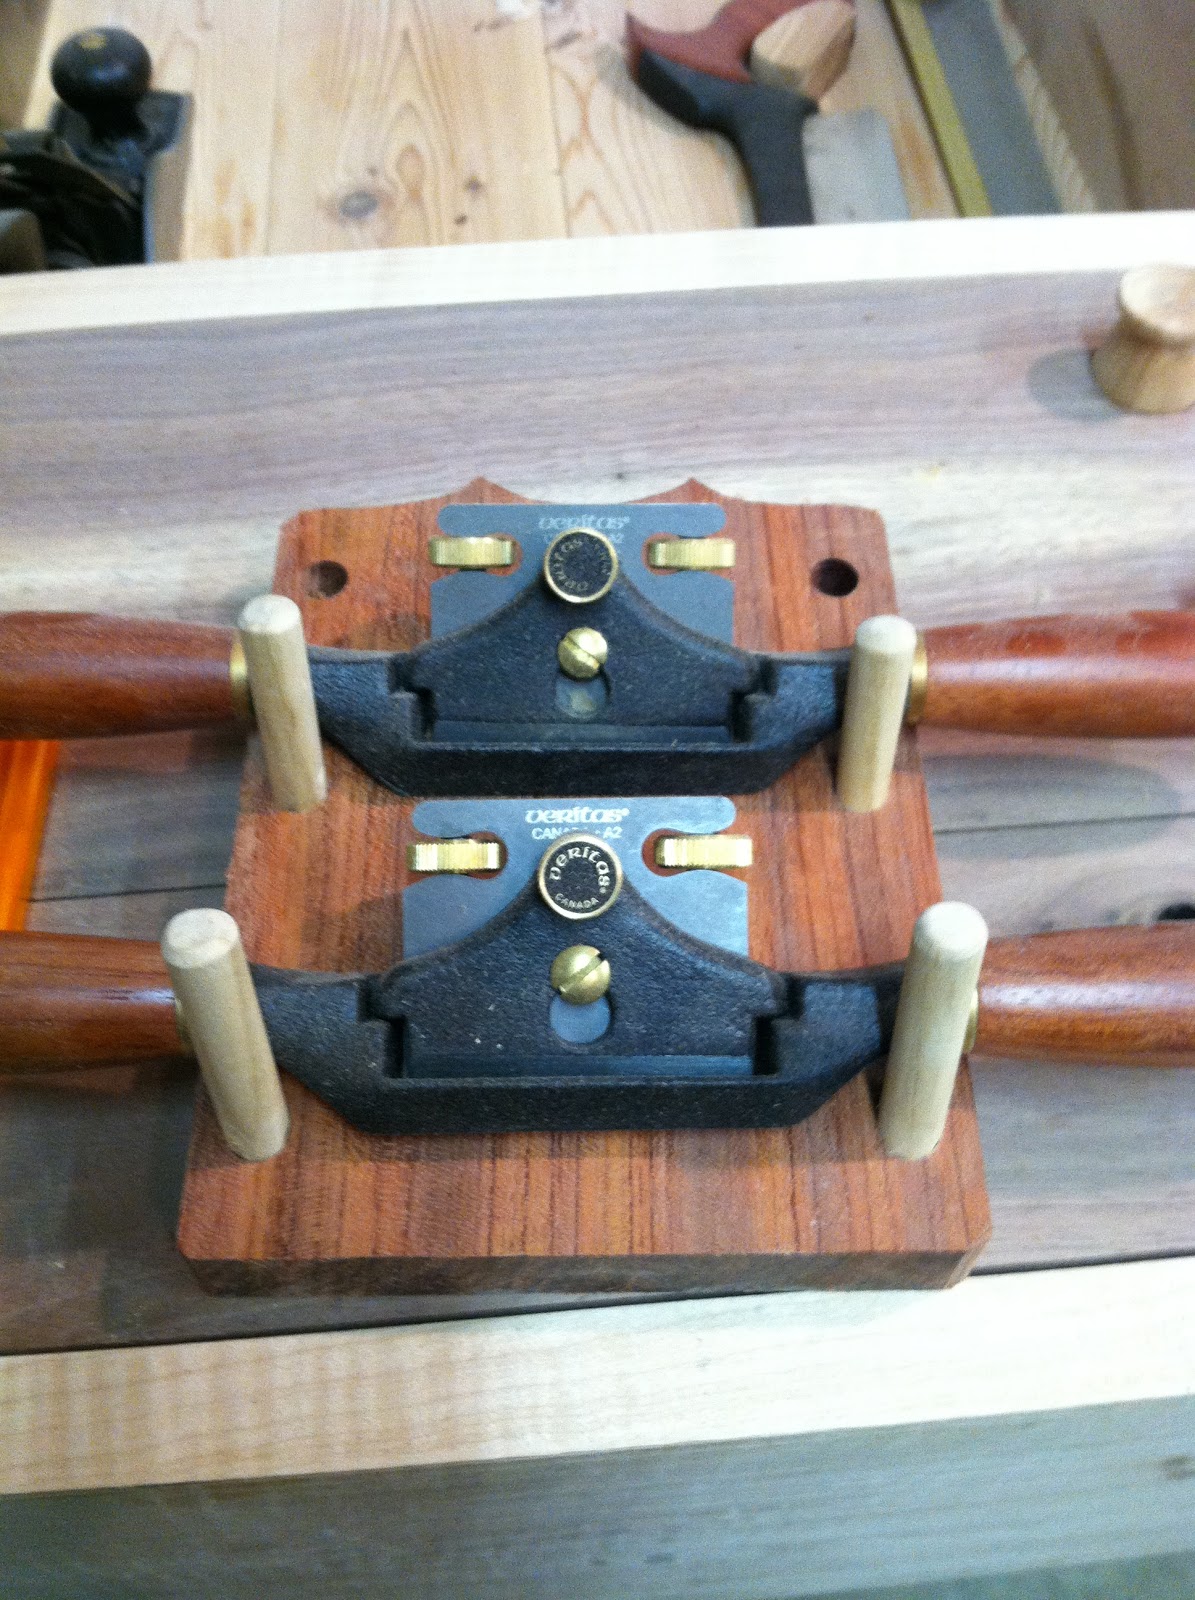
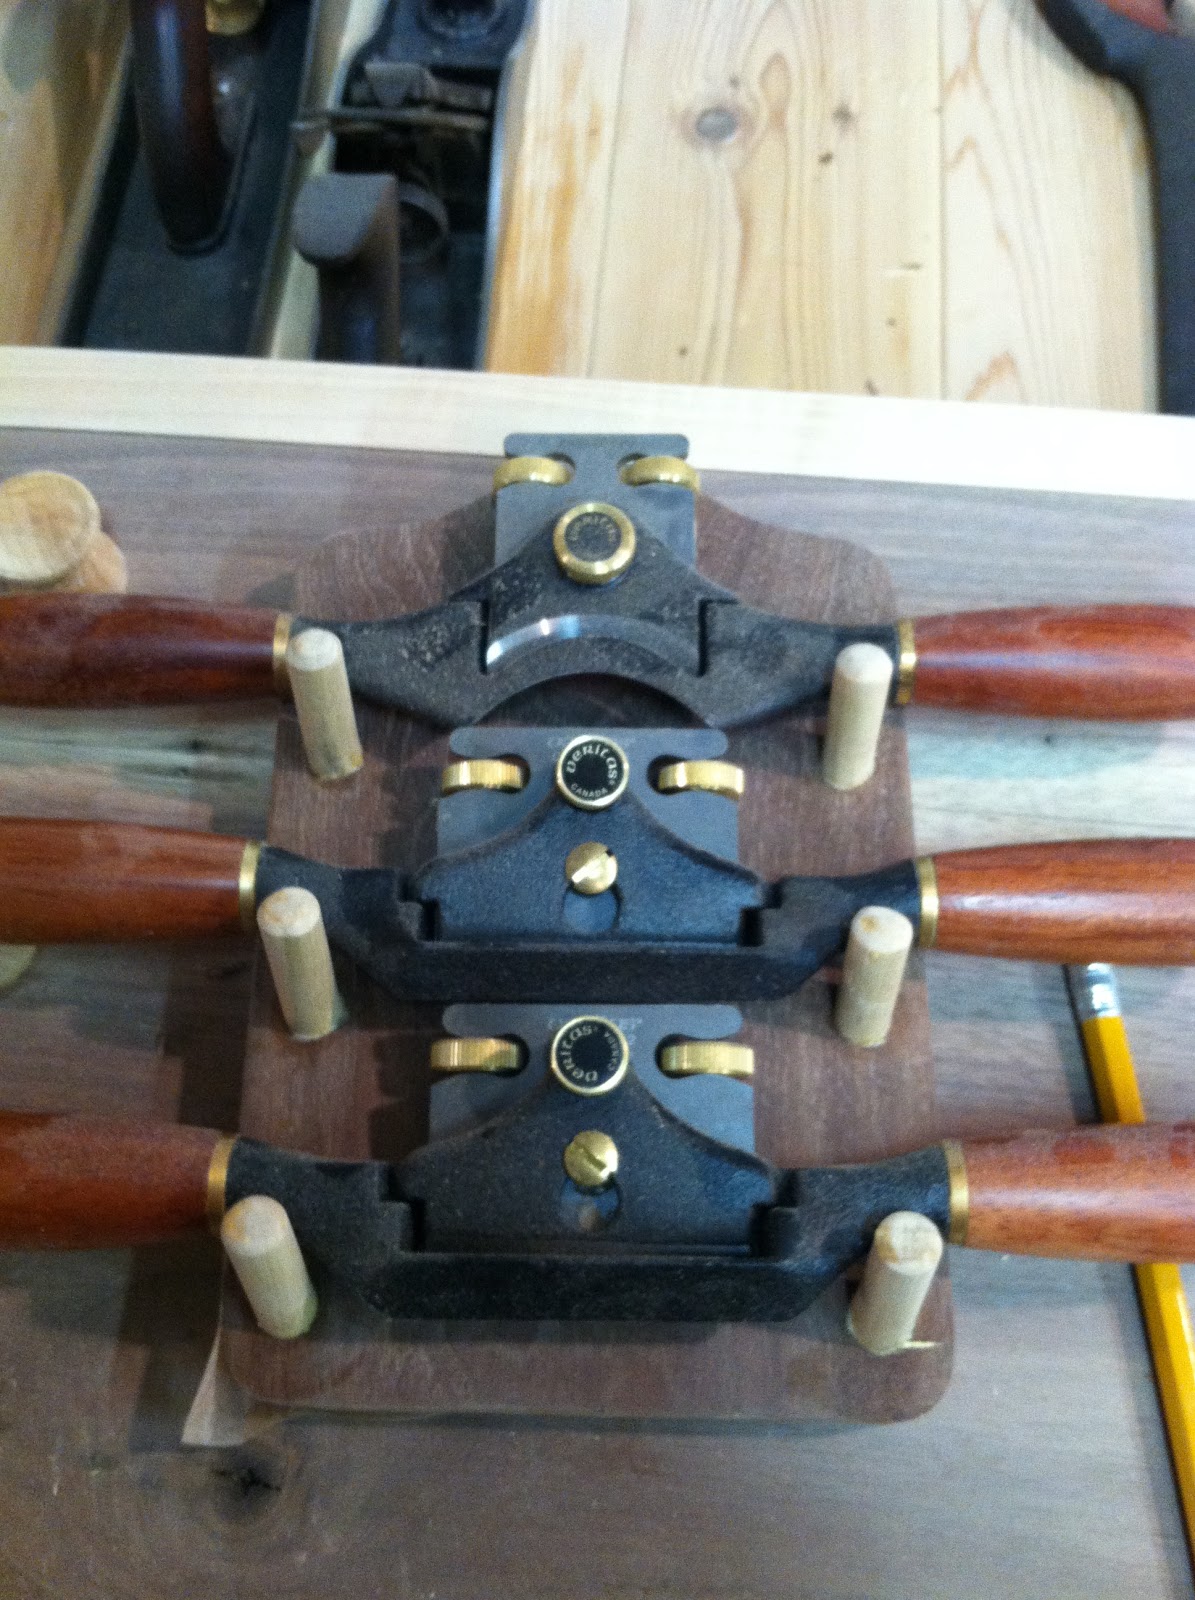
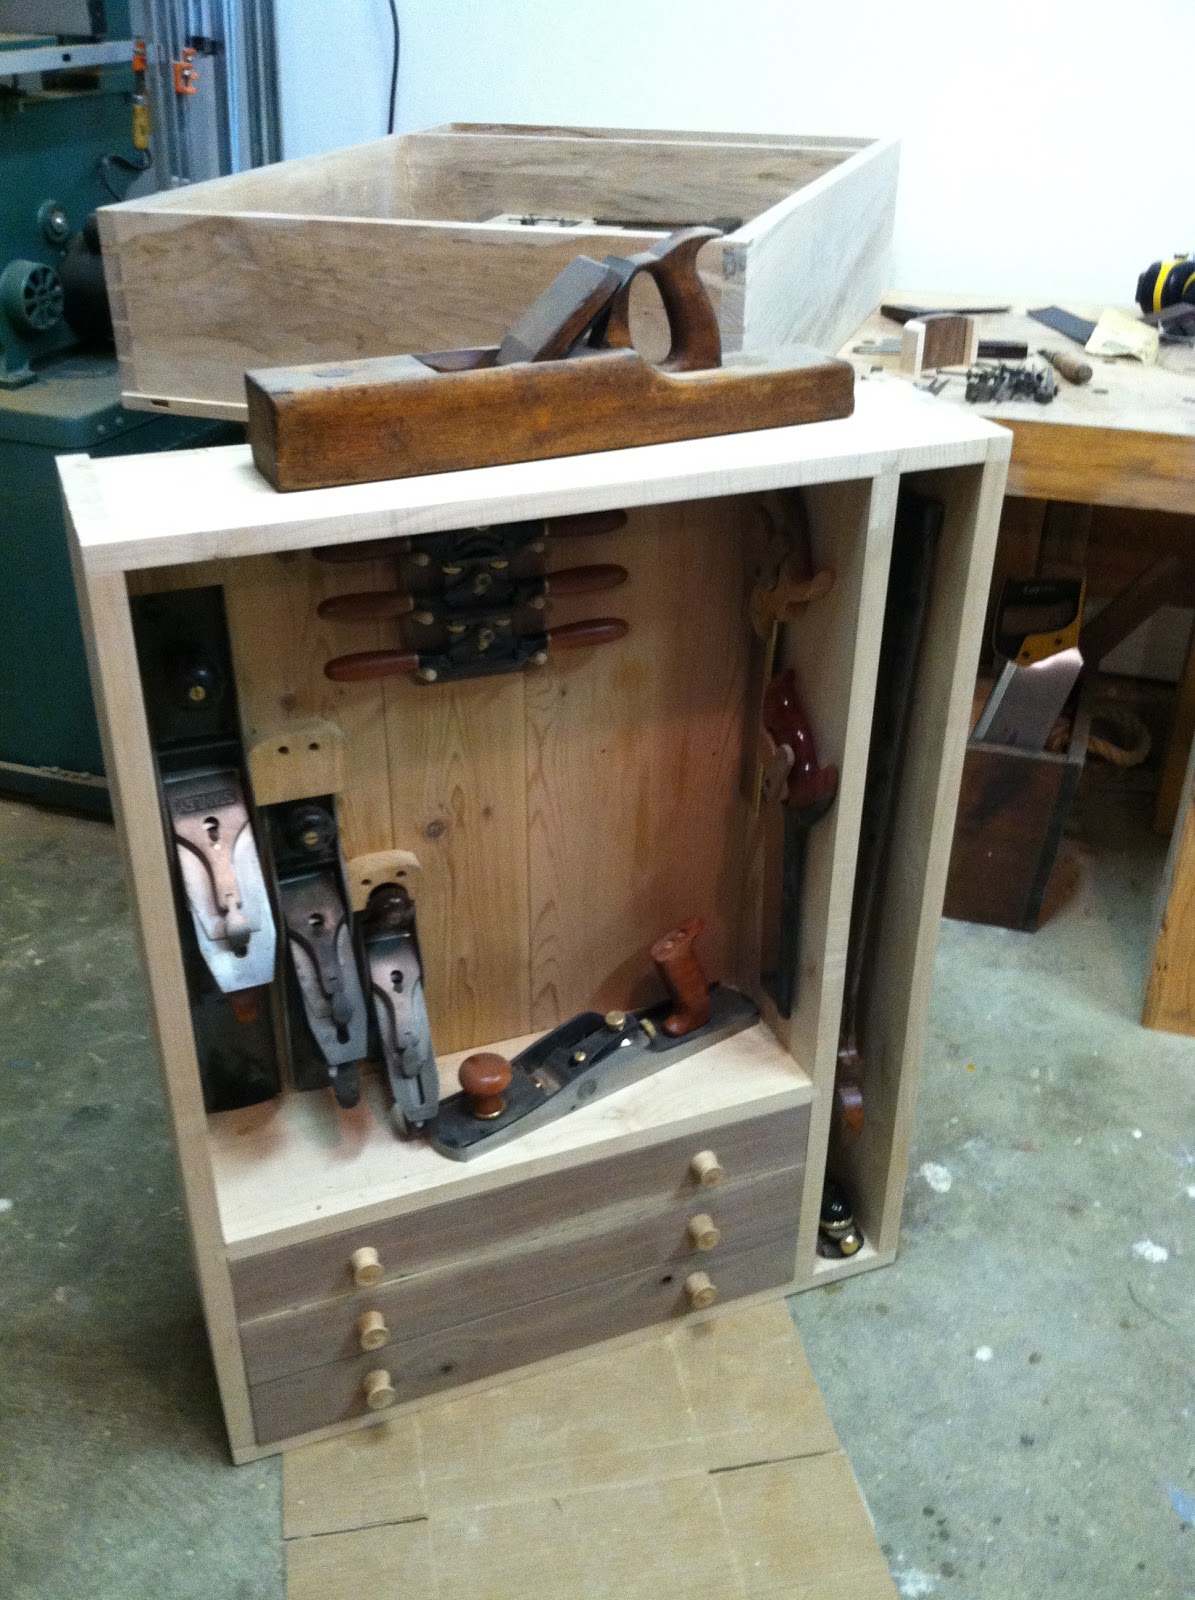
Update- my struggles with math are why my living room coffee table is two inches shorter than planned, why the first top I built for my writing desk didn't fit, and why I had to special order timber to finish the roof of my rabbit hutch. Below you will find the process shots and explanations behind what is going on in the pics. Most of the pictures were taken in Ryan's shop and those are his fancy tools not mine :)